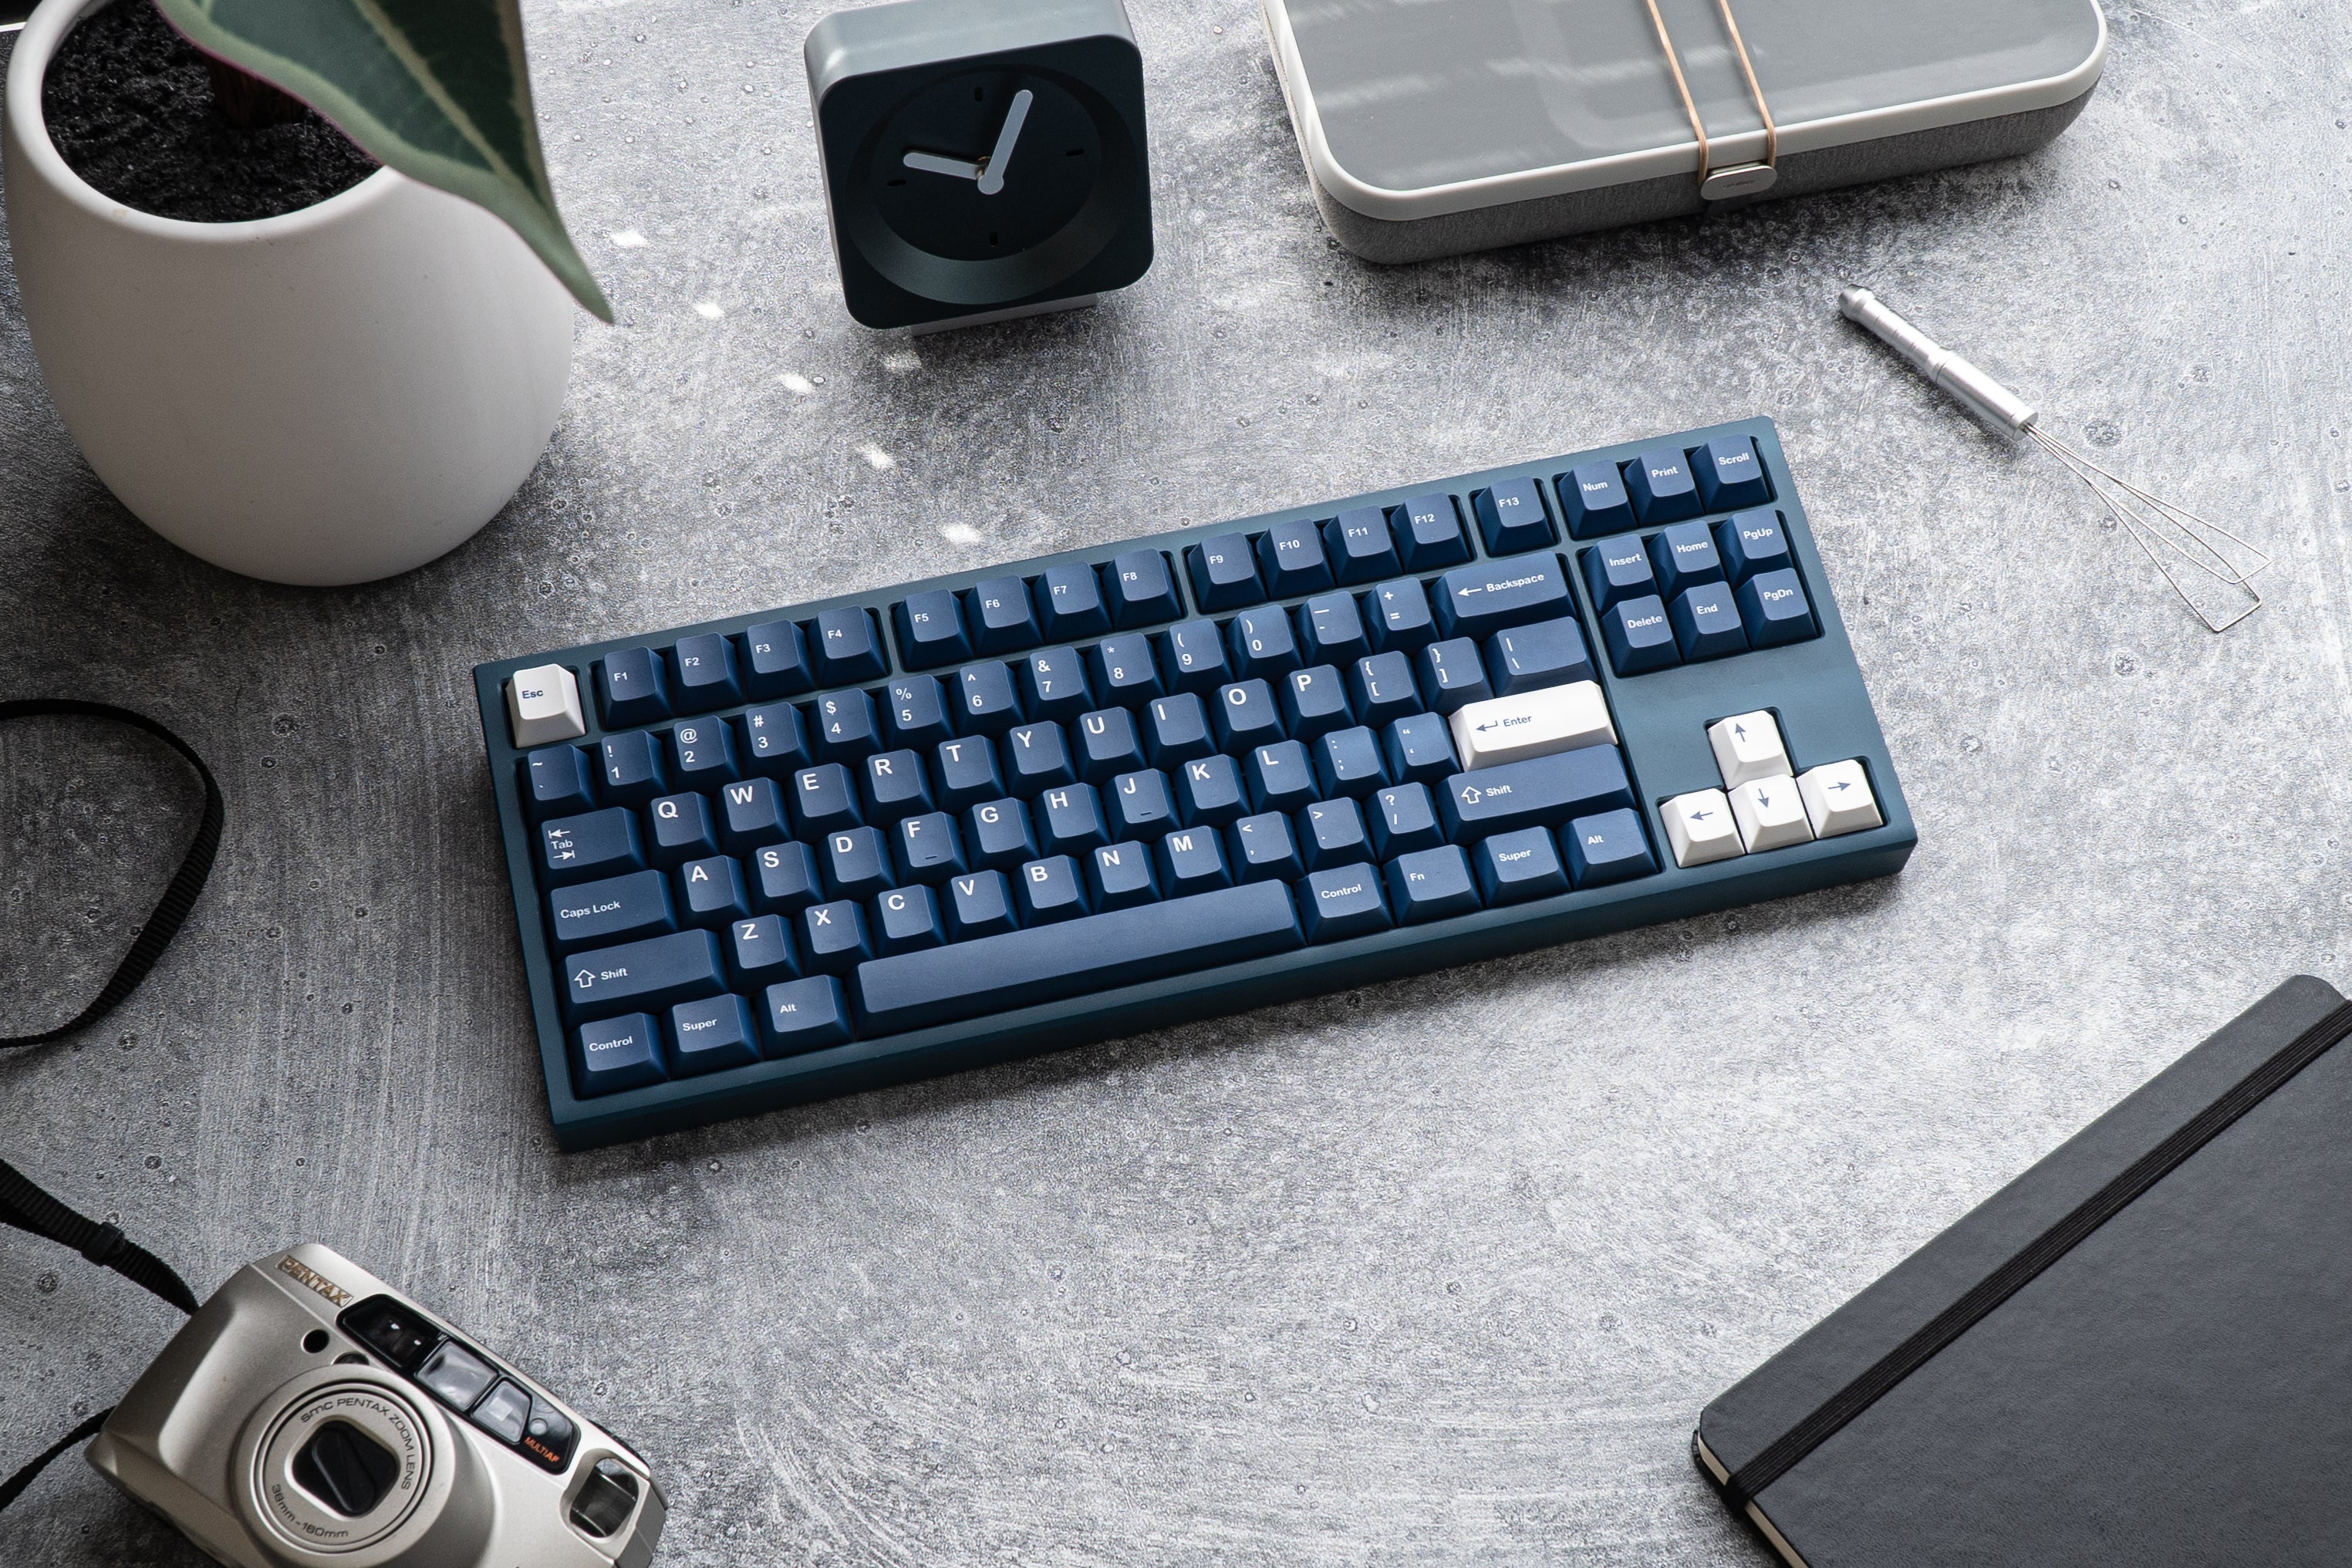
We designed this QuickStart Guide to assist you with setting up your FreeBird keyboard, as well as replacing keycaps, changing switches, or answering other troubleshooting questions that you may have.
If you have any issues with your FreeBird keyboard and cannot find a solution in this guide, we encourage you to reach out to our support team via Discord or email at help@keebsforall.com.
We will get back to you as soon as we can!
CONNECTING YOUR FREEBIRD KEYBOARD
Getting started with your new FreeBird Keyboard is really easy.
Simply use a USB-A to USB-C cable and connect your keyboard to your computer.
Everything should work already! You don't have to install any drivers or software.
Happy typing!
REPLACING KEYCAPS

-
Remove existing keycaps: Use a keycap puller to remove the keycaps from the keyboard. If you don't have a keycap puller, you can also use a small flathead screwdriver or a credit card to carefully lift the keycaps from the edges. Be sure to gently pull the keycaps straight up to avoid damaging the stem or switch.
-
Clean the keyboard: Once all the keycaps are removed, use a soft-bristled brush or compressed air to clean the keyboard surface and remove any debris or dust.
-
Choose replacement keycaps: Decide which keycaps you want to replace and select new ones. Keycaps come in various sizes and shapes, so make sure to choose ones that fit your keyboard layout.
-
Install new keycaps: Line up the new keycaps with the stems and gently press them down until you hear a snap. Make sure they are firmly in place and properly aligned.
-
Test the new keycaps: Press each key to make sure they are functioning properly.
REPLACING SWITHCES

-
Turn off your keyboard: Before you start working on your keyboard, make sure it is turned off and unplugged from your computer.
-
Remove keycaps: Before you can replace a switch, you'll need to remove the keycap covering it. Follow the instructions in the previous section to remove the keycaps from the keyboard.
-
Remove the old switch: Use the switch puller to gently pull the old switch out of its socket on the keyboard plate. Be sure to grip the switch securely to avoid bending or damaging the pins.
-
Prepare the new switch: Take the new switch and remove any excess plastic or metal from the pins if necessary. If the new switch has additional pins, make sure they are properly aligned and spaced to match the PCB.
-
Insert the new switch: Insert the new switch into the empty switch socket on the keyboard plate. Make sure the pins are straight and not bent, and that the switch is flush against the plate.
-
Test the new switch: Once the new switch is in place, test it by pressing the corresponding keycap. Make sure the key registers properly and feels consistent with the other keys on the keyboard.
-
Replace keycap: Finally, replace the keycap onto the new switch using a keycap puller. Gently press down on the keycap until it snaps into place.
FIXING A BENT PIN ON YOUR SWITCH

-
Identify the bent pin: Carefully inspect the switch to locate the bent pin. Bent pins can occur during shipping, installation, or if the keyboard is dropped.
-
Remove the switch: In order to fix the bent pin, you'll need to remove the switch from the keyboard. See the previous step on how to safely remove your switches.
-
Inspect the bent pin: Once the switch is removed, examine the bent pin to see how badly it is bent. If the pin is only slightly bent, you may be able to straighten it with your fingers. If the pin is severely bent, you'll need to use a pair of fine-tipped pliers to straighten it.
-
Straighten the pin: Using your fingers or a pair of pliers, carefully bend the pin back into place. Be gentle and make sure not to apply too much pressure, as this can cause the pin to break.
-
Reinstall the switch: Once the pin is straightened, carefully place the switch back onto the PCB. Gently press down on the switch until it snaps back into place.
-
Test the switch: After the switch is reinstalled, test it to ensure that it's working properly. Press the corresponding key and make sure that it registers the keystroke correctly.
-
Repeat if necessary: If there are multiple bent pins on the switch, repeat steps 3-6 for each bent pin until all the pins are straightened.
-
Reassemble the keyboard: Once all the bent pins are fixed, reassemble the keyboard by putting the keycaps back on and snapping them into place.


![[Pre-Order] Autumn Leaves PBT Keycaps - KeebsForAll](http://keebsforall.com/cdn/shop/products/DSC09732.jpg?v=1676148273)


Leave a comment
This site is protected by hCaptcha and the hCaptcha Privacy Policy and Terms of Service apply.