Want to upgrade your keyboard's performance? Installing PCB mount stabilizers can make your larger keys - like the spacebar, shift, and backspace - feel smoother and quieter. Here’s what you need to know:
- What are PCB mount stabilizers? They keep large keys stable and prevent wobble or noise. They come in two types: screw-in (more secure) and clip-in (easier to install).
- Why install them? Properly installed stabilizers improve typing feel, reduce noise, and make your keyboard more reliable.
- What do you need? Tools like a screwdriver, tweezers, lubricant (e.g., Krytox 205G0), and stabilizer components (housings, stems, wires).
- How to install? Assemble the stabilizers, apply lubricant, and attach them to the PCB. Screw-in stabilizers require screws and washers, while clip-in stabilizers snap into place.
Tools and Materials You Need
Required Tools
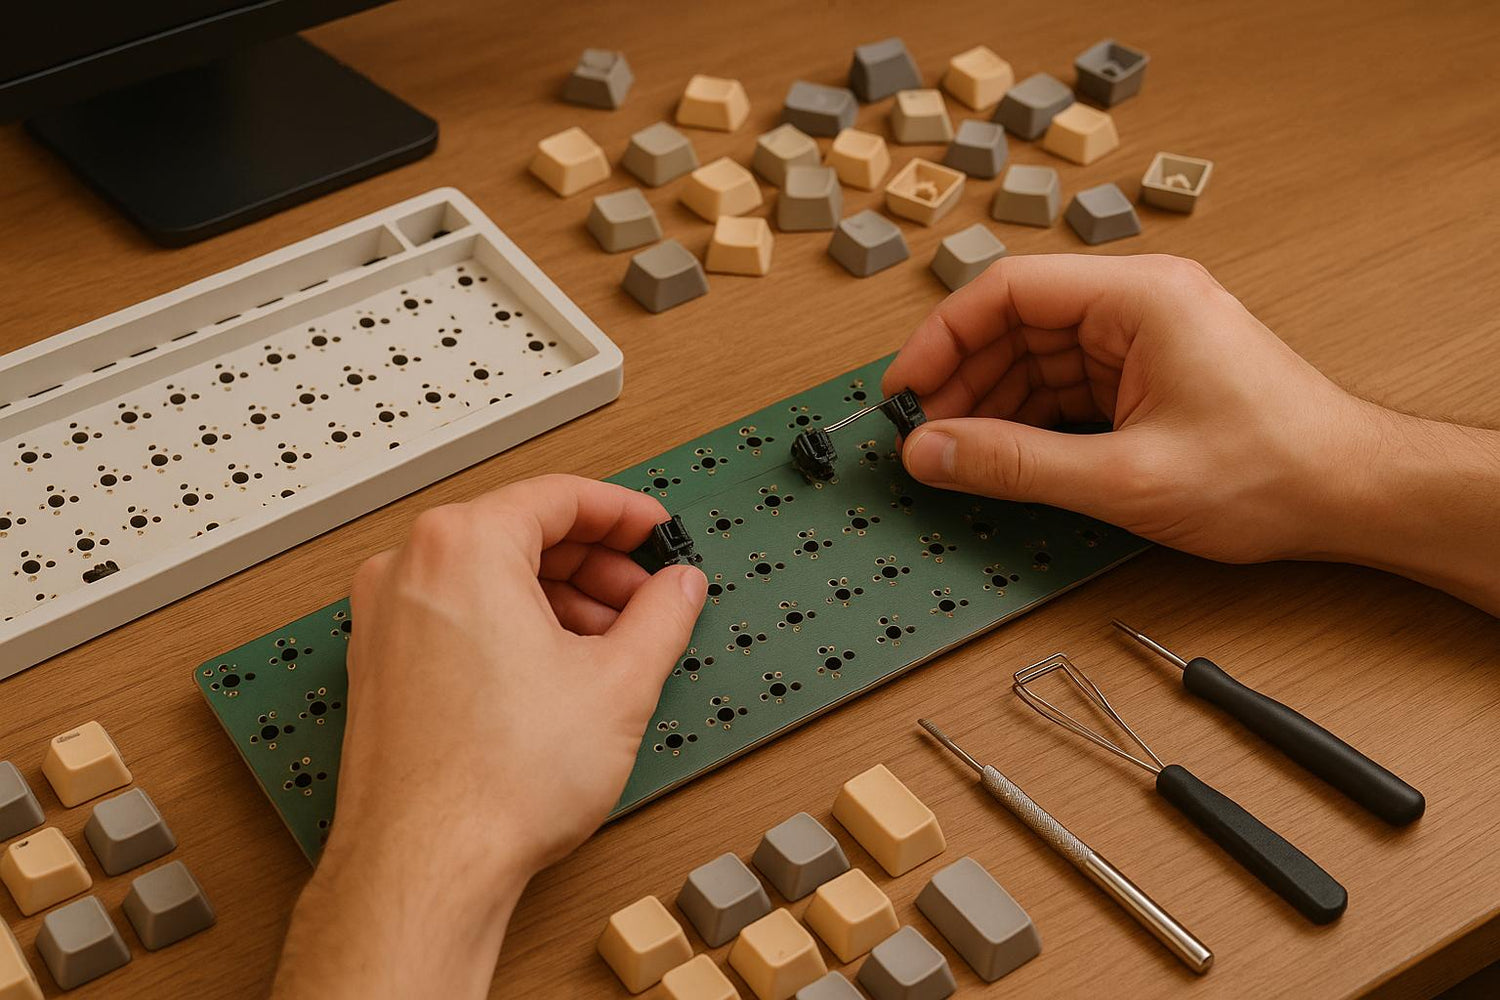
Using the right tools makes installation easier and helps avoid damaging components. Here’s what you’ll need: a small Phillips screwdriver, fine-tip curved tweezers, a keycap puller, a switch puller, and a plastic pry tool.
For smoother performance and quieter operation, apply Krytox 205G0 lubricant with a small brush to reduce friction and noise. While optional, a stabilizer wire tester can be handy for checking wire balance during the process.
Keep screws and small parts organized by using sorting dishes. Most of these tools are affordable and available from specialty retailers. For instance, switch pullers usually cost about $5.00, and fine-tip curved tweezers are around $7.00. KeebsForAll offers several of these essentials, such as the KFA Switch Opener for $19.00 and Krytox 205G0 Lubricant starting at $7.95.
Once your tools are ready, double-check the stabilizer components to make sure you have everything needed for installation.
Stabilizer Parts
Screw-in stabilizers typically include housings, stems with wire holes, a connecting wire, screws, and washers. The stabilizer wire ensures both ends of larger keys, like the spacebar, move evenly for consistent key presses.
On the other hand, clip-in stabilizers use a prong system that snaps directly into the PCB, eliminating the need for screws.
If you want to fine-tune performance, consider optional items like medical tape, toothpicks, stabilizer shims, or dampening rings .
For lubrication, use Krytox 205G0, a semi-viscous lubricant, on housings and stems. For the wire ends, thicker lubricants like dielectric grease are ideal to prevent unwanted noise, such as pinging. Having all these parts and tools ready beforehand will make the installation process much smoother.
Installation Steps
Assembling the Stabilizers
To start, insert the stem into the housing with the two-hole side facing outward. Next, attach the stabilizer wire by inserting it into the bottom hole of each stem and snapping it into place. You’ll know it’s properly seated when you hear a distinct click.
Now, it’s time to lubricate the stabilizers. Apply a thin layer of Krytox 205G0 to the sides of the stem and the ends of the stabilizer wire. For an even smoother feel, you can also lightly lube the inside of the housing - though that step is optional.
"When you get your Durock V2 stabilizers, you will want to do a few things before installing them. First, definitely watch this video by Alexotos - it'll be some of the best 10 minutes you've spent to hone your skills as a keyboard builder." – Adeana, Kinetic Labs
Once the stabilizers are assembled and lubed, you're ready to mount them onto the PCB.
Installing Screw-in Stabilizers
Screw-in stabilizers are a reliable choice for premium keyboard builds, offering a more secure fit. Before starting, make sure your PCB has the necessary mounting holes. Place each stabilizer in its designated spot, ensuring the larger housings are positioned under wider keys. Align the screw holes carefully to avoid cross-threading.
To protect the PCB, place a washer between it and each screw. Insert the screws through the washers into the stabilizer housing, then tighten them until the stabilizers are firmly in place. Be cautious not to overtighten, as this could damage the PCB or strip the threads. After securing, test each stabilizer by pressing on it gently to confirm there’s no unwanted movement or wobble.
Installing Clip-in Stabilizers
Clip-in stabilizers are a quicker alternative, ideal for budget builds or hot-swappable keyboards. These stabilizers feature plastic prongs that expand to secure them to the PCB. Begin by aligning the prongs with the PCB holes, ensuring precise placement to avoid any damage.
Push the prongs through the PCB holes until they snap into place. After clipping in each stabilizer, check that they’re securely seated by giving them a gentle wiggle. Properly installed clip-in stabilizers should feel stable and locked in.
With all stabilizers installed, you’re ready to move on to testing and the next steps in your keyboard build.
Performance Improvements
Lubricating the Stabilizers
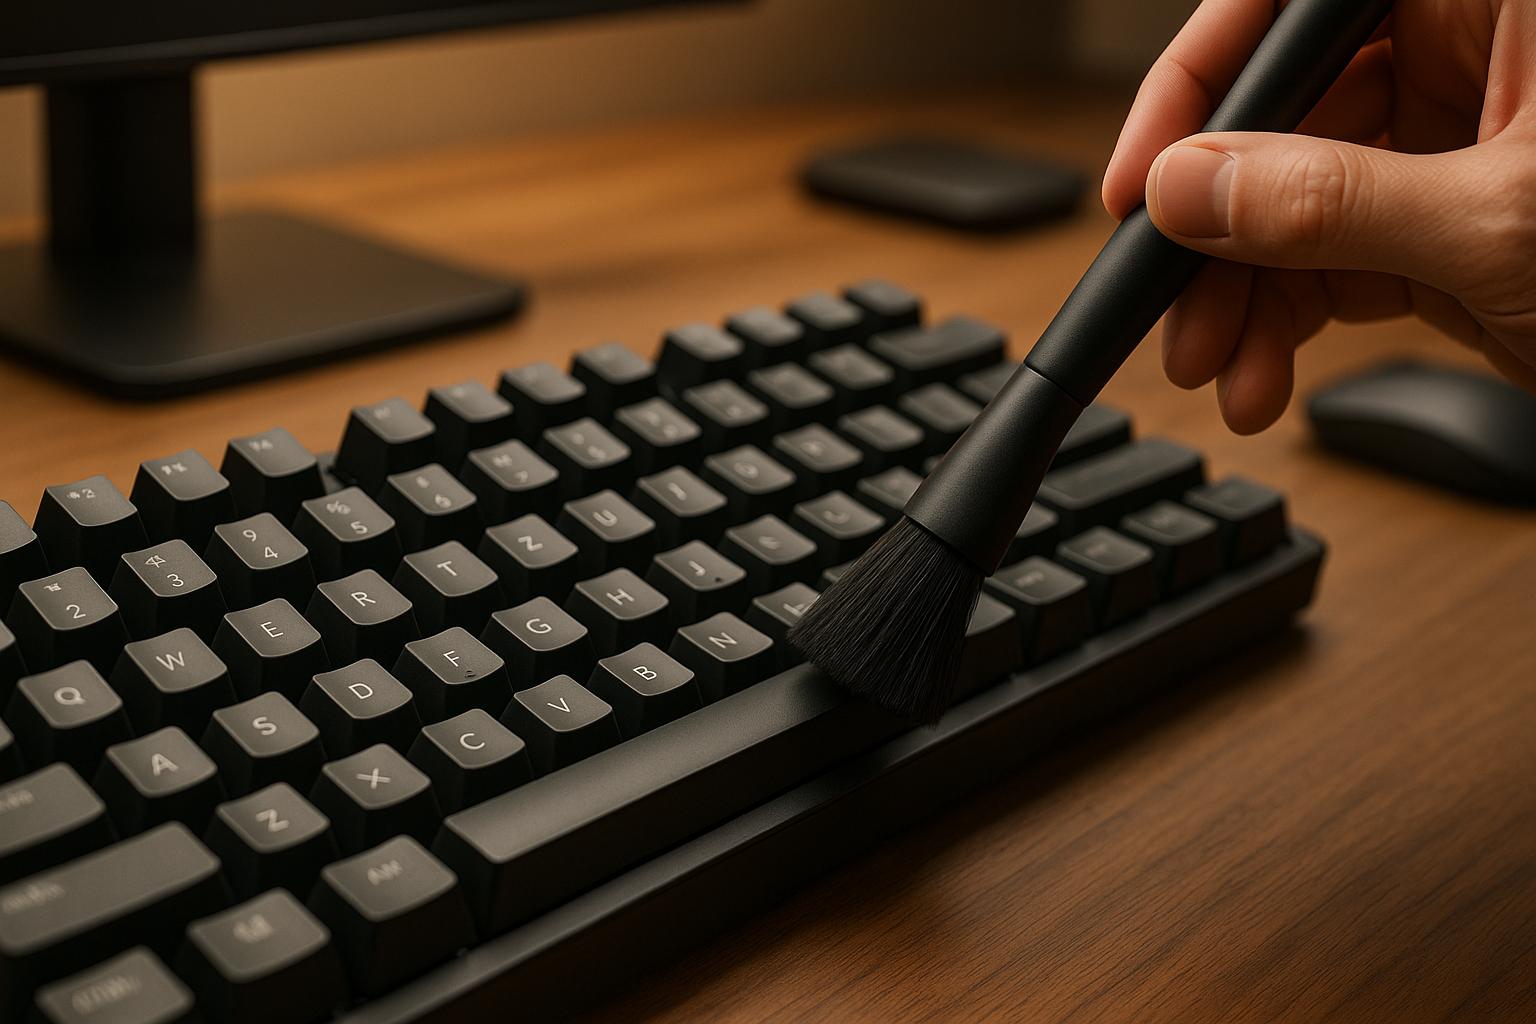
Using Krytox 205g0 to lubricate your stabilizers can make a world of difference, turning them from just functional to smooth and quiet. To get started, apply a thin, even layer of Krytox 205g0 to the stabilizer housings and the sides of the stems. A small brush works perfectly for this task, giving you control to avoid over-applying.
For spots where plastic meets metal - like the bent wire ends - opt for a thicker lubricant such as dielectric grease. Apply a moderate amount to these areas to eliminate any rattling sounds.
Be cautious, though - too much lubricant can lead to sticky or sluggish keypresses. It’s better to start with a light application and gradually add more if needed, focusing on the wire ends first. If you notice the rattle returning after extended use, you can use a syringe to carefully inject a small amount of lubricant directly onto the wire contact points, saving you from disassembling the keyboard.
Wire Balancing and Noise Reduction
Once lubrication is done, fine-tune the stabilizers to further cut down on noise. Start by placing the stabilizer wires on a completely flat surface, like a glass table or a precision-machined metal surface. Roll the wire gently to check for any gaps or bends that might lead to inconsistent contact or rattling.
If you find bends, carefully straighten the wires. However, if the wire is severely bent, it’s often better to replace it entirely, as straightening it too much could weaken it over time.
Persistent rattling could also be due to the spacebar keycap not sitting flat. Check that the spacebar is even and not warped, as uneven pressure across the stabilizers can lead to noise.
Another potential issue is the alignment of the stabilizer housings. Misaligned housings can create friction that lubrication alone can’t solve. Make sure both housings are parallel to each other and perpendicular to the PCB - this is especially important for longer keys like the spacebar or shift key. If you’re using case dampening material, ensure it’s not pressing too hard against the PCB, as this can interfere with stabilizer movement. These adjustments will help you achieve optimal stabilizer performance before you move on to final assembly.
sbb-itb-3cb9615
Fixing Common Problems
Assembly Problems
Wire popping often happens when removing keycaps. To prevent this, always use a keycap puller instead of your fingers. This avoids putting sideways pressure on the stabilizers, which can cause the wire to dislodge. If a wire does pop out, simply press it back into the groove until it sits flush.
Over-tightening screws is another common issue that can strip the PCB threads. Screw-in stabilizers only need to be snug - tighten them just enough to eliminate any housing wiggle, but don’t apply excessive force.
Misaligned housings lead to uneven keypresses. Before fully tightening screw-in stabilizers, take a moment to ensure both housings are aligned properly - parallel and perpendicular to the PCB. For clip-in stabilizers, check that the prongs are fully inserted and seated evenly.
Once these assembly issues are resolved, you can focus on addressing rattle and noise concerns.
Rattle and Noise Problems
Persistent rattle usually points to missed contact points. For screw-in stabilizers, make sure they’re secured tightly enough to prevent housing movement. With clip-in stabilizers, press firmly on each housing to ensure they’re fully seated on the PCB.
Sticky or unresponsive keys often stem from too much lubricant or debris. Clean the stabilizers thoroughly with isopropyl alcohol, removing any excess lubricant that may have pooled. A thin, even layer of lubricant is ideal - you can always add more if necessary.
Keycap fit issues can sometimes mimic stabilizer noise. If a keycap doesn’t sit flush or wobbles slightly, try wrapping a thin strip of cling wrap around the stabilizer stems before installing the keycap. This creates a tighter fit and reduces unwanted noise.
If stabilizer noise isn’t the culprit, check the switches. Noise that persists despite fixing stabilizers might be caused by spring ping in the switches. A small dab of Krytox 205g0 applied to the back of the switch leaf can help eliminate this problem.
For loose stabilizers on thinner PCBs, you can tighten the fit by applying Band-Aid tape or pre-cut stabilizer foam stickers to the clip area. This simple fix can make a big difference in stability and noise reduction.
Guide for Stabilizer Assembly Installation and Common Mistakes
Conclusion
Installing PCB mount stabilizers the right way can completely change how your keyboard feels and performs. These stabilizers play a crucial role in keeping larger keys - like the spacebar, shift, and enter keys - steady and free from that annoying wobble or rattle, which directly impacts both comfort and typing accuracy.
Taking your time during installation really pays off. From ensuring compatibility with your PCB’s mounting holes to applying just the right amount of lubrication, every detail counts. When properly installed, stabilizers can make your keyboard sound sharper and feel smoother.
Small tweaks, like wire balancing and careful lubrication, can take things even further. Balancing the wires on a flat surface, like glass, only takes a few minutes but can completely eliminate rattling. Adding lubrication reduces friction, making each keypress quieter and more fluid - giving your keyboard that high-quality feel.
Whether you prefer screw-in stabilizers for their sturdiness or clip-in stabilizers for their ease of use, proper installation ensures you’re getting the most out of your setup. And don’t forget, regular maintenance - like tightening screws, reapplying lubricant, and cleaning components - keeps everything running smoothly for the long haul.
For more tips and top-notch keyboard components, check out KeebsForAll at https://keebsforall.com.
FAQs
What’s the difference between screw-in and clip-in PCB mount stabilizers, and how do I choose the right one?
When it comes to PCB mount stabilizers, the key difference between screw-in and clip-in stabilizers lies in how they attach to the PCB and the level of stability they provide.
Screw-in stabilizers are fastened with screws, ensuring a snug fit that minimizes rattle. This makes them a popular choice for custom keyboard enthusiasts who prioritize stability and smooth performance. On the other hand, clip-in stabilizers simply snap into place, making them quicker to install and easier to remove. This feature is especially handy for simpler builds or setups that require frequent adjustments.
Before choosing between the two, check if your keyboard’s PCB supports both types. If it does, screw-in stabilizers are generally favored for larger keys like the spacebar or enter key, thanks to their secure fit. However, clip-in stabilizers are an excellent option for beginners or anyone looking for a hassle-free installation process.
How do I fix rattling or noise issues with PCB mount stabilizers after installation?
If your PCB mount stabilizers are making noise or rattling, the first step is to check if they’re properly lubricated. Dry or unlubricated stabilizers are a frequent culprit behind unwanted sounds. Applying a high-quality lubricant, like Krytox 205g0, can help minimize friction and eliminate rattling. For an extra layer of sound dampening, you might want to try the "Holee mod." This involves placing a small piece of fabric or medical tape inside the stabilizer housing to reduce noise further.
Still hearing noise? Take a closer look at your stabilizers for misalignment or loose fittings. Ensure that both the keycaps and stabilizers are securely attached to the PCB. Sometimes, warped keycaps or poorly seated components can also cause rattling. To keep your keyboard running smoothly and quietly, make regular maintenance a habit - clean and re-lubricate your stabilizers as needed.
What are the most common mistakes to avoid when lubing PCB mount stabilizers for the best performance?
When lubricating PCB mount stabilizers, it's important to steer clear of a few common missteps to guarantee they perform smoothly and quietly:
- Applying too much lubricant: A heavy hand with lubricant can leave your stabilizers feeling mushy and may even attract dust over time. Stick to a light, even coat for the best results.
- Choosing the wrong lubricant: Stabilizers work best with thicker lubricants like Krytox 205g0. Avoid thinner lubes, as they often fail to provide enough cushioning or noise dampening.
- Improper application technique: Skipping key contact points or applying lube unevenly can result in inconsistent performance. A fine brush is your best friend here - use it to carefully cover the necessary areas without overdoing it.
Taking the time to apply lubricant correctly can transform the feel and sound of your stabilizers, making every keystroke more satisfying!


![[Pre-Order] Autumn Leaves PBT Keycaps - KeebsForAll](http://keebsforall.com/cdn/shop/products/DSC09732.jpg?v=1676148273)

Leave a comment
This site is protected by hCaptcha and the hCaptcha Privacy Policy and Terms of Service apply.