Keyboard stabilizers can make or break your typing experience. When they work well, larger keys like the spacebar and shift feel smooth, balanced, and quiet. But when things go wrong, you might face rattling, uneven keys, or sticky movement. Here’s a quick breakdown of common stabilizer problems and how to fix them:
- Rattling or Noise: Caused by loose or unlubricated parts. Fix it with proper lubrication or mods like the Holee mod.
- Off-Balance Keys: Misaligned stabilizers or warped keycaps can make keys tilt. Align components or replace damaged parts.
- Sticky Keys: Often due to over-lubrication or debris. Clean with isopropyl alcohol and adjust lubrication.
- Loose Wires: Check for bent wires or improper installation. Straighten wires or replace stabilizers if needed.
Tools You’ll Need:
- Lubricants like Krytox 205g0 or dielectric grease
- Precision screwdrivers, keycap pullers, and wire cutters
- Cleaning supplies like isopropyl alcohol and microfiber cloths
Quick Fixes:
- Lubrication: Apply a small amount to reduce friction and noise.
- Clip Mod: Trim stabilizer inserts to minimize wobble.
- Band-Aid Mod: Use fabric strips to dampen impact noise.
- Wire Adjustment: Straighten bent wires for smoother movement.
Proper maintenance, like monthly cleaning and annual lubrication, can prevent most issues. For upgrades, consider screw-in stabilizers for better stability. Investing in high-quality parts and regular care ensures a smoother, quieter typing experience.
How To Tune Stabilizers: A Comprehensive Guide!
Main Stabilizer Problems
Keyboard stabilizer problems can affect how smoothly and quietly your keys function. Below, we’ll break down common issues, their causes, and how they impact performance.
Rattle and Noise
Rattling stabilizers cause annoying clicking or shaking sounds when typing. This is often due to a lack of lubrication or poorly fitting components. Larger keys, like the spacebar, are especially prone to this because their wires move more during use.
Off-Balance Keys
If larger keys feel uneven or tilt during use, it’s likely due to stabilizer alignment problems. Common causes include:
- Stabilizer housings not placed parallel
- Misaligned components with the PCB or plate
- Warped keycaps
- Over-tightened case screws pressing on stabilizer housings
Slow Key Return
Keys that stick or return sluggishly when pressed are usually caused by:
- Residue left from manufacturing on stabilizer housings
- Too much pressure from case dampening materials
- Warped keycaps interfering with smooth movement
Loose Stabilizer Wires
The table below highlights problems caused by loose stabilizer wires, their origins, and their effects:
| Issue | Cause | Impact |
|---|---|---|
| Wire-plate contact | Stabilizer wire touching the plate | Adds friction and noise |
| Housing misalignment | Stabilizer housings improperly mounted | Leads to uneven key movement |
| Wire deformation | Bent or warped stabilizer wire | Uneven force distribution |
In some cases, PCB measurements may need fine-tuning to ensure stabilizer wires are correctly positioned. These issues lead directly into repair steps, which we’ll cover in the next section.
Required Tools and Materials
To fix keyboard stabilizer issues effectively, you'll need the right tools and supplies. Using the proper equipment ensures better results. Let's start with the lubricants necessary for smooth stabilizer operation.
Types of Lubricant
Picking the right lubricant makes a big difference in stabilizer performance. Here are some popular options:
| Lubricant Type | Best Use Case | Application Tips |
|---|---|---|
| Krytox 205g0 | General stabilizer lubrication | Use a small amount, about the size of a grain of rice, per point |
| Dielectric Grease | Wire-housing contact points | Apply lightly to the wire ends |
| Extreme Fluoro | High-end stabilizer treatment | Best for premium keyboard builds |
Store lubricants at room temperature and apply them sparingly using precision tools. For example, KFA Krytox 205g0 ($7.95) offers great consistency for stabilizer mods.
Basic Repair Tools
You'll need these tools for repairs:
- Precision screwdrivers
- Wire cutters
- Keycap and switch pullers
- Stem holders
Cleaning Equipment
For cleaning, gather these materials:
- Isopropyl alcohol
- Microfiber cloths
- Cotton swabs
- Foam pads
- Fabric bandaids
Keep these supplies stored in a clean, dry spot to avoid contamination. Regular cleaning with these items helps maintain stabilizer performance and extends their durability.
sbb-itb-3cb9615
Repair Instructions
Follow these steps to fix stabilizer issues effectively. Choose the method that addresses your specific problem and carefully follow the instructions.
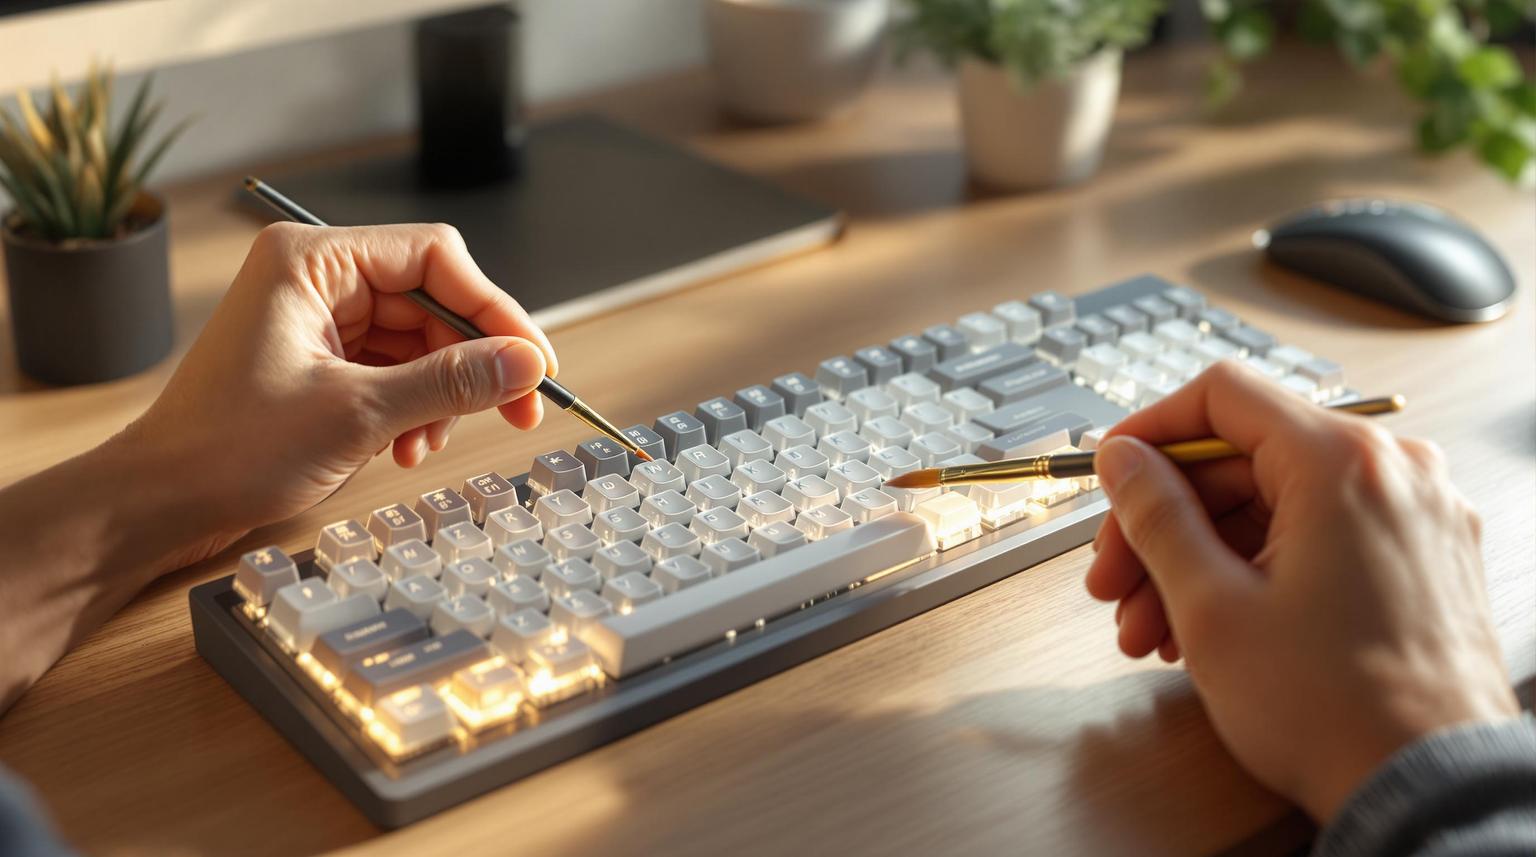
Lubrication Steps
To reduce rattling and improve smoothness:
- Disassemble the stabilizer, separating the housing and wire.
- Use a size 000 brush to apply Krytox 205g0 (starting at $7.95) to the stabilizer housing.
- Coat the wire ends where they contact the housing.
- Reassemble the stabilizer, ensuring everything is properly aligned.
Clip Mod Guide
To minimize stabilizer wobble:
- Remove the metal bar and slide out the stabilizer insert.
- Identify the two rectangular sections on each side of the insert.
- Use flush cutters to carefully trim these sections.
- Ensure the bottom surface remains flat.
- Reinstall the modified insert and wire.
Band-Aid Mod Steps
To reduce impact noise:
- Cut fabric bandage strips 3/16-inch wide to fit the stabilizer slots.
- Place the strips under the stabilizer housings where they contact the PCB, and apply dielectric grease.
- Reinstall the lubricated stabilizers and test the key operation.
Wire Adjustment Guide
To fix misaligned wires:
- Remove the wire from the housing.
- Lay it flat on a surface and inspect for any bends.
- Use flat-nose pliers to straighten the wire.
- Test the wire fit to ensure even movement on both sides.
Holee Mod Tutorial
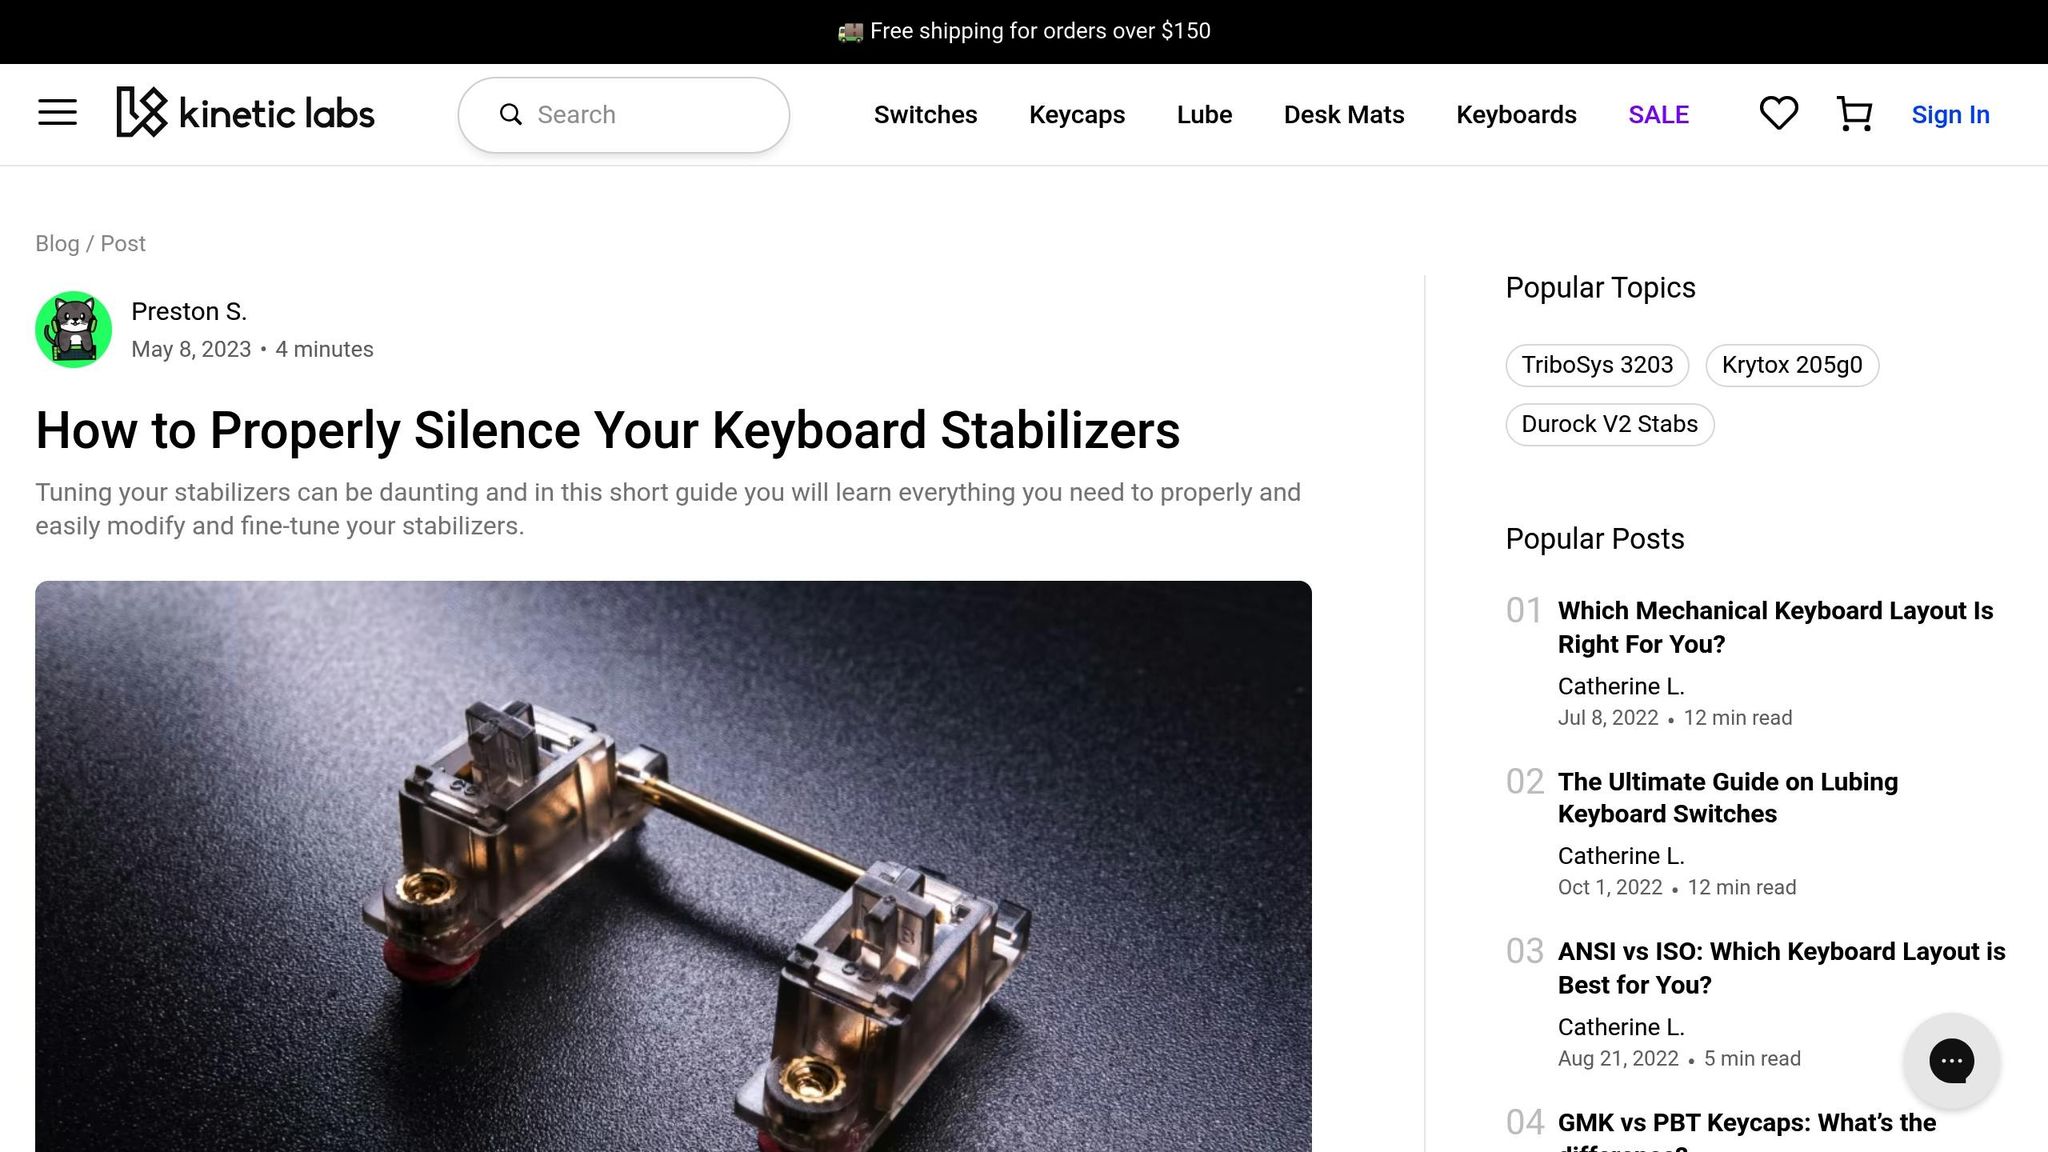
To address rattling with tape placement:
- Fully disassemble the stabilizer.
- Cut thin strips of fabric tape.
- Apply the tape to the stabilizer stem where it contacts the wire.
- Test the fit to confirm smooth movement.
- Reassemble the stabilizer and apply lubrication if needed.
For best results, you can combine these methods depending on the specific issues you're facing. Use lubricants sparingly and test each key after making adjustments.
Maintenance Guide
Keeping your stabilizers in good condition helps extend their lifespan and ensures your keyboard performs at its best. Regular maintenance can prevent common issues and keep everything running smoothly.
Cleaning Schedule
Follow this cleaning routine to keep your stabilizers in top shape:
- Monthly: Remove keycaps and use compressed air to clean stabilizer housings.
- Regularly: Check stabilizer alignment and make adjustments as needed (refer to repair instructions for guidance).
- Annually: Perform a deep clean, which includes full disassembly and applying fresh lubrication.
These steps work well alongside any repair methods you’ve already implemented.
Safe Keycap Removal
To avoid damaging your keyboard, always use a keycap puller designed for mechanical keyboards. When removing stabilized keys like the spacebar, shift, or enter:
- Attach the puller to both sides of the keycap.
- Gently but firmly pull straight upward to detach it.
- Work in a well-lit area to keep track of small parts.
Stabilizer Selection
High-quality keyboards often use plate-mount stabilizers designed for durability and smooth performance. When choosing stabilizers, consider the following:
| Feature | Why It Matters |
|---|---|
| Screw-in mounting | Offers better stability and reduces movement. |
| POM material | Provides long-lasting wear resistance and smoother operation. |
| Factory pre-clipped design | Saves time on modifications and improves sound quality. |
Before purchasing, double-check that the stabilizers are compatible with your PCB and plate design.
Summary
This section highlights common keyboard stabilizer issues, practical fixes, and recommended parts to improve performance.
Problem-Solution Overview
Here’s a quick guide to typical stabilizer problems and how to address them:
| Issue | Cause | Recommended Fix |
|---|---|---|
| Stabilizer Rattle | Excessive play between wire and housing | Apply dielectric grease or use the Holee mod |
| Off-Balance Keys | Broken stabilizer mounts | Replace the stabilizer unit or try a temporary adhesive fix |
| Sticky Movement | Over-lubrication or debris | Clean with isopropyl alcohol and remove excess lubricant |
| Loose Wires | Improper installation or wear | Check wire insertion or consider replacing the stabilizer |
Better Typing Results
Upgrading and maintaining your stabilizers can lead to:
- Smoother, more consistent keypresses
- Quieter operation, especially on larger keys
- Faster and more responsive feedback
- Greater comfort during extended typing sessions
These improvements are especially noticeable on keys like the spacebar, shift, and enter, where stabilizer quality plays a major role in typing feel.
Where to Buy Parts
KeebsForAll offers a variety of stabilizer components and tools to suit your needs:
- Screw-In Stabilizers: Priced from $15.99, providing reliable stability
- High-End Options: AEBoards Staebies V2.1 at $28.00 for top-tier performance
- Essential Tools: Switch openers ($19.00) and Krytox 205g0 lubricant ($7.95)
Choose stabilizers that align with your keyboard's design for the best results. These upgrades can transform your typing experience, making it smoother and more enjoyable.


![[Pre-Order] Autumn Leaves PBT Keycaps - KeebsForAll](http://keebsforall.com/cdn/shop/products/DSC09732.jpg?v=1676148273)

Leave a comment
This site is protected by hCaptcha and the hCaptcha Privacy Policy and Terms of Service apply.