Optimized keyboard layouts like Dvorak, Colemak, and Workman can improve typing speed, comfort, and efficiency by reducing finger movement. While QWERTY was designed for typewriters, these layouts focus on ergonomics and productivity, making them ideal for heavy typists, programmers, and writers.
Key Takeaways:
- Dvorak prioritizes speed, placing vowels and common consonants on the home row.
- Colemak offers an easier transition from QWERTY, changing only 17 keys.
- Workman minimizes lateral finger movement, great for programmers.
Switching requires practice and patience, but tools like typing tutors, custom keyboards, and keymaps can ease the transition. For those typing extensively, the long-term benefits outweigh the initial challenges.
What's The BEST Keyboard Layout? 8 Alternatives To QWERTY
How to Choose the Right Optimized Layout
Selecting the right optimized keyboard layout can make a big difference in your typing experience. The key is to find one that suits your specific needs, typing habits, and daily tasks. This section breaks down the strengths of popular layouts and offers guidance on choosing the one that fits you best.
Popular Optimized Layouts Compared
Each keyboard layout has unique features designed to address different user preferences and ergonomic challenges.
Dvorak is all about speed and efficiency. It rearranges the keys to place vowels on the left side of the home row and the most common consonants on the right, creating a natural hand alternation. While this design can lead to faster typing speeds, it requires a complete departure from QWERTY, meaning you'll need to relearn almost every key. The learning curve is steep, but for heavy typists, it can be worth the effort.
Colemak provides a smoother transition for those moving from QWERTY. It keeps familiar keys like A, S, and the semicolon in their usual spots, so you only need to relearn about 17 keys. This makes it a more approachable option for those seeking efficiency without starting from scratch.
Workman is tailored for programmers and reduces side-to-side finger movement. Its design minimizes lateral motion, which can be especially helpful for coding tasks where comfort and precision are key.
| Layout | Learning Curve | Best For | Key Advantage | Potential Drawback |
|---|---|---|---|---|
| Dvorak | Steep | Speed-focused typists | Faster typing speeds | Requires relearning every key |
| Colemak | Moderate | Balanced efficiency | Comfortable and easier to transition | Limited support on some systems |
| Workman | Moderate to steep | Programmers | Reduces lateral finger movement | Longer learning time than Colemak |
Key Factors When Choosing a Layout
When deciding on a layout, it’s important to think beyond just typing speed. Ergonomics, workload, and compatibility with your devices all play a role.
For programmers, easy access to special characters and reduced hand strain are crucial. Typing thousands of characters daily can lead to discomfort, so a layout optimized for minimal movement can help maintain productivity and reduce stress. Writers, on the other hand, often prioritize smooth letter flow and comfort for extended sessions at the keyboard.
Minimizing finger movement is a key consideration for anyone looking to avoid long-term strain. Many professionals experience discomfort from repetitive typing, so choosing a layout that places frequently used keys within easy reach can make a big difference.
Your typing habits and daily workload should guide your decision. If you’re a casual typist, the time and effort needed to switch layouts might outweigh the benefits. However, for those who type extensively, the investment in learning a new layout can pay off in the long run.
Compatibility is another factor to think about. While most modern operating systems support alternative layouts, you might occasionally need to use the standard QWERTY layout - such as on shared or public computers. Consider how often you’ll need this flexibility before committing to a change.
The best way to find the right layout is to try them out. Most operating systems make it easy to switch between layouts without any hardware changes. Experiment with different options to see what feels most natural and effective for your needs.
Customizing Your Keyboard for Better Efficiency
After selecting an optimized layout, the next step is to fine-tune your keyboard to make typing as smooth and efficient as possible. Modern mechanical keyboards are incredibly versatile, offering options for both software and hardware customization. By combining custom keymaps, high-quality components, and essential tools, you can transform your typing experience.
Layered Keymaps and Custom Keybindings
Custom keymaps and layers are game-changers when it comes to keyboard functionality. Layers let you assign multiple functions to the same keys, making it easier to access media controls, shortcuts, or specialized features without stretching for distant keys or memorizing complex combinations.
For instance, you could create a secondary layer for media controls, mapping volume adjustments, play/pause, and track navigation to keys within easy reach. Similarly, a programming-focused layer could include shortcuts for brackets, parentheses, and other frequently used symbols, saving you from awkward finger movements and speeding up your workflow. Macros add another layer of convenience by automating repetitive tasks, such as inserting your email address, adding code snippets, or typing common phrases. Keep your most-used functions on easily accessible layers, while reserving deeper layers for less frequent tasks.
These enhancements not only improve your workflow but also set the stage for seamless integration between hardware and software.
Hardware and Software Compatibility
To get the most out of your keyboard, it's crucial to pair compatible hardware with powerful firmware like QMK and VIA. Start by selecting a keyboard that supports advanced firmware, offering the flexibility needed for deeper customization. QMK allows you to control key behaviors in detail, enabling complex layer systems and custom functions, while VIA provides a user-friendly interface for real-time key remapping and macro creation - no need to reflash firmware. As ATTACKSHARK explains:
"With QMK, every single key on your keyboard can perform exactly the way you want. From crafting multifunctional keys to creating layers of different keymaps, QMK puts you in the driver's seat".
Many keyboard enthusiasts use QMK for creating their foundational layouts and rely on VIA for ongoing tweaks and updates.
Hot-swappable keyboards add another layer of flexibility by letting you replace switches without soldering. KeebsForAll's Freebird series is an excellent example, featuring hot-swappable sockets and multi-layout compatibility. These keyboards come pre-flashed with QMK firmware for immediate use, and detailed guides are available for remapping or flashing the PCB using tools like QMK Toolbox and entering DFU mode.
Here are some essential tools to simplify hardware customization:
- KeebsForAll Switch Opener ($19.00) – Perfect for modifying switches, whether for lubing or replacing springs.
- CY Stainless Steel Keycap & Switch Puller ($4.00) – Safely removes keycaps and switches without causing damage.
- Stem Holder for Switches ($4.90) – Keeps small parts organized during modifications.
Stabilizers are key to improving the feel of larger keys like the spacebar and enter key. High-quality options such as AEBoards Staebies V2.1 (starting at $18.00) and Owlab Owlstab V2 Screw-In Stabilizers (starting at $20.00) can eliminate rattling and ensure a consistent typing feel. Tuning stabilizers can sometimes make an even bigger impact than upgrading switches.
Switch lubrication is another way to elevate your typing experience. It reduces friction and eliminates scratchiness, making every keystroke smoother. Krytox GPL 105 Oil Switch Lubricant ($10.00) is excellent for springs, while thicker lubricants work better for housing and stems. Tools like lube brushes ($4.00) ensure even application, and the Geon DailyLube Plate ($22.00) streamlines the process.
By combining advanced firmware, high-quality hardware, and the right tools, you can build a keyboard setup that evolves with your needs. Instead of replacing your keyboard as your preferences change, you can simply update and adapt it. As one enthusiast puts it:
"Custom keyboards are not just flashy keys and a frame that holds them in place; they are a medium of self-expression and a tool tailored to fit every keystroke you make".
sbb-itb-3cb9615
Training and Transitioning to a New Layout
Switching to a more efficient keyboard layout takes time, patience, and consistent effort. While the process can be frustrating at first - especially as your typing speed takes a temporary hit - approaching it strategically can make all the difference. The goal is to build new muscle memory while minimizing productivity loss, and the right training methods can help you get there.
Training Strategies That Work
When transitioning, you’ll need to decide between two main approaches: gradual transition or full immersion. Each has its merits, depending on your situation and tolerance for short-term discomfort.
A gradual transition is ideal if maintaining productivity is crucial. One popular method is the Tarmak system, which introduces new keys in stages. For instance, in 2008, writer Ezuk successfully transitioned to a new layout over several months using a three-step version of Tarmak. As Ghaz explains about this method:
"The transitional layouts worked really well for me because of the following: High bang for buck in the initial stages, Low risk - still a worthwhile endeavor if I get stuck at a stage for a year, Allowed me to concentrate only on a few keys at a time, and mostly master them before moving on, Low productivity loss".
On the flip side, full immersion - where you switch entirely to the new layout - can lead to faster adaptation. Though the initial adjustment may be uncomfortable, some users report regaining their usual typing speed (around 120 WPM) within a week. However, for others, it may take up to six months to feel confident enough to use the new layout in professional settings.
Whichever method you choose, daily practice is essential. Spend 15–20 minutes focusing on accuracy rather than speed, and take breaks when you feel fatigued. This will help you build strong, reliable muscle memory.
Typing tutor software is another great resource. Tools like keybr.com guide you through structured exercises, focusing on one letter at a time. As richardgoulter notes:
"For practising a new layout, keybr.com is an excellent website. It uses gibberish, but drills one letter at a time".
Another option is Amphetype, which allows users to track their progress. For example, Coldmak documented a smooth nine-day transition to the Colemak layout while maintaining a typing speed above 20 WPM.
Printable cheat sheets can also be a lifesaver. Instead of looking at your keyboard, keep a printed guide of your new layout near your monitor. This discourages reliance on visual cues and helps you develop muscle memory faster.
If possible, consider taking a short break from work or studies during this transition. As yurikhan suggests:
"Taking a vacation helps. This way, you will be able to afford switching to the new layout full time without being stressed about productivity".
While setbacks are inevitable, a structured approach and consistent effort will help you adapt more smoothly.
Common Transition Challenges and Solutions
One of the biggest hurdles is the initial drop in typing speed. It’s common to see speeds fall below 20 WPM at first, with gradual recovery over the following weeks.
Another challenge is finger confusion, where your old muscle memory conflicts with the new layout. To combat this, avoid switching back to QWERTY frequently - it only strengthens your old habits.
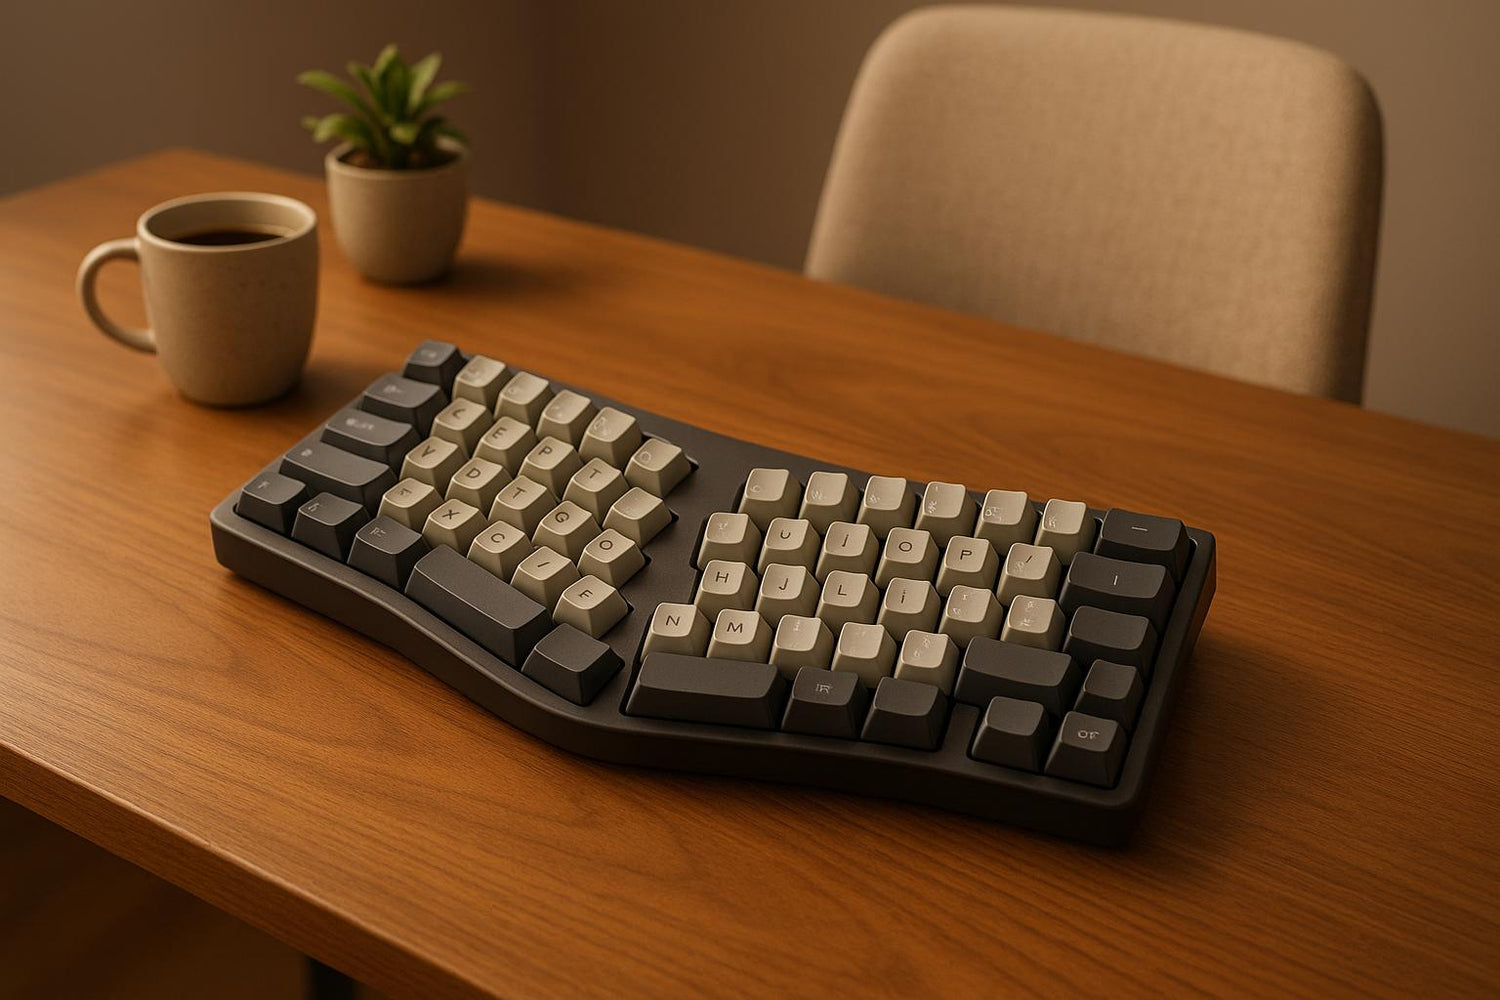
Maintaining proficiency in both layouts can also be tricky. Some users address this by using different keyboards for each layout, such as a standard keyboard for QWERTY and a split keyboard for Colemak. This helps keep the muscle memory for each layout distinct.
Frustration is a natural part of the process, but perseverance is key. Deliberate practice and consistency will eventually lead to success.
How to Track Your Progress
Tracking your typing speed and accuracy can provide tangible proof of improvement. Most typing tutor programs include built-in tracking tools, but you can also maintain a personal log to monitor your progress.
Record your daily WPM and accuracy, focusing on precision first. Speed will naturally improve as your accuracy and muscle memory develop. Note any specific challenges, such as troublesome letters or words, and use this information to create targeted practice sessions.
Set realistic milestones. Research shows that many people return to their original typing speed within about four weeks of focused practice. However, timelines vary - some reach a usable speed in two weeks, while others take 3–6 months to feel fully comfortable.
Weekly assessments can help you see the bigger picture. Testing yourself with the same passage each week can smooth out daily fluctuations and give you a clearer sense of your overall progress. While the road to mastering a new layout may be challenging, the long-term benefits - like reduced strain and improved efficiency - make it a worthwhile investment.
Tools and Accessories for Optimized Layouts
Once you've designed your custom layout, having the right tools and accessories is essential to complete your setup. These items not only improve performance but also ensure your keyboard's durability over time. Whether you're diving into your first custom build or refining an existing one, quality tools can save you time and protect your hardware.
Best Mechanical Keyboards and Components
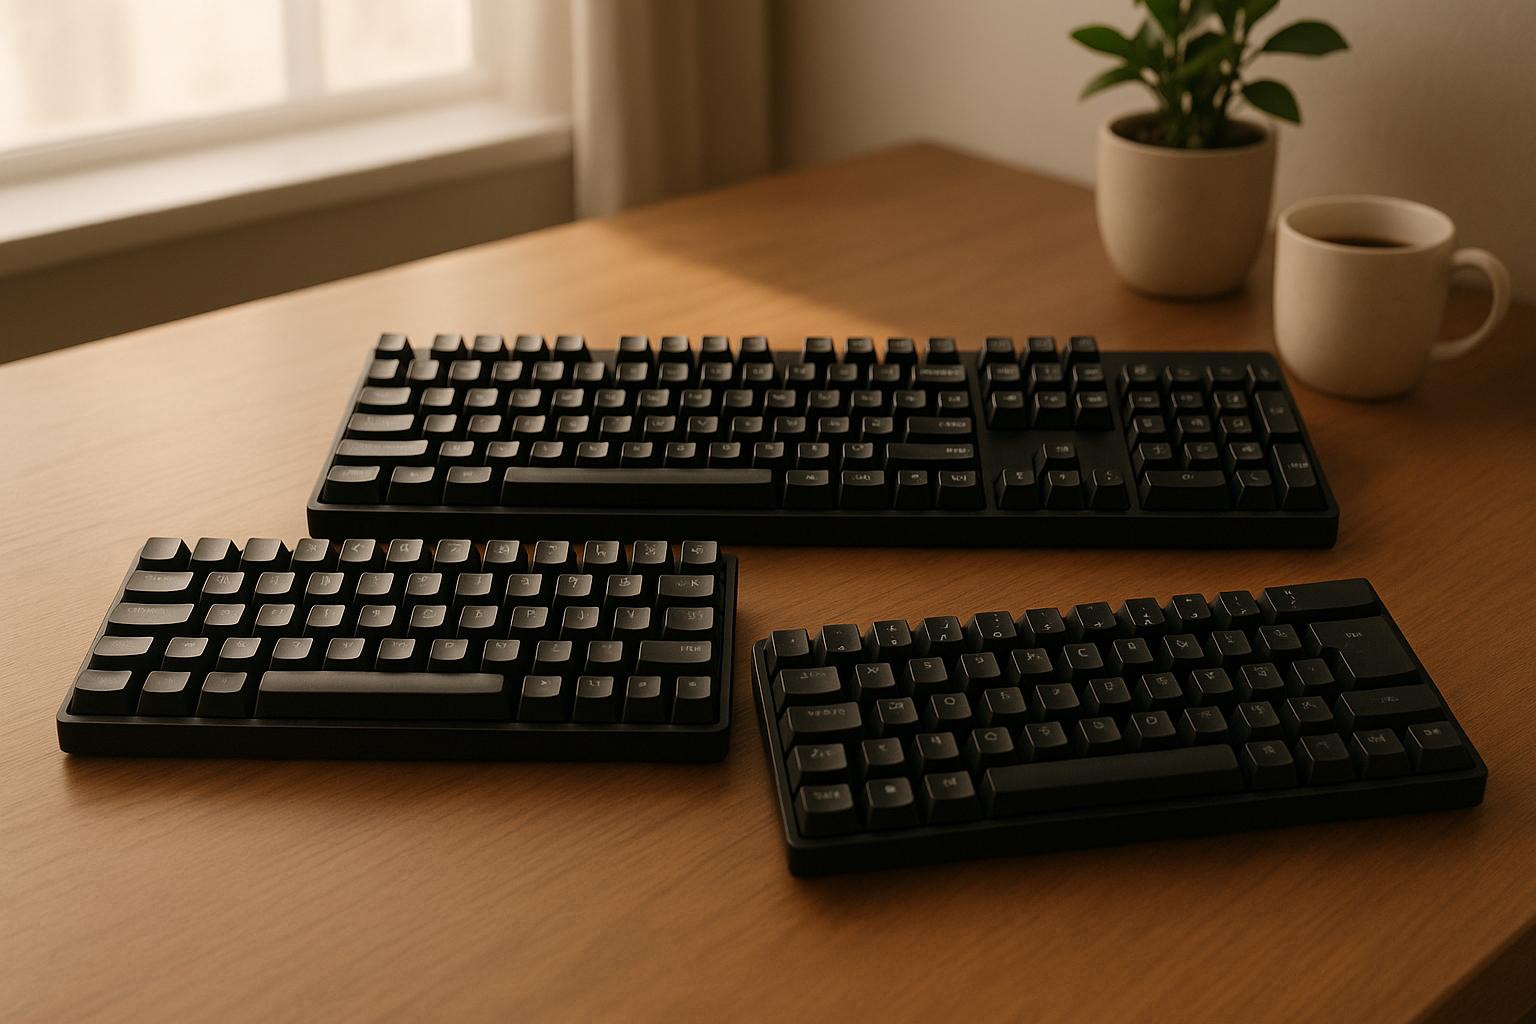
Your optimized layout begins with a dependable mechanical keyboard that allows for customization. KeebsForAll's Freebird series stands out as a great option, offering hot-swappable sockets for easy switch testing and flexibility.
- Freebird60 Full Kit ($160.00): A compact 60% layout ideal for minimalist setups.
- Freebird75 Full Kit ($199.00): Adds extra function keys for users needing more versatility.
- Freebird TKL Full Kit ($249.99): A tenkeyless option with CNC aluminum construction and USB-C connectivity, perfect for those who want a full-size feel minus the numpad.
These keyboards support multiple configurations, including QWERTY, Colemak, and Dvorak layouts, making it easy to test different key arrangements or create custom keymaps using firmware like QMK. The hot-swappable design also allows you to experiment with various switch types without permanent changes.
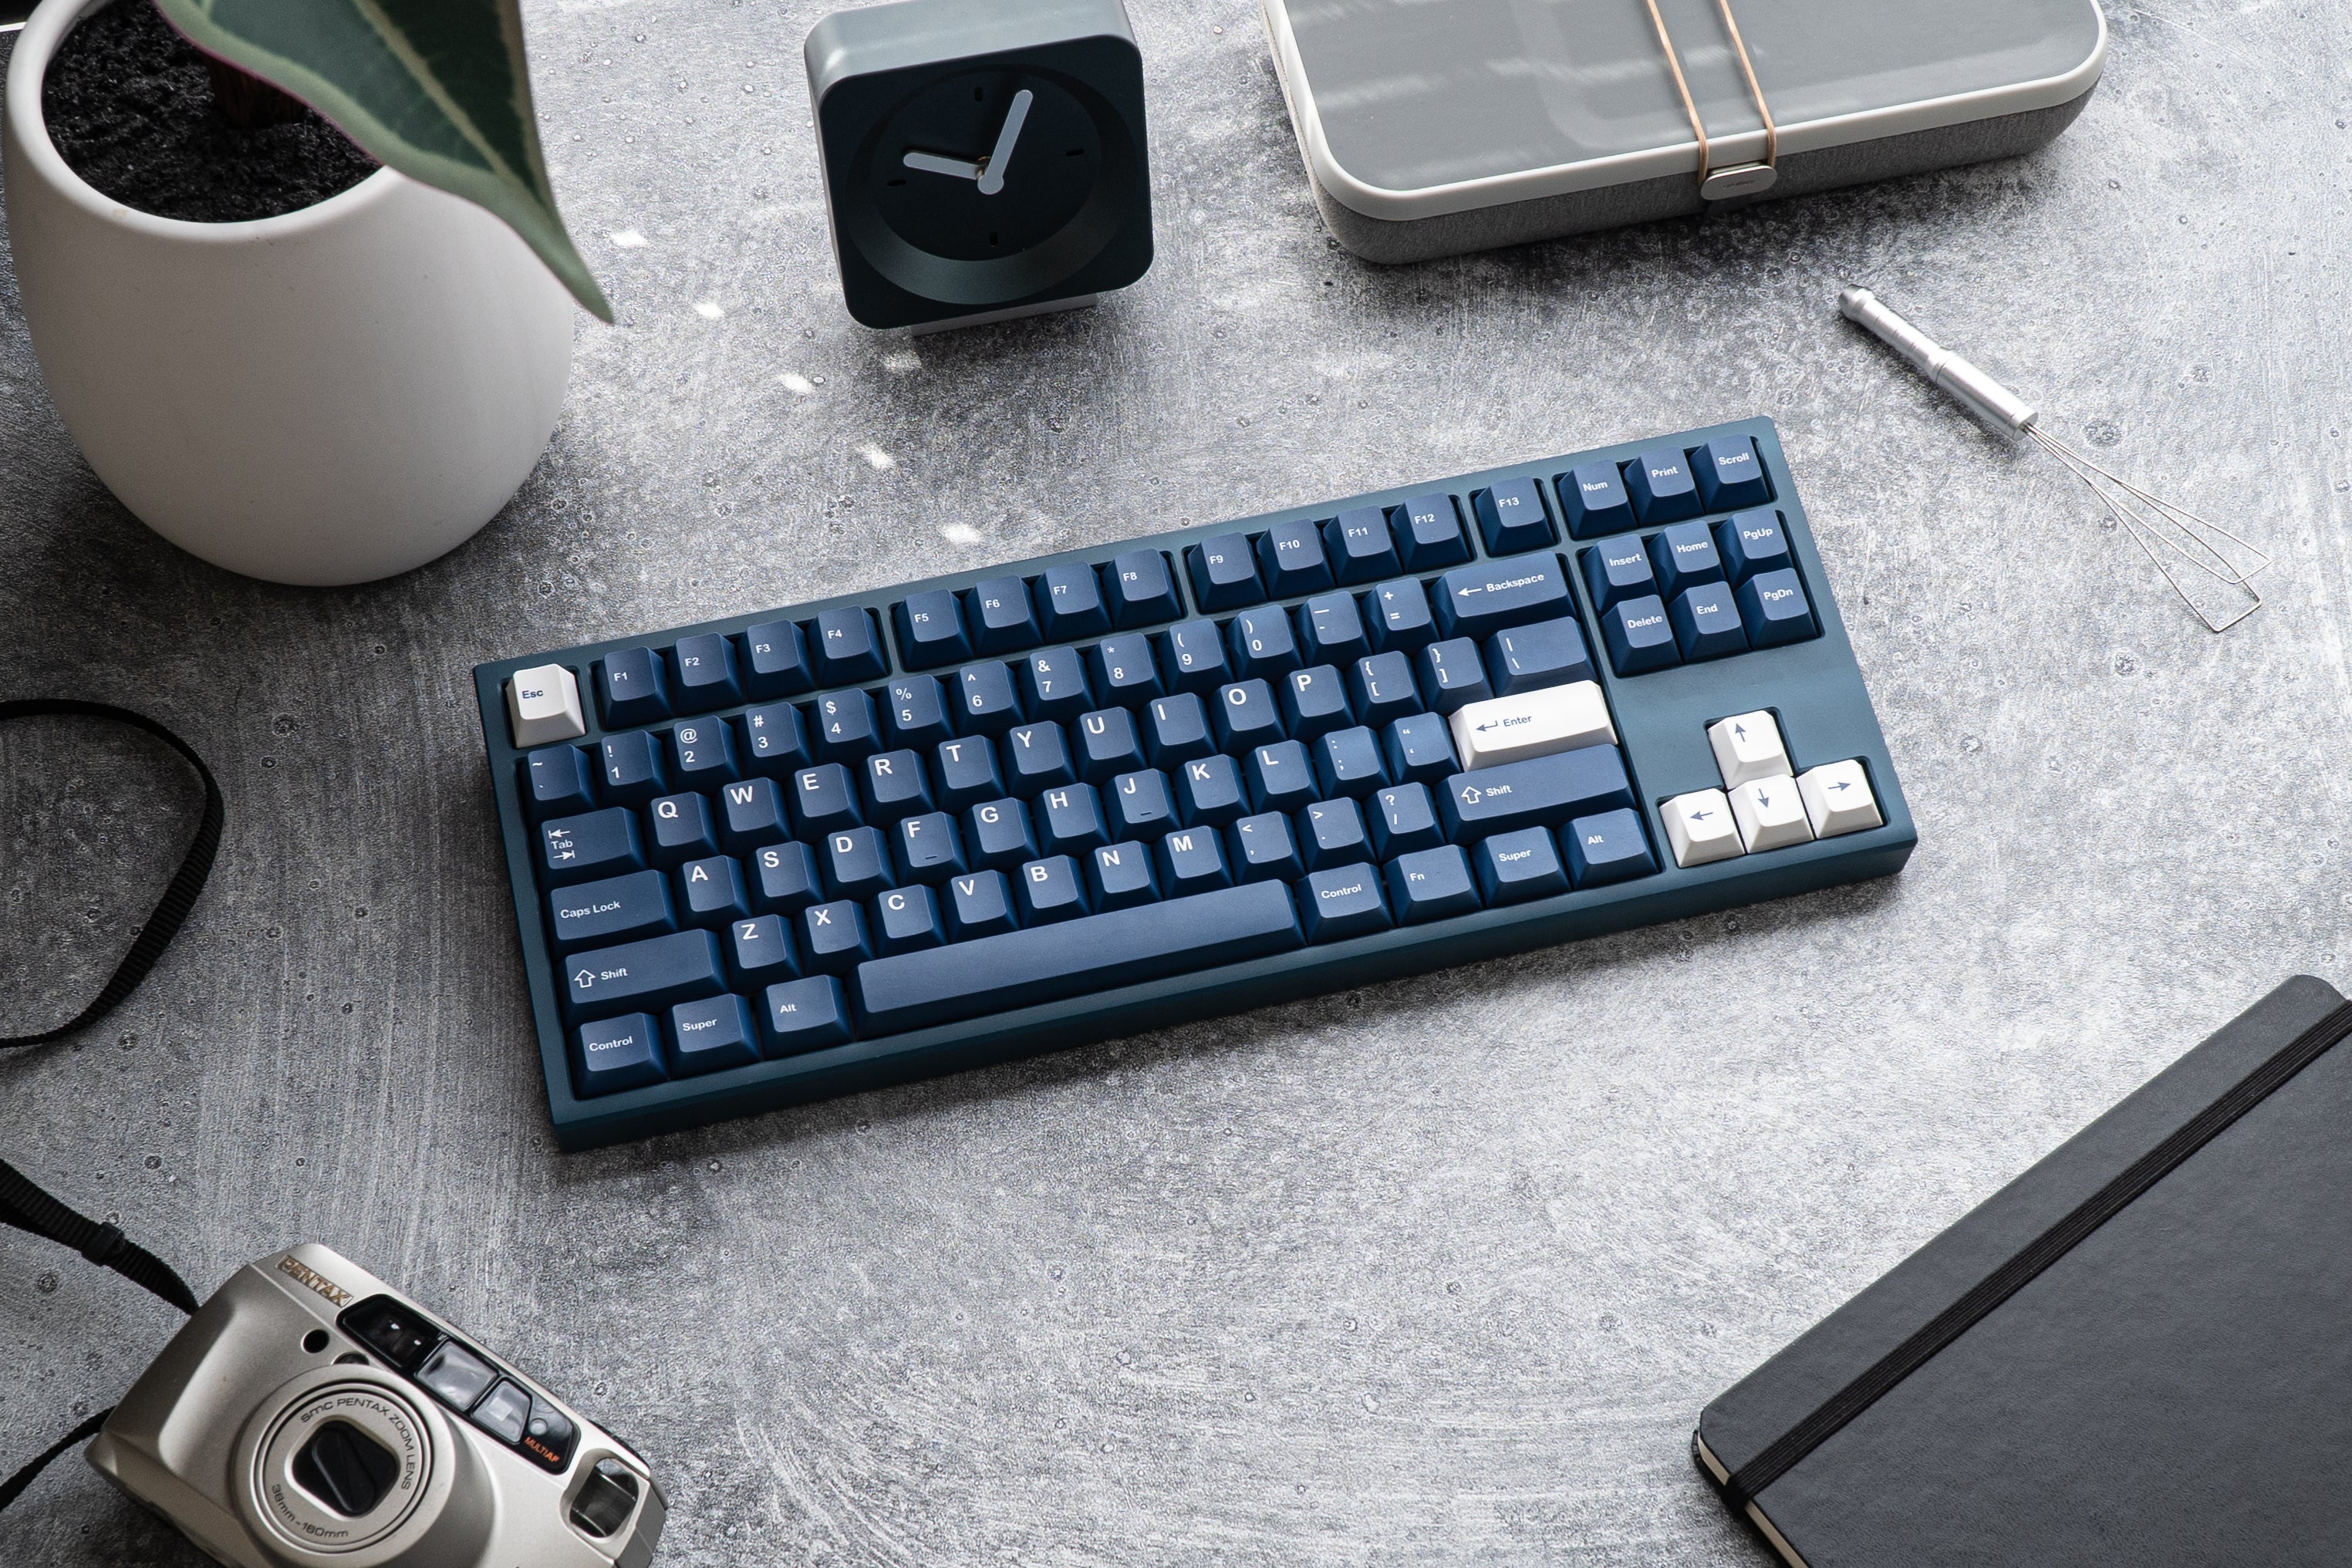
Choosing the right switches is crucial for a comfortable and efficient typing experience. KeebsForAll's KFA N2O (Laughing Gas) Switches ($24.50) provide a smooth linear feel, perfect for fast typists. For keycaps, the kfaPBT Cardinal Keycaps ($78.00) offer durable PBT construction, resisting wear and shine over time. Alternatively, the KFA Cherry Profile Blank PBT Keysets ($36.00) promote muscle memory by eliminating visual distractions, making it easier to adapt to a new layout.
Customization Tools You Need
To truly personalize your keyboard, you'll need the right tools. A precision screwdriver kit and reliable pullers are must-haves for safely adjusting screws and removing components.
- Switch and Keycap Pullers: Wire keycap pullers are better than plastic ones, as they handle keycaps more gently. Always pull switches straight up to avoid bending pins, and support hot-swap sockets during installation to prevent damage.
- Lubrication Supplies: Lubricating switches can significantly reduce friction and noise. Krytox 205g0 ($7.95 at KeebsForAll) is a top choice for switch lubrication. Pair it with small brushes for precise application and stem holders to keep components organized. When lubricating stabilizers, apply a very thin layer to avoid sticky keys.
- Switch Opener ($19.00): Essential for modifying switches safely, especially when paired with tweezers for handling small parts and springs.
For sound customization, dampening foam plays a key role in reducing case resonance and typing noise. Use existing foam as a guide to cut new pieces, ensuring a perfect fit. Layering materials like neoprene or PE foam allows you to fine-tune the keyboard's sound profile.
Finally, custom USB cables add a finishing touch. Beyond aesthetics, they ensure reliable connectivity, reducing the risk of disconnections during critical adjustments.
Before starting any modifications, take a photo of your keyboard layout. This quick step can be a lifesaver when reassembling your keyboard, saving you the headache of figuring out where each keycap belongs.
With the right tools and accessories, you not only enhance your keyboard's performance but also extend its lifespan. Proper equipment ensures that your modifications are precise and your setup functions at its best.
Key Takeaways
Here’s a quick recap of what we’ve covered about optimizing your keyboard layout:
Switching to a more efficient keyboard layout can boost your typing speed and reduce strain, but it’s all about picking the right setup and sticking with proper training. Options like Colemak and Dvorak are solid alternatives to QWERTY, while custom layouts let you fine-tune key placement to fit your typing habits perfectly.
Making the switch successfully takes patience and the right tools. Hot-swappable keyboards - like those from KeebsForAll - make it easy to test different switches and layouts. High-quality switches can minimize finger fatigue during long typing sessions, and pairing them with supportive keycaps helps you adapt faster to your new setup.
Don’t overlook the importance of lubrication and stabilizers. Applying Krytox 205g0 lubricant (starting at $7.95) to your switches creates a smoother experience, while good stabilizers ensure every key press feels consistent. These tweaks are especially helpful when you’re retraining your muscle memory, as uneven key responses can slow you down.
Commit to practicing for 15–30 minutes daily. Your speed might dip at first, but with steady effort, you’ll likely surpass your QWERTY performance over time. Most users notice significant progress within two to three months.
KeebsForAll sweetens the deal with free shipping on orders over $70 and an active Discord community for support.
FAQs
What are the main differences between Dvorak, Colemak, and Workman layouts, and how do I choose the right one?
Alternative keyboard layouts like Dvorak, Colemak, and Workman aim to make typing more efficient and comfortable compared to the traditional QWERTY setup. Each has its own approach to improving the typing experience.
- Dvorak is all about ergonomics. By placing vowels and the most common letters on the home row, it drastically cuts down on finger movement, making it a great choice for those prioritizing efficiency.
- Colemak offers a smoother transition from QWERTY. It retains much of the familiar structure while reducing finger travel and enhancing typing flow, making it easier to adapt.
- Workman is designed to reduce finger strain. Its key placement minimizes awkward stretches and diagonal movements, which can make typing feel more natural.
Choosing the right layout depends on your personal typing style and goals. If efficiency is your top priority, Dvorak might be worth a try. For those who want an easier switch from QWERTY, Colemak strikes a nice balance. And if comfort and reduced strain are your main concerns, Workman could be the answer. Trying out these layouts can help you discover which one works best for you.
What’s the best way to switch to an optimized keyboard layout without losing productivity?
Transitioning to a new keyboard layout doesn’t have to feel overwhelming if you approach it gradually. Begin by dedicating small chunks of time each day to practice the new layout, while sticking to your old one for tasks that demand speed and precision. As your fingers start to adapt and your muscle memory improves, you can slowly extend the time spent using the new layout.
To ease the adjustment, you might want to customize keybindings to keep familiar shortcuts intact. This small tweak can make the switch feel less jarring and help you stay productive during the learning phase. The key here is patience - it could take anywhere from a few weeks to a couple of months to feel completely comfortable. But with consistent practice, you’ll be able to make the shift without disrupting your workflow too much.
What are the must-have tools and accessories for customizing my keyboard to boost comfort and efficiency?
To make your keyboard more comfortable and efficient, start with some essential tools. A keycap puller allows you to swap out keycaps easily, while a switch puller is handy if you're planning to replace the switches. If you're unsure which switches suit you best, a switch tester can help you explore different options for feel and sound before committing to a full set.
For improved comfort during long typing sessions, try adding an ergonomic wrist rest to reduce strain or a keyboard tray to achieve the ideal typing position. Custom keycaps can bring a personal touch to your setup and even improve functionality. If noise is a concern, sound dampeners like foam or O-rings can make the typing experience quieter and more enjoyable.
With these tools and accessories, you can personalize your keyboard to match your style and ensure it’s comfortable and suited to your needs.


![[Pre-Order] Autumn Leaves PBT Keycaps - KeebsForAll](http://keebsforall.com/cdn/shop/products/DSC09732.jpg?v=1676148273)


Leave a comment
This site is protected by hCaptcha and the hCaptcha Privacy Policy and Terms of Service apply.