
Keyboard RGB Not Working? Fix Lights That Won’t Turn On or Flicker
[ Back to Mechanical Keyboards 101 ]- Common Issues: LEDs not lighting up, wrong colors, or flickering.
- Possible Causes: Hardware issues (damaged LEDs, loose connections) or software problems (outdated firmware, buggy settings).
-
Quick Fixes:
- Hardware: Inspect for loose connections, test individual LEDs, and check voltage (should be ~5V).
- Software: Update firmware, reset RGB profiles, and check driver compatibility.
- Prevention Tips: Regular cleaning, avoid overheating, and use quality components.
Quick Comparison: Hardware vs. Software RGB Issues
- Test Type: LED Response
- Hardware Issue Signs: Dead spots, flickering, wrong colors
- Software Issue Signs: All LEDs malfunction simultaneously
- Test Type: Color Changes
- Hardware Issue Signs: Individual keys stuck
- Software Issue Signs: Entire keyboard pattern disrupted
- Test Type: Power Cycling
- Hardware Issue Signs: Problem persists after restart
- Software Issue Signs: Problem resolves after restart
Key takeaway: Start with simple checks like resetting software or inspecting connections before diving into complex repairs. Regular maintenance can keep your RGB lighting vibrant and reliable.
How To Fix Mechanical Keyboard LED Problem | Anne Pro 2
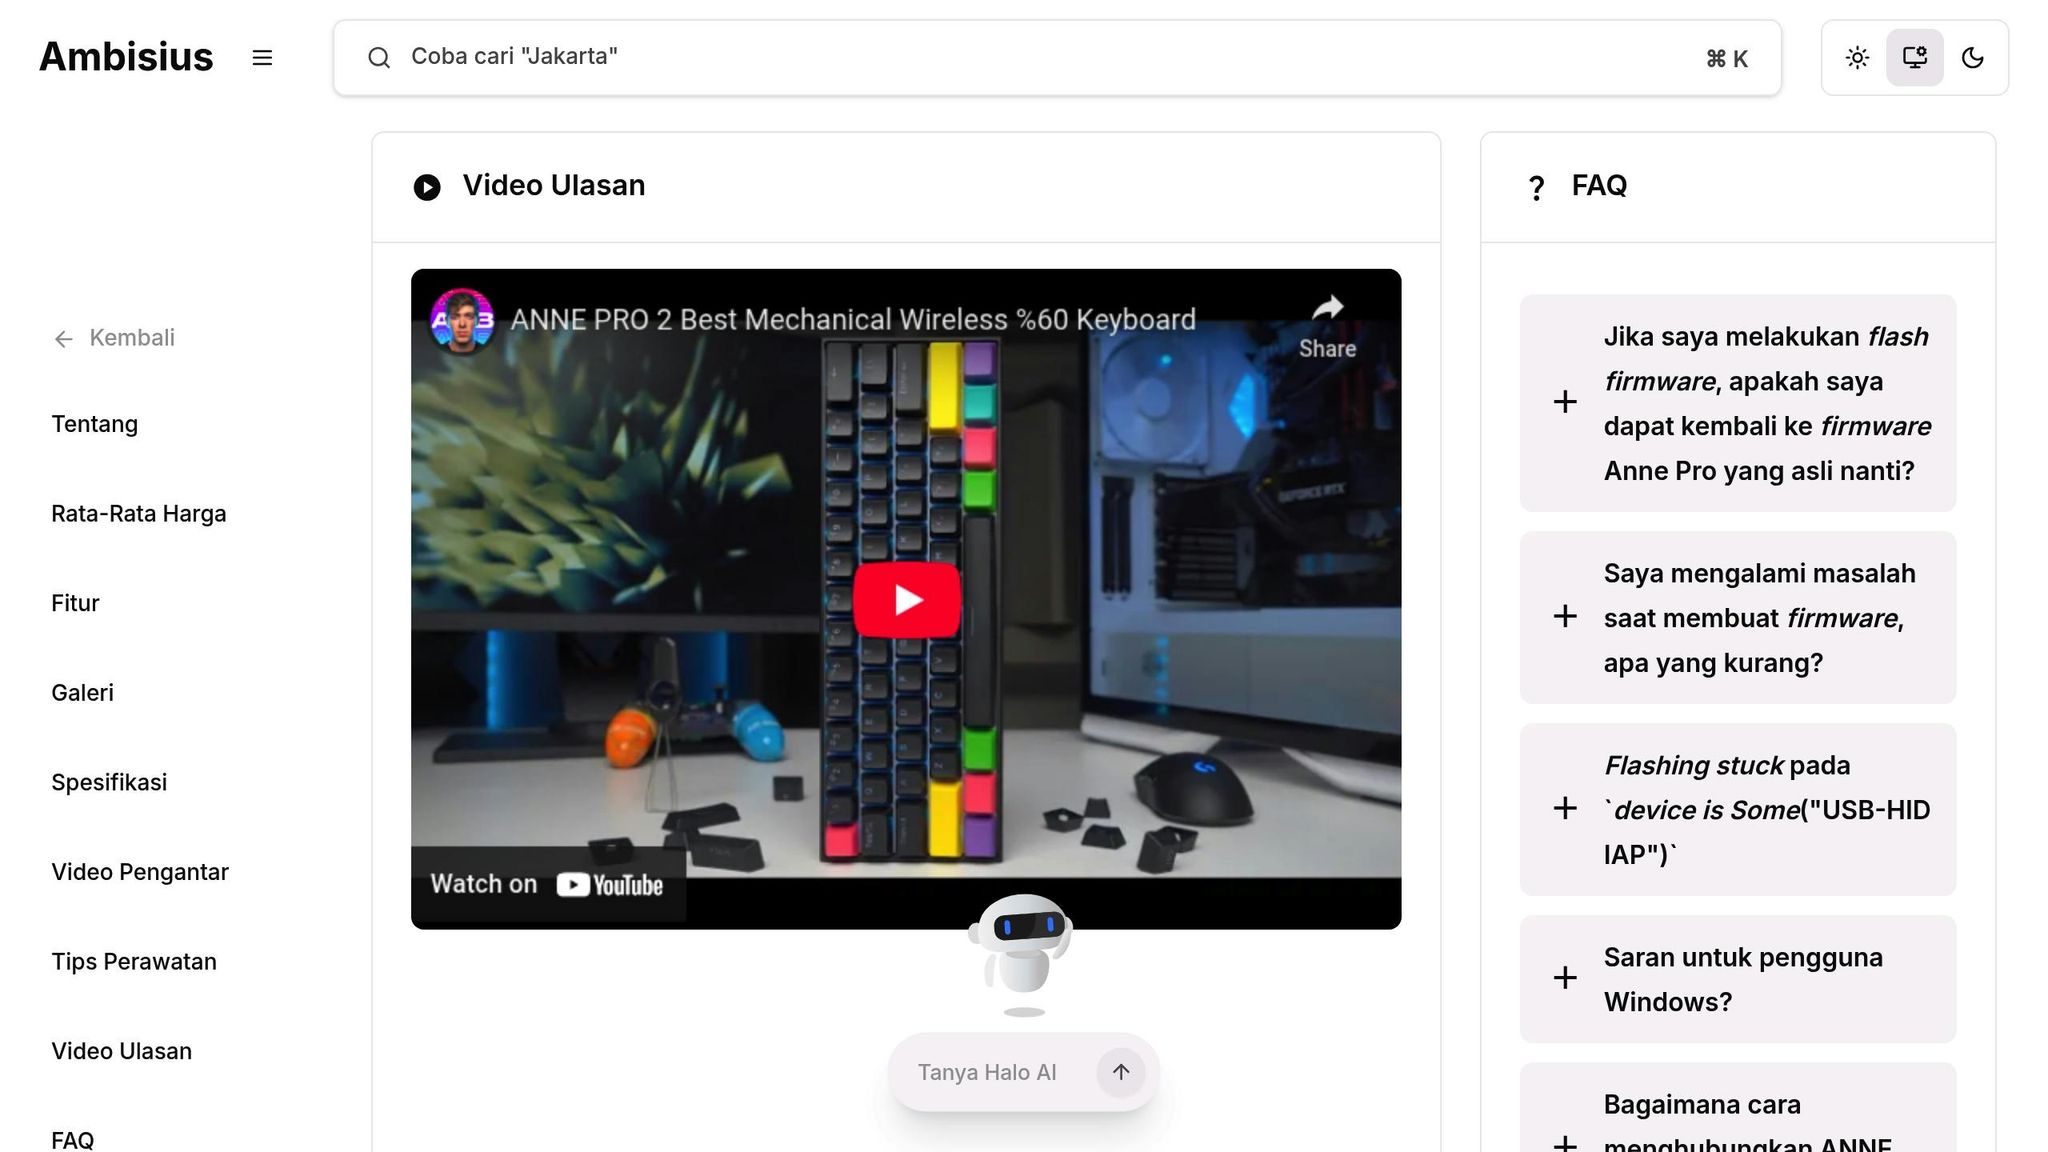
Finding the Source of RGB Problems
To figure out whether RGB issues stem from hardware or software, a step-by-step approach can save you both time and frustration.
Testing Hardware Components
Start by examining the physical elements of your setup:
- Visual Inspection: Look closely at the PCB for any visible damage, like loose connections or burnt areas, especially around the LED solder joints. These are common trouble spots.
- Individual LED Testing: Test each LED in single-color mode. If an LED doesn’t light up or displays incorrect colors, it’s likely a hardware issue.
-
Voltage Testing: Use a multimeter to check the voltage at the LED connection points:
- Set the multimeter to DC voltage mode.
- The reading should hover around 5V (±0.2V).
- If you see less than 4.8V, there might be a power delivery problem.
If you notice dim or flickering lights, it could be caused by degraded solder joints, often due to heat cycles over time. If the hardware checks out, it’s time to move on to the software.
Testing Software Settings
Now, let’s dive into the software side of things:
- Driver Status Check: Make sure the RGB driver is up to date. Double-check that the LED settings and saved color profiles are configured correctly.
- Profile Reset Test: Create a new, simple lighting profile - try using a solid color at full brightness. If this works but your custom profiles don’t, the problem likely lies in the software configuration.
- System Resource Monitoring: Keep an eye on system performance. If you notice high CPU usage during RGB color changes, it might indicate a conflict within the software.
Quick Comparison: Hardware vs. Software Issues
Here’s a handy comparison to help you identify the cause:
Sometimes, what seems like a major hardware failure might just be a simple USB power delivery issue. Always start with the easiest checks and work your way up to more complex troubleshooting steps.
Fixing Hardware Problems
When hardware issues disrupt RGB lighting, it's essential to address repairs with care to avoid causing further damage. Below are step-by-step instructions for replacing LEDs and repairing circuits.
LED Replacement Guide
Before diving into an LED replacement, make sure you have the following tools ready:
- A temperature-controlled soldering iron (set to around 315°F/160°C)
- Solder wick or a desoldering pump
- High-quality 60/40 rosin-core solder
- Anti-static mat
- Magnifying glass
- Fine-tipped tweezers
Here’s how to replace an LED:
- Preparation Start by working in a well-ventilated area. Unplug your keyboard and let it sit for at least 30 minutes. Place it on an anti-static mat to avoid any static electricity damage.
- Removal Process Heat the solder joints of the damaged LED using your soldering iron and carefully remove the old solder with a solder wick. With fine-tipped tweezers, gently extract the damaged LED, noting its orientation for proper replacement.
- Installation Align the new LED in the correct orientation. Apply fresh solder to secure it, ensuring solid connections without overheating the component. Test the new LED to confirm it works before reassembling the keyboard.
If replacing the LED doesn’t fix the problem, the issue might lie with the PCB connections.
Circuit Repair Steps
Repairing circuits on the PCB requires precision and patience. Below are common methods to address issues:
Trace Repair Process
- Use a multimeter to identify broken traces.
- Clean the damaged area with isopropyl alcohol.
- Apply conductive paint to the broken trace.
- Let the paint dry completely before testing the repair.
Connection Fixes
The reference below outlines common issues and solutions:
- Issue: Loose Joints
- Solution: Reflow the solder
- Tools: Soldering iron, flux
- Issue: Burnt Traces
- Solution: Apply conductive paint
- Tools: Fine brush, conductive paint
- Issue: Cold Joints
- Solution: Resolder the connection
- Tools: Fresh solder, soldering iron
If the controller chip is damaged, repairs often require advanced micro-soldering skills. In such cases, it’s best to consult a professional.
For power-related issues, check the voltage levels at key test points:
- LED power rails should measure around 5V (±0.2V)
- Controller chip pins must align with the manufacturer’s specifications
- Ground points should show proper continuity
sbb-itb-3cb9615
Fixing Software Problems
When it comes to RGB issues caused by software, the usual culprits are outdated firmware or corrupted settings. These can often be resolved by carefully troubleshooting your keyboard's software configuration.
Updating Software and Drivers
Before making any updates, it's a good idea to back up your current keyboard configuration to avoid losing custom settings.
-
Firmware Updates
Follow these steps to update your keyboard's firmware:- If your keyboard documentation lists QMK or Vial support, download QMK Toolbox or Vial as appropriate.
- Use the bootloader/reset method documented for your exact keyboard. Fn + Esc is common on some boards, but it is not universal.
- Flash only firmware built for your exact PCB and layout.
- Wait for the process to complete, then restart your keyboard.
-
Driver Updates
For Windows users:- Open Device Manager.
- Locate your keyboard under either "Keyboards" or "Human Interface Devices."
- Right-click on it and select "Update driver."
- Choose "Search automatically for updated driver software."
- Restart your computer once the installation is complete.
The reference below highlights common RGB software issues and how to resolve them:
- Issue: No RGB Response
- Cause: Outdated Firmware
- Solution: Update firmware using QMK Toolbox
- Issue: Random Color Changes
- Cause: Driver Conflict
- Solution: Reinstall keyboard drivers
- Issue: Stuck RGB Pattern
- Cause: Corrupted Settings
- Solution: Reset RGB configuration
Resetting RGB Settings
If RGB issues persist, resetting the settings might help. Here’s how to do it:
-
Clear Current Settings
- Use only the reset method documented for your exact keyboard. Treat Fn + Esc as an example only when that keyboard's manual explicitly specifies it.
- Wait for about 30 seconds before proceeding to reconfigure.
-
Reconfigure RGB Profiles
- Start with a simple solid color to ensure the LEDs are functioning correctly.
- Gradually add more complex effects and test each profile as you go.
- Save your configurations after successfully setting up each profile.
If problems continue after these steps, check your hardware connections as explained in the Fixing Hardware Problems section. Regularly updating your firmware and drivers can go a long way in preventing recurring RGB issues.
Long-term RGB Maintenance
Once you've tackled any RGB issues, keeping your keyboard in top shape requires consistent care. Regular cleaning and using reliable components can go a long way in ensuring your RGB lighting stays vibrant and functional for years.
Basic Maintenance Steps
To keep your RGB lighting running smoothly, make cleaning and inspection part of your routine:
Daily Care
- Use compressed air to clear out dust between keycaps - this helps prevent debris from interfering with the LEDs.
- Wipe the keyboard surface with a damp microfiber cloth to remove smudges and dirt.
- Keep your keyboard away from direct sunlight to avoid potential LED damage.
Monthly Maintenance
- Take off the keycaps and use compressed air to clean underneath them thoroughly.
- Examine the RGB components for any signs of wear or damage, such as loose wires or dimming LEDs.
- Check all connections to ensure wires are secure and that there’s no poor contact.
Here’s a quick maintenance reference and how often to perform each task:
- Maintenance Task: Surface Cleaning
- Frequency: Daily
- Purpose: Prevent dust buildup
- Maintenance Task: Deep Cleaning
- Frequency: Monthly
- Purpose: Clear out accumulated debris
- Maintenance Task: Component Inspection
- Frequency: Monthly
- Purpose: Spot potential problems early
- Maintenance Task: Connection Check
- Frequency: Monthly
- Purpose: Maintain proper functionality
Choosing Quality Parts
The quality of your keyboard's components plays a major role in its longevity. Choose parts whose PCB, firmware, LED, and switch compatibility are documented for your exact keyboard instead of relying on a series name or generic layout.
For better performance and to extend the life of your RGB setup, consider these tips:
- Stick to static color settings when possible.
- Adjust brightness to match your environment - this reduces strain on the LEDs.
- Give your keyboard cool-down periods to avoid overheating during extended use.
Conclusion
Keeping your RGB keyboard setup in top shape doesn’t have to be complicated. By regularly checking both the hardware and software, you can quickly pinpoint and fix most lighting issues. Pair that with routine upkeep and dependable components, and you’ve got the recipe for a long-lasting, vibrant setup.
For maintenance after you have ruled out an electrical RGB fault, use parts and tools that match the job: Krytox GPL 105 Oil Switch Lubricant for switch springs, KeebsForAll Switch Opener for switch service, and Mill-Max Hot Swap Sockets only when your solder PCB and switch pins are compatible.
Here are a few simple tips to ensure your RGB lighting stays flawless:
- Keep it clean: Dust-free LEDs last longer and shine brighter.
- Choose wisely: Use replacement components whose LED, PCB, firmware, and switch compatibility are documented for your exact keyboard.
- Maintain regularly: Use proper tools and lubricants to keep everything running smoothly.
When a keyboard or PCB does not document RGB support, do not treat it as an RGB-compatible replacement. Match the replacement part to the failed component, then test one lighting mode before reassembling the board.
And here’s a bonus for shoppers in the U.S.: KeebsForAll offers free shipping on in-stock orders over $70. Whether you’re inspecting a PCB or replacing compatible parts, verify the fit before you buy.
FAQs
How can I tell if the RGB lighting issue on my keyboard is caused by hardware or software?
If your RGB keyboard isn’t working as expected, the first step is to figure out whether it’s a hardware or software issue. An easy way to do this is by connecting the keyboard to another computer. If the problem follows the keyboard, it’s probably a hardware issue. But if the RGB lighting works fine on the other device, then you’re likely dealing with a software-related problem, like outdated drivers or conflicting programs.
For software issues, start by updating your keyboard’s firmware and drivers. Also, check if there’s any conflict with RGB control software and reinstall the manufacturer’s software if needed. If it turns out to be a hardware issue, examine the keyboard for any visible damage or loose connections. In such cases, reaching out to the manufacturer or seeking help from a professional repair service might be your best bet.
How can I replace a faulty LED on my mechanical keyboard?
Replacing a broken LED on your keyboard might sound tricky, but with the right tools and a bit of patience, it’s absolutely doable. Here’s a simple guide to help you through the process:
Tools You’ll Need
Before diving in, gather these essentials:
- Soldering iron and solder: For attaching the new LED.
- Desoldering pump or solder wick: To remove the old solder.
- Replacement LEDs: Make sure they match your keyboard’s specifications (color, size, and voltage).
- Tweezers and a small screwdriver: For precision and disassembly.
Step-by-Step Instructions
- Turn off and unplug your keyboard. Safety first! You don’t want any power running through while you work.
- Disassemble the keyboard. Remove the keycaps and unscrew the case to access the circuit board.
- Locate the faulty LED. Once you find it, use the soldering iron and desoldering pump to carefully remove it.
- Install the new LED. Check the polarity (the longer leg is usually positive), position it correctly, and solder it in place.
- Reassemble and test. Put everything back together and check if the lighting works as expected.
If soldering feels outside your comfort zone, don’t hesitate to ask someone experienced or consult a professional. Need replacement parts? Match LEDs to your keyboard's electrical specs and use precision tools that fit the repair.
How often should I maintain my RGB mechanical keyboard to avoid lighting problems?
To keep your RGB lighting working smoothly, it's a good idea to give your mechanical keyboard a thorough cleaning every 3 to 6 months, depending on how often you use it. Regular maintenance helps keep dust and debris from messing with the LEDs or circuitry.
If you spot flickering lights or notice some aren't responding, take a moment to check for loose connections or see if a firmware update is available - these are often the culprits. Staying on top of these small fixes can help your keyboard's lighting last longer and perform reliably.