Building your own mechanical keyboard is easier than you think and offers full control over its look, feel, and performance. Here’s what you’ll need to know to get started:
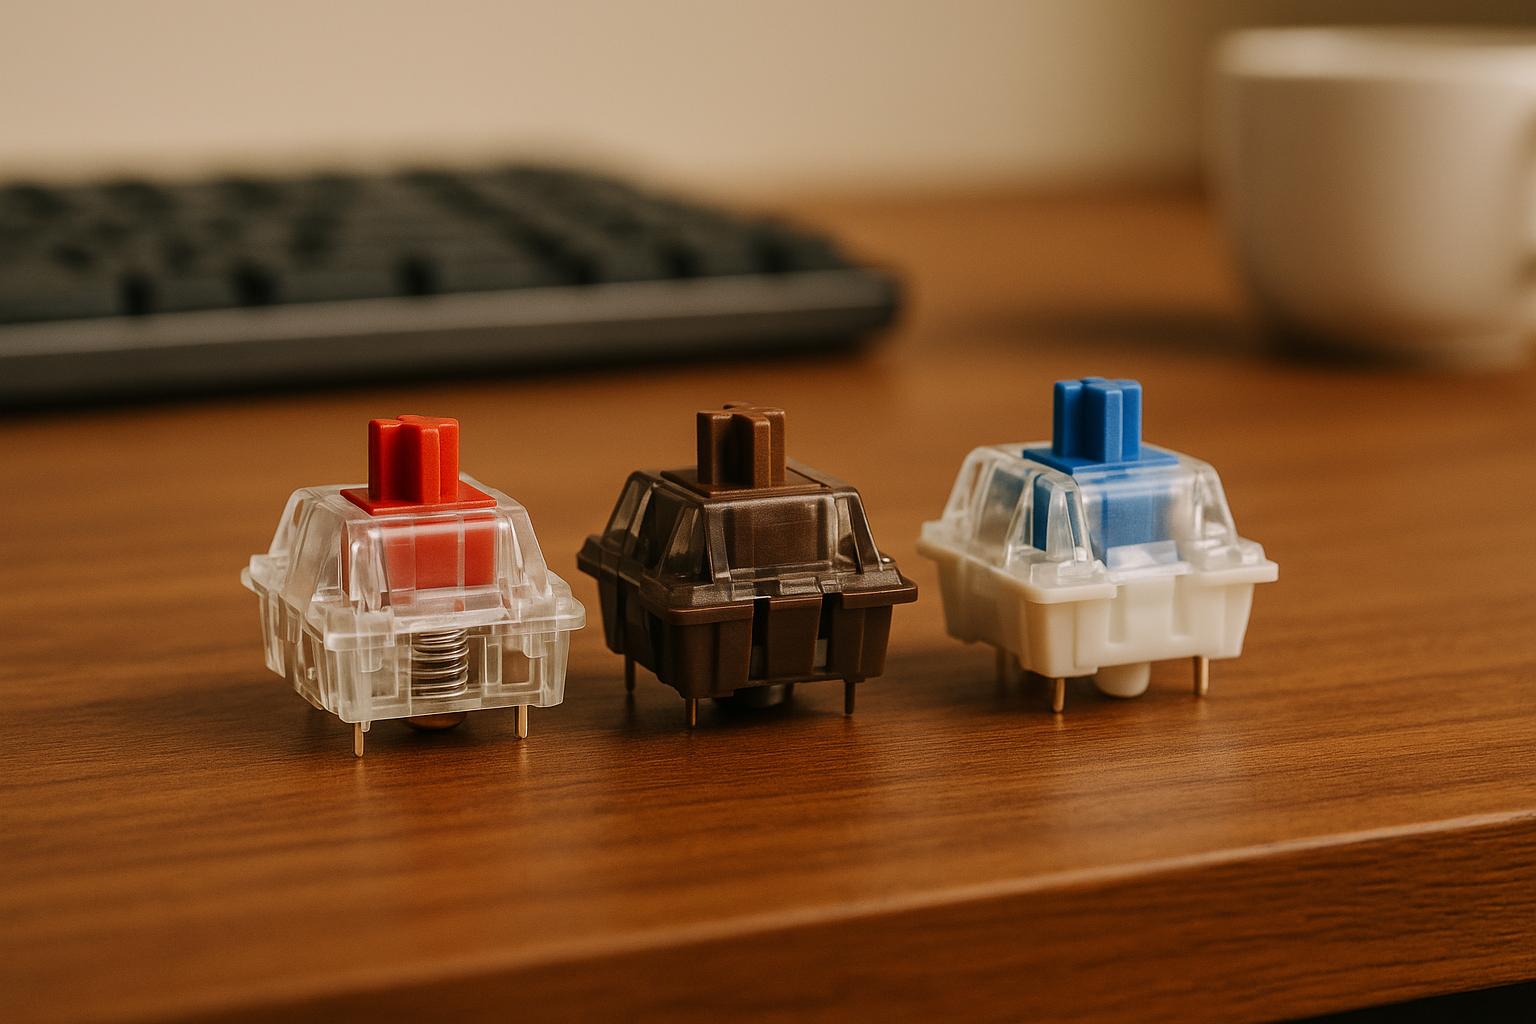
- Core Components: Case, PCB (hot-swap or soldered), switches (linear, tactile, or clicky), stabilizers, and keycaps.
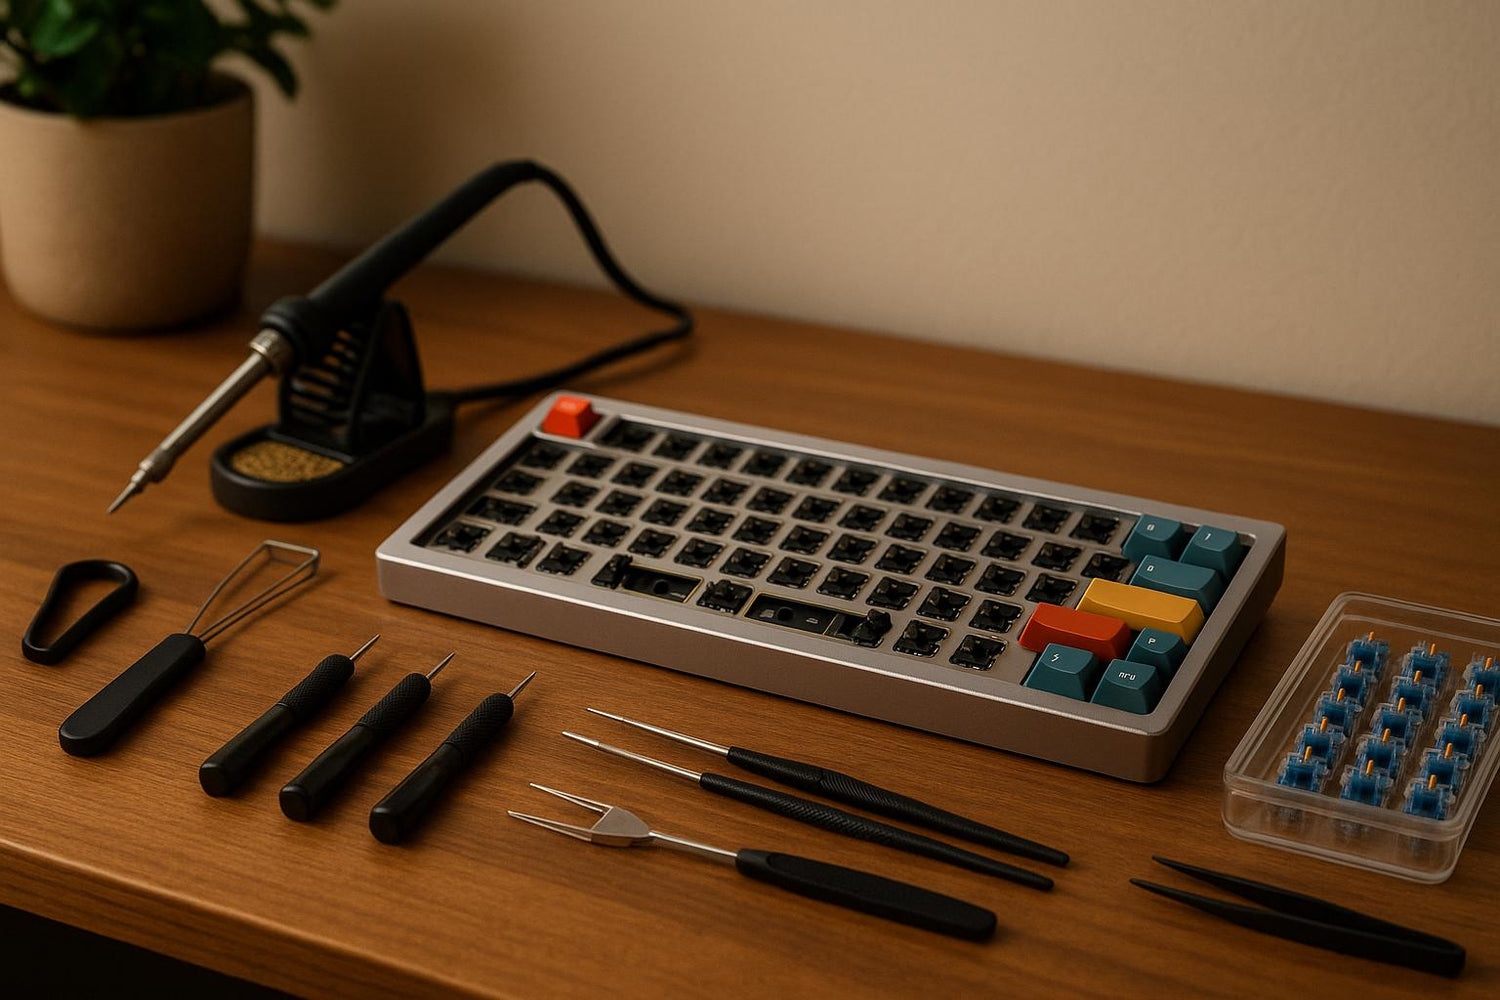
- Required Tools: Precision screwdriver ($15–25), keycap puller ($5–10), switch puller ($5–10), and optional tools for switch modding like a switch opener ($19.00) and lubrication kit (from $10.00).
- Setup Tips: Use a stable work surface, good lighting, and an anti-static mat to protect your components. Organize screws, switches, and small parts in labeled containers or magnetic trays.
- Keyboard Kits: Beginner-friendly kits like the Freebird series (starting at $160.00) include most components and are hot-swappable for easy assembly and upgrades.
Quick Comparison of Keyboard Kits:
| Kit Name | Layout | Price | Features |
|---|---|---|---|
| Freebird60 Full Kit | 60% | $160.00+ | CNC aluminum case, USB-C, hot-swappable, multi-layout |
| Freebird75 Full Kit | 75% | $199.00+ | CNC aluminum case, USB-C, hot-swappable, multi-layout |
| Freebird TKL Full Kit | TKL | $249.99+ | CNC aluminum case, USB-C, hot-swappable, multi-layout |
Start small, test components as you go, and enjoy the process of creating a keyboard tailored to your needs!
ESSENTIAL TOOLS for Building Custom Keyboards!
Required Tools for Building
Using the right tools makes assembly easier and ensures accuracy. Here’s a breakdown of the tools every beginner should have.
Main Assembly Tools
Start with these basic tools to assemble your keyboard safely and efficiently:
| Tool | Purpose | Cost Range |
|---|---|---|
| Precision Screwdriver Set | For assembling components | $15–25 |
| Keycap Puller | Safely removes keycaps without damage | $5–10 |
| Switch Puller | Helps install or remove switches | $5–10 |
These tools protect your PCB and make the building process smoother.
Switch Modding Tools
To improve your keyboard’s performance and feel, you’ll need tools for modding switches:
- Switch Opener: The KeebsForAll Switch Opener ($19.00) makes it easy to open switches without causing any damage.
- Lubrication Kit: Includes Krytox GPL 105 Oil ($10.00) for springs and Krytox XHT-BDZ ($11.00) for stabilizers.
- Application Tools: Use lube brushes ($4.00) and a stem holder ($4.90) for precise application of lubricant.
These tools are essential for anyone looking to customize their keyboard for a better typing experience.
Preparing Your Work Area
Keeping your workspace organized helps you avoid losing parts and makes the assembly process smoother.
Work Space Setup
Make sure your workspace has the following essentials:
| Element | Requirement | Purpose |
|---|---|---|
| Surface | Large, stable work area | Provides enough space for parts layout |
| Lighting | A good desk lamp | Ensures clear visibility |
| Protection | Anti-static mat | Protects sensitive electronic parts |
Position your lamp to minimize shadows. A clean, uncluttered surface helps keep small components in order.
Parts Management
Organizing your materials properly can save time and prevent mistakes. Here’s how to handle your components:
Main Components
- Keep your PCB and case parts in their original packaging until you need them.
- Arrange your tools so they’re easy to grab when needed.
Small Parts
- Use magnetic trays to store screws and springs.
- Label and separate stabilizers and switches.
- Keep lubed components in covered containers to prevent dust buildup.
One handy option is the KeebsForAll Switch Storage Box, priced at $12.99. It’s designed to keep different switch types organized during your build. It also protects modded and stock switches from dust and damage. With a neat workspace and well-organized parts, you’ll be all set to start assembling your keyboard.
sbb-itb-3cb9615
Building Your Keyboard
Now that your workspace is ready and components are organized, it’s time to start building your keyboard.
Testing and Preparing the Parts
Before diving into assembly, it’s smart to test everything. Connect the PCB to your computer to ensure all keys register correctly. Check each switch to make sure it clicks and responds as it should. Move the stabilizers manually to confirm they operate smoothly. This step helps avoid issues later and sets you up for a smoother build process.
Installing the Core Components
Here’s how to install the stabilizers and switches:
-
Stabilizers (using Durock V2 screw-in design):
- Insert the stabilizer housing into the PCB.
- Secure the screw from the back of the PCB.
- Test the stabilizer’s movement to ensure it’s working properly.
-
Switches (for hot-swap designs):
- Align the switch pins with the hot-swap sockets.
- Press down until you hear a click, indicating it’s seated correctly.
- Test the switch to confirm it’s responsive before moving on.
Finishing the Build
Follow these steps to complete your keyboard assembly:
-
Case Assembly
Place the PCB into the case carefully, ensuring no wires are pinched. -
Mounting System
Use the mounting screws to secure the PCB inside the case. Be careful not to overtighten. -
Keycap Installation
Start with the stabilized keys like the spacebar, shift, and enter. Press them straight down to avoid damaging the switch stems.
Once everything is put together, test all switches and stabilizers again to confirm everything works as expected. If you’re new to building keyboards, the Freebird series is a great starting point. For example, their 60% model starts at $160.00 and features a hot-swap design, making upgrades and changes much easier.
Fixing Common Problems
Once your keyboard build is complete, it’s important to tackle any issues right away. Even seasoned builders can face challenges during assembly. Below are some practical troubleshooting steps for common problems.
PCB and Wiring Issues
If your keyboard isn’t working as expected, start with these checks:
- Make sure your USB cable is firmly connected on both ends.
- Try plugging into different USB ports on your computer.
- Use another USB cable to rule out cable issues.
Inspect the PCB for obvious problems, such as:
- Bent or damaged pins
- Loose or improperly connected wires
- Foreign objects causing short circuits
If the PCB and wiring look fine, move on to checking switches and stabilizers.
Switch and Stabilizer Fixes
Bent pins are a typical issue with switches. Gently straighten them using fine-tipped tweezers before inserting the switch into the socket to ensure proper alignment.
For stabilizers, rattling is a common annoyance. Applying lubricant to the stabilizer parts can help minimize noise and improve functionality.
Conclusion: Next Steps
Tool and Step Review
Before diving into your keyboard assembly, make sure you’ve got the right tools and materials ready. Here’s a quick checklist:
- Switch opener: $19.00
- Lubricants: Starting at $7.95
- Lube brushes: $4.00
- Stabilizers: $4.00–$20.00
- Stem holder: $4.90
Keep your workspace tidy and test components as you go. Properly clean and store your tools after use to ensure they last for future builds.
Getting Parts and Supplies
If you’re new to building keyboards, starting with a keyboard kit can make the process much easier. Kits from KeebsForAll come with everything you need to get started and are compatible with the tools listed above. Here are some options:
| Keyboard Kit | Layout | Price | Features |
|---|---|---|---|
| Freebird60 Full Kit | 60% | From $160.00 | CNC aluminum case, USB-C, hot-swappable, multi-layout support |
| Freebird75 Full Kit | 75% | From $199.00 | CNC aluminum case, USB-C, hot-swappable, multi-layout support |
| Freebird TKL Full Kit | TKL | From $249.99 | CNC aluminum case, USB-C, hot-swappable, multi-layout support |
For switches, starting with pre-lubricated options can make your first build smoother. Consider Neo White switches at $0.27 each or Gateron CM switches at $0.48 each - both are solid choices for beginners. Plus, if your order totals over $70 within the USA, you’ll get free shipping, making it easy to gather everything you need in one go.
Refer back to this guide whenever you need a refresher!
FAQs
What are the benefits of starting with a beginner-friendly keyboard kit like the Freebird series?
Starting with a beginner-friendly keyboard kit, such as the Freebird series, offers several advantages for those new to building custom mechanical keyboards. These kits are designed to be simple to assemble, making them perfect for beginners who want to learn the basics without feeling overwhelmed.
They typically include all the essential components, so you won’t need to hunt for individual parts, which saves time and effort. Additionally, beginner kits often prioritize affordability and quality, allowing you to explore the hobby without a significant upfront investment. By starting with a kit like this, you'll gain valuable experience and confidence in building keyboards while enjoying a functional and stylish result.
How do I set up my workspace to keep small parts organized while building a custom keyboard?
To keep your workspace organized and avoid losing small parts during keyboard assembly, start by using a clean, flat surface with plenty of light. Lay down a non-slip desk mat to prevent components from rolling away. Use small containers, trays, or magnetic bowls to separate and store screws, switches, and other tiny pieces. Keeping tools like screwdrivers, tweezers, and soldering equipment within easy reach can also help maintain efficiency. Taking these steps ensures a smoother and less stressful building experience.
What should I do if my custom keyboard doesn’t work after assembly?
If your custom keyboard isn’t functioning properly after assembly, start by carefully checking all your connections. Ensure the switches are fully inserted, stabilizers are securely installed, and the PCB is properly seated in the case. Misaligned or loose components are often the culprit.
Next, inspect the PCB for any issues such as visible damage, bent pins, or solder bridges that may have accidentally formed during soldering. If you spot any soldering mistakes, carefully rework the area to correct it. For hot-swappable boards, confirm that all switches are firmly pressed into the sockets.
Finally, connect your keyboard to a computer and use a key tester tool to confirm that each key registers correctly. If problems persist, consider reaching out to the manufacturer or community forums for troubleshooting advice.


![[Pre-Order] Autumn Leaves PBT Keycaps - KeebsForAll](http://keebsforall.com/cdn/shop/products/DSC09732.jpg?v=1676148273)


Leave a comment
This site is protected by hCaptcha and the hCaptcha Privacy Policy and Terms of Service apply.