
How to Add Layers to Key Maps with QMK
[ Back to Mechanical Keyboards 101 ]QMK layers let you expand the functionality of your mechanical keyboard beyond its physical key count. By defining multiple layouts, you can switch between tasks like typing, gaming, coding, or media control with just a key press. Layers are like transparent overlays - QMK scans from the topmost active layer down to decide what each key does.
Key Highlights:
- What layers do: Enable multiple functional layouts on the same keyboard.
- Why use them: Access features like arrow keys, macros, or media controls on compact keyboards.
-
How layers work: Higher-numbered layers take priority, and transparent keys (
KC_TRNS) allow functionality to pass through to lower layers. -
Activation methods: Use keycodes like
MO(Momentary),TG(Toggle), orLT(Layer Tap) to enable layers. -
Setup steps: Edit the
keymap.cfile, define layer names, and map keycodes using theLAYOUT()macro.
Quick Setup:
- Prepare your environment: Install QMK Firmware, a text editor, and QMK Toolbox.
-
Define layers: Use enums in
keymap.cto organize layouts. -
Assign keys: Map layer activations like
MO(_FUNCTION)for easy access. - Flash firmware: Compile and upload your custom configuration using QMK Toolbox or CLI.
- Test layers: Verify functionality using tools like QMK Configurator or VIA.
With QMK, you can customize your keyboard to handle gaming, productivity, or programming tasks seamlessly. Keep your configurations clean and test regularly to ensure everything works as intended.
QMK Tutorial: Keymap Creation Tips
How QMK Layer Mechanics Work
Building on the earlier discussion, this section dives into how QMK's layer mechanics shape custom keymaps. You'll see how QMK processes layers, manages priorities, and handles troubleshooting.
Layer Priority and Behavior
QMK organizes layers into two systems: default layer state and temporary layer state. The default layer state controls your base layers - like layer 0 for QWERTY, layer 1 for Dvorak, or layer 2 for Colemak - and stays active unless manually changed.
The temporary layer state, on the other hand, is for layers that activate and deactivate based on key presses. For example, holding a modifier key to access a function layer temporarily activates that layer. Importantly, higher-numbered layers always take precedence over lower-numbered ones. So, if both layer 3 and layer 1 are active and define the same key, layer 3's definition will override layer 1.
When scanning for key inputs, QMK starts at the highest active layer and works its way down. It stops as soon as it finds a non-transparent key (KC_TRNS) and executes its function. This allows multiple layers to be active at the same time, with the topmost non-transparent key taking effect.
Common Layer Use Cases
Function and media layers are among the most widely used. These layers often turn the right side of the keyboard into a media control hub, with keys for play/pause, volume adjustment, and track navigation.
Navigation layers address the lack of arrow keys on compact keyboards. These layers typically map arrow keys to positions like WASD or IJKL, with nearby keys for Page Up, Page Down, Home, and End. Gamers often stick to the WASD layout for familiarity, while typists might prefer IJKL to maintain a natural hand position.
Gaming-specific layers allow players to tailor layouts for different games. MMO players might create layers with macros for complex spell rotations, while FPS players focus on weapon switching and communication shortcuts. These gaming layers often disable keys like the Windows key to avoid accidental interruptions during play.
Symbol and programming layers are a favorite among developers and advanced users. These layers group brackets, operators, and special characters for easier access, minimizing finger movement during coding. Some developers even design layers to mirror their favorite IDE shortcuts or assign frequently used symbol combinations to single keys.
Layer Activation Keycodes
QMK offers various keycodes for activating layers, each tailored to different needs:
-
MO (Momentary): Activates a layer only while the key is held. For instance,
MO(1)activates layer 1 while pressed and deactivates it upon release. - TG (Toggle): Toggles a layer on or off with each press. Once activated, the layer stays on until toggled off again.
-
TO (To): Switches directly to a specific layer, deactivating all other temporary layers. For example,
TO(2)moves to layer 2 and clears any other active temporary layers. -
LT (Layer Tap): Combines layer activation with a regular key function. When held, it activates a layer; when tapped, it sends a normal keycode. For example,
LT(1, KC_SPACE)makes the spacebar activate layer 1 when held but function as a space key when tapped. -
OSL (One Shot Layer): Activates a layer for a single keypress, then automatically deactivates. For example, pressing
OSL(2)lets you use layer 2 for the next keypress without needing to hold a modifier.
Choosing the right activation method is crucial for a smooth experience. Momentary layers work well for quick access, while toggle layers are ideal for longer mode switches. Up next, you'll learn how to configure these layers directly in your keymap file.
Setting Up and Editing Your Keymap
Now that you’ve got a solid understanding of QMK layers, it’s time to set up your build environment and start customizing your keymap. This involves tweaking configuration files and defining a layer structure that fits your needs.
Configuring Your Build Environment
First, ensure your QMK folder structure is correct. Navigate to keyboards/[manufacturer]/[model]/keymaps/[your_keymap_name]/. Your folder should mirror an existing and functional configuration to avoid errors.
Next, check the rules.mk file. If you plan to use advanced features like tap dance or combo keys, make sure to enable them here. For example, you’d add TAP_DANCE_ENABLE = yes to use tap dance.
For keyboard-specific settings, look at the config.h file. While most layer configurations won’t require changes here, you might want to adjust the tapping term if you’re using LT (Layer Tap) keys. The default tapping term is 200ms, but you can fine-tune it depending on your preferences. For a faster response, set it to #define TAPPING_TERM 175. For more deliberate presses, try #define TAPPING_TERM 250.
Defining Layers in keymap.c
At the top of your keymap.c file, define your layer names using an enum. This keeps things organized and prevents errors:
enum layer_names {
    _BASE,
    _FUNCTION,
    _GAMING,
    _SYMBOLS
};
QMK supports up to 32 layers (indexed 0 to 31), giving you plenty of flexibility for even the most complex setups. Your keymap is stored in a structure called const uint16_t PROGMEM keymaps[][MATRIX_ROWS][MATRIX_COLS]. This structure holds all the layer data, with each layer represented as an array of 16-bit action codes.
Each layer is defined using the LAYOUT() macro, which maps keycodes to your keyboard’s physical layout. This macro is typically defined in your keyboard’s .h file and corresponds to the hardware’s key matrix. Here’s an example of a simple two-layer setup:
const uint16_t PROGMEM keymaps[][MATRIX_ROWS][MATRIX_COLS] = {
    [_BASE] = LAYOUT(
        KC_Q,    KC_W,    KC_E,    KC_R,    KC_T,    KC_Y,    KC_U,    KC_I,    KC_O,    KC_P,
        KC_A,    KC_S,    KC_D,    KC_F,    KC_G,    KC_H,    KC_J,    KC_K,    KC_L,    KC_SCLN,
        KC_Z,    KC_X,    KC_C,    KC_V,    KC_B,    KC_N,    KC_M,    KC_COMM, KC_DOT,  KC_SLSH,
        KC_LCTL, KC_LGUI, KC_LALT, MO(_FUNCTION), KC_SPC, KC_ENT, KC_RALT, KC_RGUI, KC_RCTL
    ),
    [_FUNCTION] = LAYOUT(
        KC_1,    KC_2,    KC_3,    KC_4,    KC_5,    KC_6,    KC_7,    KC_8,    KC_9,    KC_0,
        KC_F1,   KC_F2,   KC_F3,   KC_F4,   KC_F5,   KC_F6,   KC_LEFT, KC_DOWN, KC_UP,   KC_RGHT,
        KC_F7,   KC_F8,   KC_F9,   KC_F10,  KC_F11,  KC_F12,  KC_HOME, KC_PGDN, KC_PGUP, KC_END,
        _______, _______, _______, _______, _______, _______, _______, _______, _______
    )
};
The _______ entries represent KC_TRNS (transparent keys). These allow key presses to pass through to lower layers. QMK processes layers from the highest active layer downwards, stopping at the first non-transparent key. This transparency system is handy for overlaying functionality without redefining every key on each layer.
When assigning layer activation keys, think about ergonomics. For example, MO(_FUNCTION) activates the function layer when held. Thumb keys are ideal for frequently accessed layers, while pinky keys work well for less-used toggles.
Enabling VIA Support (Optional)
VIA compatibility lets you tweak your keymap through a graphical interface, skipping the need for recompiling firmware. To enable this, add VIA_ENABLE = yes to your rules.mk file. You’ll also need a VIA-compatible keymap, which many popular keyboards already include in the QMK repository.
Once VIA support is active, you can edit your layer structure directly in the VIA app. This is especially useful for testing layouts, as changes take effect immediately without the compile-and-flash cycle. However, keep in mind that VIA doesn’t support every QMK feature - complex macros or advanced functions may require direct code editing.
If your keyboard doesn’t already support VIA, you can create a compatible keymap. Copy your custom keymap, adjust it to meet VIA’s naming conventions, and save it as via.c in a via folder within your keymaps directory. This way, you can maintain both a code-based keymap for advanced features and a VIA-compatible version for quick edits.
Building and Flashing Your Firmware
Once you've configured your layers in keymap.c, it's time to compile and flash your firmware. This step converts your code into a format your keyboard can process and execute.
Using QMK Configurator
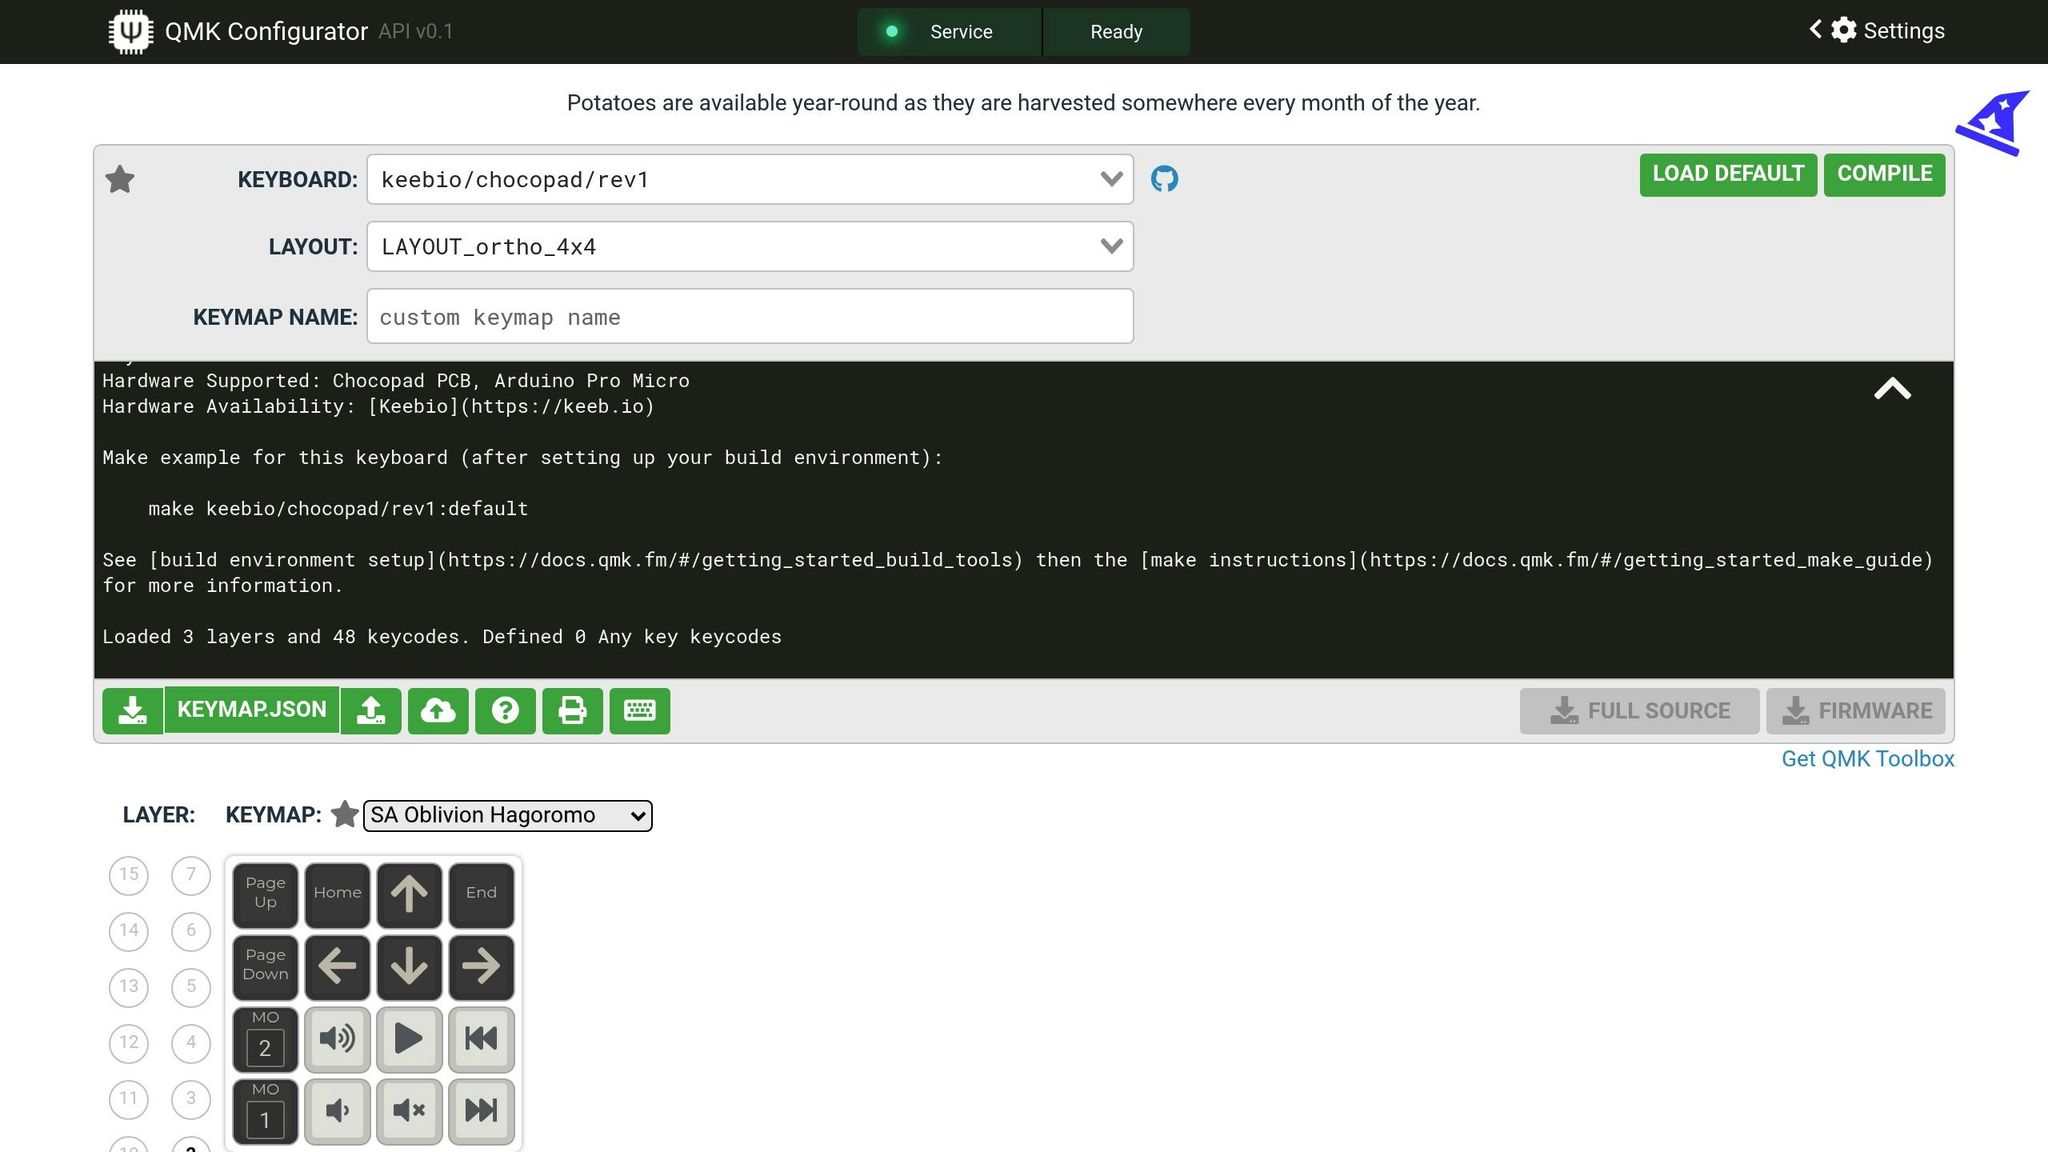
If you're using QMK Configurator, set up your layers and hit Compile. After compilation is complete, download the firmware file it generates.
Prefer the command line? The QMK CLI gives you more control. Navigate to your qmk_firmware directory. If you've already set default configurations with commands like qmk config user.keyboard=<keyboard> and qmk config user.keymap=<keymap>, you can compile your firmware by simply running:
qmk compile
If you haven't set defaults, specify your keyboard and keymap directly:
qmk compile -kb <keyboard> -km <keymap>
The CLI will display the build progress and create a firmware file named something like <keyboard>_<keymap>.{bin,hex} (e.g., planck_rev5_default.hex). Make sure to note where this file is saved - you'll need it for flashing.
Flashing with QMK Toolbox
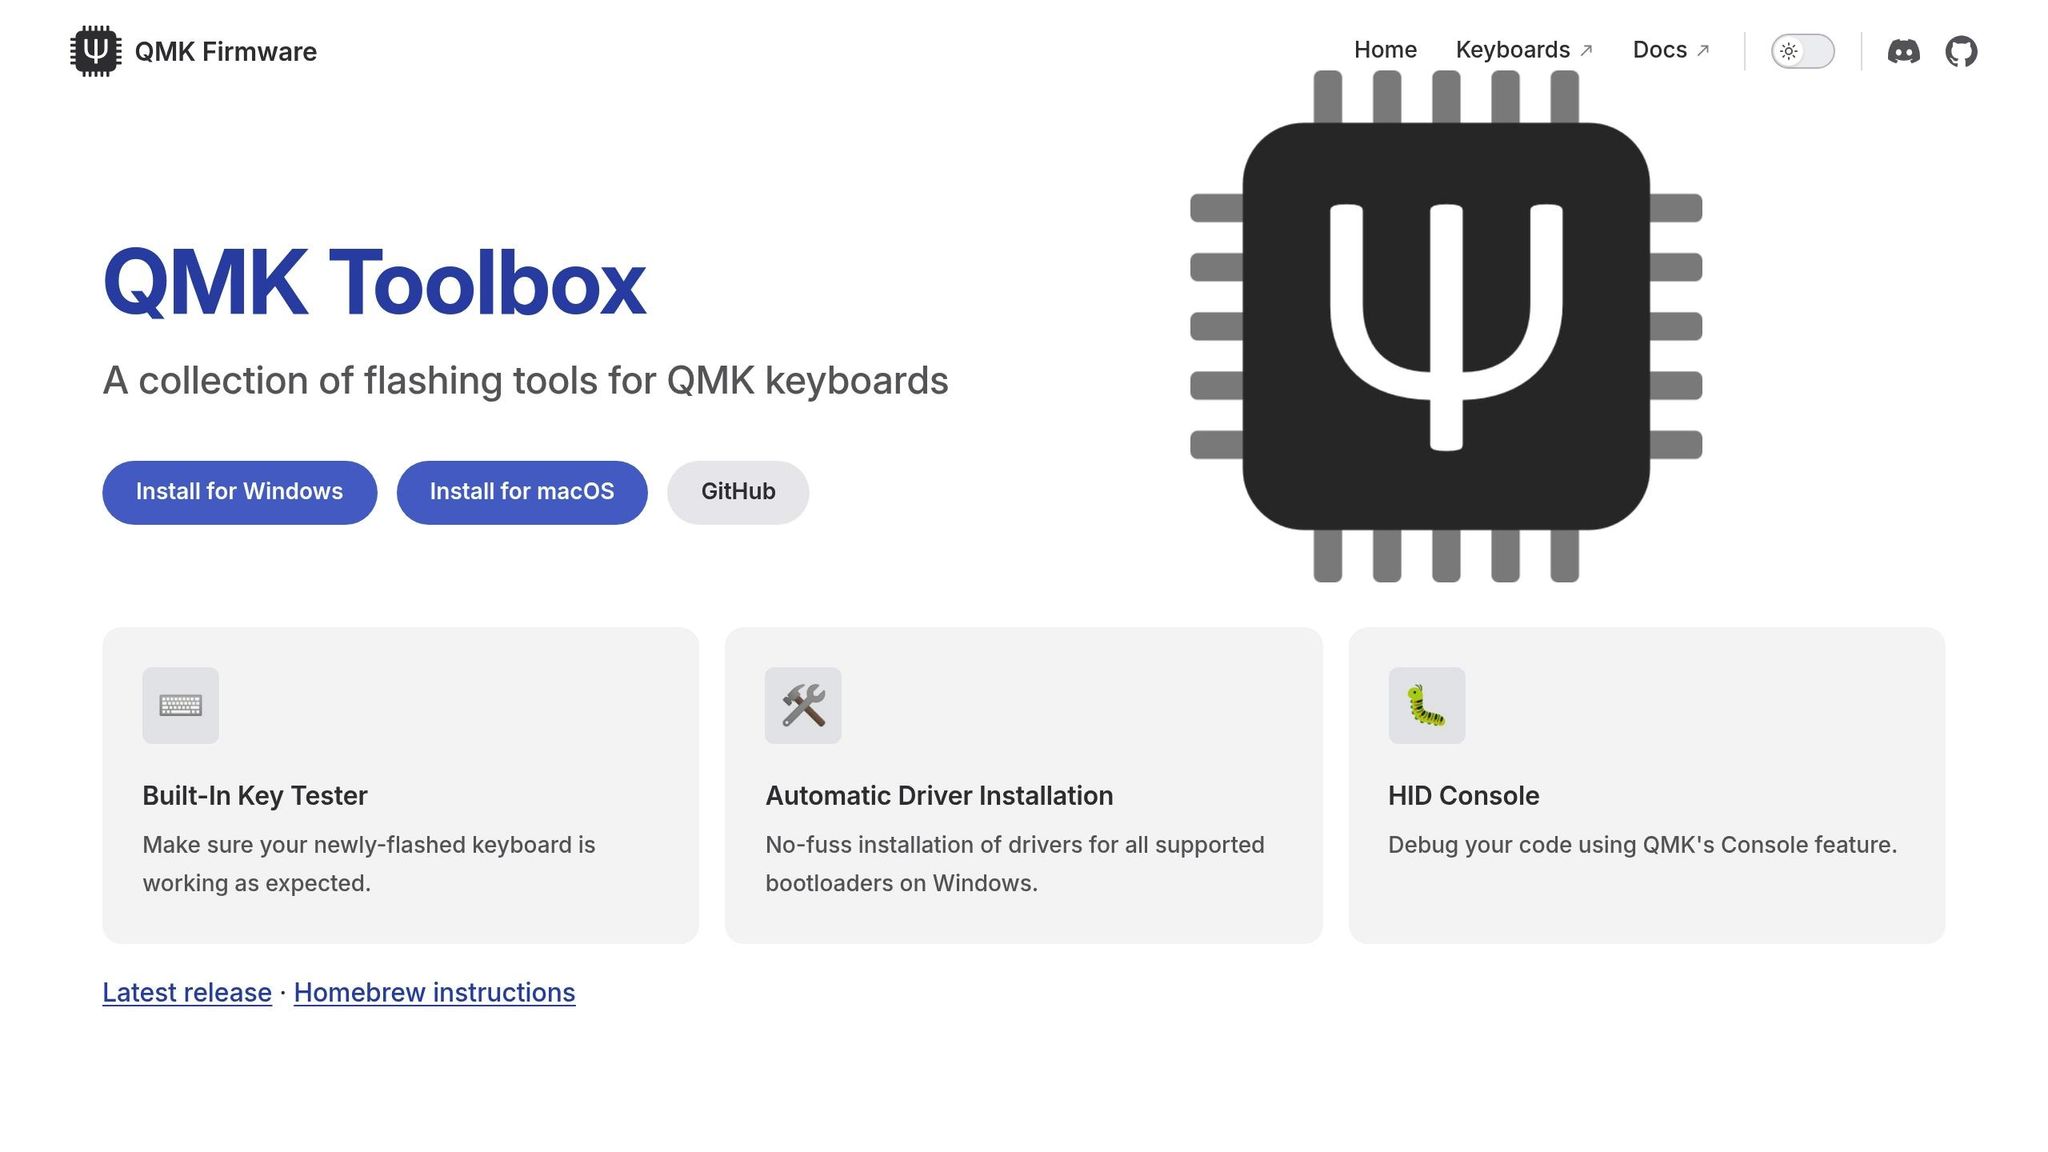
QMK Toolbox makes flashing straightforward on both Windows and macOS. For the best experience, use version 0.0.21 or later. Windows users may need to install drivers first - this can be done through the app's Tools > Install Drivers… menu.
To flash your firmware:
- Open QMK Toolbox and load your firmware file.
-
Put your keyboard into bootloader mode:
- Press the physical reset button on your PCB.
- Use the designated key combination (e.g., hold both shift keys and press Pause).
Once your keyboard is in bootloader mode, QMK Toolbox will confirm it. The "Flash/Exit DFU" button may also change color, showing it's ready. Click Flash and monitor the log for progress. When you see an "OK" message or a notice that the DFU device has disconnected, the flashing process is complete. Most keyboards exit bootloader mode automatically, but if yours doesn't, you can click the "Exit DFU" button.
Note: If you're using an RP2040-based keyboard, you won't need QMK Toolbox. When in bootloader mode, these keyboards appear as USB drives. You can simply drag and drop the .uf2 firmware file onto the drive.
Testing and Verifying Layers
After flashing, test your keyboard to ensure every key works correctly across all layers. Start with your base layer, then activate each additional layer using the corresponding keys.
For an easy way to check functionality, use the QMK Configurator's test mode. It provides a visual display where each key press lights up, helping you quickly spot any issues.
If your keyboard supports VIA, you can use the VIA Configurator's "Key Tester Tab." Switching to "Test Matrix" mode allows you to verify key functions and layer activation by displaying the physical key matrix.
Want more visual feedback? Add a layer_state_set_user callback to trigger RGB lighting when switching layers. For debugging, use layer_debug(layer_mask) to print layer information to the console.
If something isn't working as expected, enable keycode tracing by adding this line to your rules.mk file:
KEYCODE_STRING_ENABLE = yes
This lets you use get_keycode_string(kc) with dprintf() to log human-readable keycodes, making troubleshooting easier.
Once your firmware passes testing, you're ready to design custom layer stacks tailored for gaming, productivity, or whatever else you need!
sbb-itb-3cb9615
Setting Up Layers for Gaming and Productivity
Once you've flashed your firmware, the next step is designing layer stacks that streamline your workflow. By mapping specific activities to tailored key arrangements, you can create setups that cater to both gaming and productivity.
Designing Layer Stacks
For gaming layers, focus on low latency and consistent key placement. Keep essential keys like WASD, spacebar, and common hotkeys on your base layer to avoid delays. Use a dedicated gaming layer for less-critical functions, such as media controls or system shortcuts, placing them in secondary positions. To prevent accidental desktop switches during competitive play, map KC_NO to the Windows key on your gaming layer. Many esports players also prefer having number keys accessible without moving their fingers from WASD - this can be achieved by assigning numbers to a function layer activated with your thumb.
For productivity layers, the goal is efficiency. Reduce hand movement by mapping navigation keys - like HJKL or WASD for arrows - and making Home, End, PgUp, and PgDn easily accessible. This eliminates the need to stretch for dedicated arrow keys, speeding up your workflow.
Your media layer should group controls like playback, volume, and screen brightness in a logical layout. Many users assign these to the number row, activated through a function key. A numpad layer is a must for data entry - set it up in the traditional 3x4 grid on the right side of your keyboard, activated by holding a key with your left hand.
For programming or writing, symbol layers can save time. Instead of using Shift+number combinations, create a layer where symbols are directly accessible. Arrange frequently paired symbols, such as parentheses, brackets, and braces, side by side for faster typing.
The frequency principle is key to effective layer design: prioritize your most-used functions so they require the fewest keystrokes. Track which shortcuts and keys you rely on most during a typical session, then adjust your layers to minimize unnecessary presses. These strategies build on your earlier configurations, making your setup even more intuitive.
Hardware Considerations
To get the most out of your custom layers, your hardware choices play a big role in comfort and responsiveness. Switches and keycaps can significantly impact how smoothly you activate layers.
Tactile switches, like Cherry MX Browns or Gateron Browns, provide feedback that lets you feel when a layer key is engaged. This can reduce accidental releases during complex key combinations. If you're experimenting with layer setups, hot-swap keyboards are a game-changer. Models like KeebsForAll's Freebird series allow you to swap switches without soldering, making it easy to test different types. For example, you might prefer heavier switches for layer keys to avoid accidental presses or lighter switches for frequently toggled layers.
Keycap profiles are another factor. Profiles like OEM or Cherry provide tactile landmarks, helping you locate layer keys by feel. Using different colors or textures for your primary layer keys can also make switching between gaming and productivity modes quicker and more intuitive.
Your switch placement strategy matters too. Place your most-used layer keys under your strongest fingers - typically the index and middle fingers. Avoid assigning critical layer activations to your pinky fingers, as extended use can lead to fatigue and inconsistent presses.
The physical layout of your keyboard also influences how you design your layers. 60% keyboards, which lack dedicated function keys and arrow clusters, benefit from more comprehensive layer stacks. In contrast, 75% keyboards retain some dedicated keys, reducing the need for extra layers. Split keyboards add another dimension, offering thumb clusters for layer activation, which can be more ergonomic than traditional modifier positions.
Finally, ensure your keyboard supports NKRO (n-key rollover), especially if you plan to use multiple layers simultaneously. This is crucial for gaming, where pressing multiple keys at once is common. With the right hardware and thoughtful design, your layers can transform your keyboard into a powerful tool for both work and play.
Troubleshooting and Maintenance
QMK layers can sometimes act up, throwing a wrench into your workflow. By understanding common problems and keeping your configurations tidy, you can ensure your custom keyboard stays reliable for years.
Fixing Layer Issues
When layers misbehave, it can be frustrating. Here’s how to tackle some common problems:
- Stuck Layers: If a layer activation key seems stuck, press all your layer keys once to reset them. If that doesn’t work, unplug your keyboard for about 10 seconds, then plug it back in. This forces the QMK state machine to reset completely.
- Layer Priority Conflicts: When multiple layers are active at the same time, conflicts can arise. To pinpoint the issue, disable all layers except your base layer. Then, reactivate them one by one to identify the troublemaker.
-
Default Layer Problems: If your base layer feels off, check the
default_layer_set()function in your keymap. Adding a reset key combination likeFn + Rthat callsdefault_layer_set(0)can quickly restore your original base layer. - Flashing Errors: Firmware updates sometimes fail, temporarily bricking your keyboard. To recover, manually enter bootloader mode by pressing the physical reset button or shorting the reset pins. Once in bootloader mode, flash the new firmware within 8 seconds.
-
Inconsistent Layer Behavior: Timing issues often cause layers to behave unpredictably. Adjust the
TAPPING_TERMvalue inconfig.h. A range of 150ms to 300ms works well for most users, with 200ms offering a good balance between responsiveness and reliability.
Regular troubleshooting not only fixes issues but also reinforces the importance of a clean and streamlined configuration.
Maintaining Clean Configurations
Keeping your QMK configuration files organized and up-to-date is key to avoiding conflicts and ensuring compatibility with updates.
-
Organize Your Keymap: Use clear comments and descriptive layer names like
_GAMING,_MEDIA, or_NUMPADin yourkeymap.cfile. This makes navigation and updates much easier. - Version Control: If you’re making extensive customizations, save your working configurations before making changes. Document each modification so you can track what works and what doesn’t. Some users even maintain separate keymap files for different activities.
-
Optimize Rules.mk: Unused features in
rules.mkcan bloat your firmware. Disabling unnecessary features not only frees up memory but also reduces compilation time, saving 1-3KB per feature. - Clean Up Config.h: Remove outdated settings that aren’t recognized by newer QMK versions. When updating QMK, check the changelog for deprecated configurations to avoid compatibility issues.
-
Consistency is Key: Use the same keycodes across layers for the same functions. For example, if you use
KC_MUTEfor muting on one layer, don’t switch toKC_AUDIO_MUTEon another layer.
These maintenance habits ensure your keyboard runs smoothly and performs as expected.
Checking VIA Compatibility
VIA simplifies testing and configuring layers without needing to recompile firmware, but it requires careful setup to avoid headaches.
-
Match Your JSON and Firmware: Your keyboard’s VIA JSON must align perfectly with the firmware settings. Double-check that
VENDOR_ID,PRODUCT_ID, andDEVICE_VERinconfig.hmatch your JSON file exactly. - Layer Count Sync: If your firmware defines more layers than your VIA JSON, the extra layers won’t be accessible through VIA. Always update both files together when adding or removing layers.
-
Encoder and Rotary Support: For rotary encoders, enable
ENCODER_ENABLE = yesinrules.mkand define their positions in the VIA JSON file. -
Feature Flags Alignment: If you’ve enabled features like
RGBLIGHT_ENABLEin QMK but haven’t declared them in your VIA JSON, they won’t show up in VIA’s interface. - Real-Time Sync Issues: If VIA changes don’t immediately reflect on your keyboard, check for interference from other software. Applications like Razer Synapse or Logitech G HUB can disrupt VIA’s communication.
Set aside time each month to review your configurations, test layer functionality, and back up your setups. This proactive approach ensures your keyboard remains reliable and responsive, letting you focus on getting things done instead of wrestling with technical issues.
Conclusion
QMK layers turn your keyboard into a powerful tool tailored to your needs. By mastering how layers work, setting up clean configurations, and keeping your setup organized, you can create a keyboard experience that feels personal and efficient.
Key Takeaways
Moving from simple keymaps to multi-layer setups takes effort, but the payoff is huge. Layer priority systems let you assign multiple functions to the same keys, giving you more versatility without increasing physical space. Whether you're aiming for precision in gaming or smoother workflows for productivity, QMK layers offer a level of customization that traditional keyboards can't touch.
Keeping configurations organized is just as important as setting them up. Using clear, descriptive names like _GAMING or _MEDIA instead of generic labels saves time and avoids confusion later. Regular maintenance - like backing up your configurations and testing your layers monthly - ensures your keyboard stays reliable.
Along the way, you'll also develop troubleshooting skills that are invaluable. Knowing how to fix stuck layers, resolve conflicts, or recover from flashing issues means fewer headaches and more time enjoying your customized setup.
These principles provide a strong foundation for building and refining your keyboard experience.
Next Steps
Dive in and experiment to discover new ways to boost your efficiency. Start small with a simple two-layer setup, and as you identify specific needs, gradually add more complexity to match your workflow.
If you're new to QMK, the QMK Configurator is a great place to start. It offers a visual way to design and test layers without writing code, making it perfect for trying out new ideas quickly.
For those looking to upgrade or build a new keyboard, KeebsForAll has everything you need. From programmable PCBs and switches tailored for specific functions to keycap sets designed for custom layouts, they provide the hardware to bring your designs to life.
Finally, consider joining QMK communities. Sharing knowledge and learning from others is a big part of the mechanical keyboard hobby. Your custom layer setups might even inspire someone else to tackle similar challenges in their workflow.
FAQs
Why aren't my QMK layers working as expected, and how can I fix them?
If your QMK layers aren’t working as expected, the first step is to carefully examine your keymap. Look for any overlapping or unintended key assignments across layers, as these can disrupt proper layer switching.
Next, confirm that you’re using the appropriate layer-switching functions like MO(), LT(), or TT(). Check that these functions are correctly implemented and that the layer keys aren’t causing issues, such as overlapping assignments or unintended transparent keys.
Still running into trouble? Try resetting the EEPROM using the QMK HID command-line tool. This can often fix firmware-related glitches that might be affecting your layers. Finally, take a moment to inspect your keyboard hardware to ensure there are no physical problems contributing to the issue.
What are the advantages of using MO, TG, and LT keycodes for layer switching in QMK?
Using keycodes like MO, TG, and LT in QMK firmware can make handling layers easier and more tailored to your preferences:
- MO (Momentary Layer): This lets you access a layer only while holding the key down. It's handy for quick, temporary access to extra functions without committing to a full layer switch.
- TG (Toggle Layer): A single tap toggles a layer on or off. This is perfect for layers you use often and need to stay active until you decide to turn them off.
- LT (Layer Tap): This keycode does double duty. A tap triggers its primary function, while holding it activates a layer. It's a smart way to get more out of your keys, especially on compact keyboards.
These keycodes make your keyboard setup more adaptable, save space, and help create a smoother, more efficient typing experience that fits your workflow.
How can I keep my custom QMK configurations compatible with future updates?
Keeping your custom QMK configurations in sync with future firmware updates requires a bit of planning. Start by regularly reviewing the QMK changelog. This helps you stay informed about any updates, new features, or changes that could affect your setup.
Another tip? Write modular, well-documented code. This makes it much easier to tweak things when updates roll out. If you're feeling adventurous, testing your configurations with development or beta firmware versions can help you catch potential issues before they become big problems.
Finally, don’t underestimate the power of community. Engaging with the QMK community can provide valuable insights into upcoming changes and the best ways to keep your setup running smoothly.