Removing old lube from keyboard switches is essential for maintaining smooth performance and extending their lifespan. Over time, lube can degrade due to dust, humidity, and frequent use, leading to sticky keys, uneven tactility, or unpleasant sounds. Here’s a quick rundown on how to clean your switches effectively:
- Tools Needed: High-concentration isopropyl alcohol (90%+), cotton swabs, lint-free cloths, a switch opener, soft brushes, and small containers. Optional tools like ultrasonic cleaners and nitrile gloves can make the process easier.
- Steps: Disassemble your keyboard, open the switches, and clean each part using the appropriate method. Use isopropyl alcohol for stubborn residue but avoid prolonged exposure to prevent damage to plastics.
- Dry Components Thoroughly: Ensure every part is completely dry before reassembly to avoid performance issues.
- Materials to Watch: Transparent housings may discolor with alcohol, and certain plastics can stiffen or crack if soaked too long.
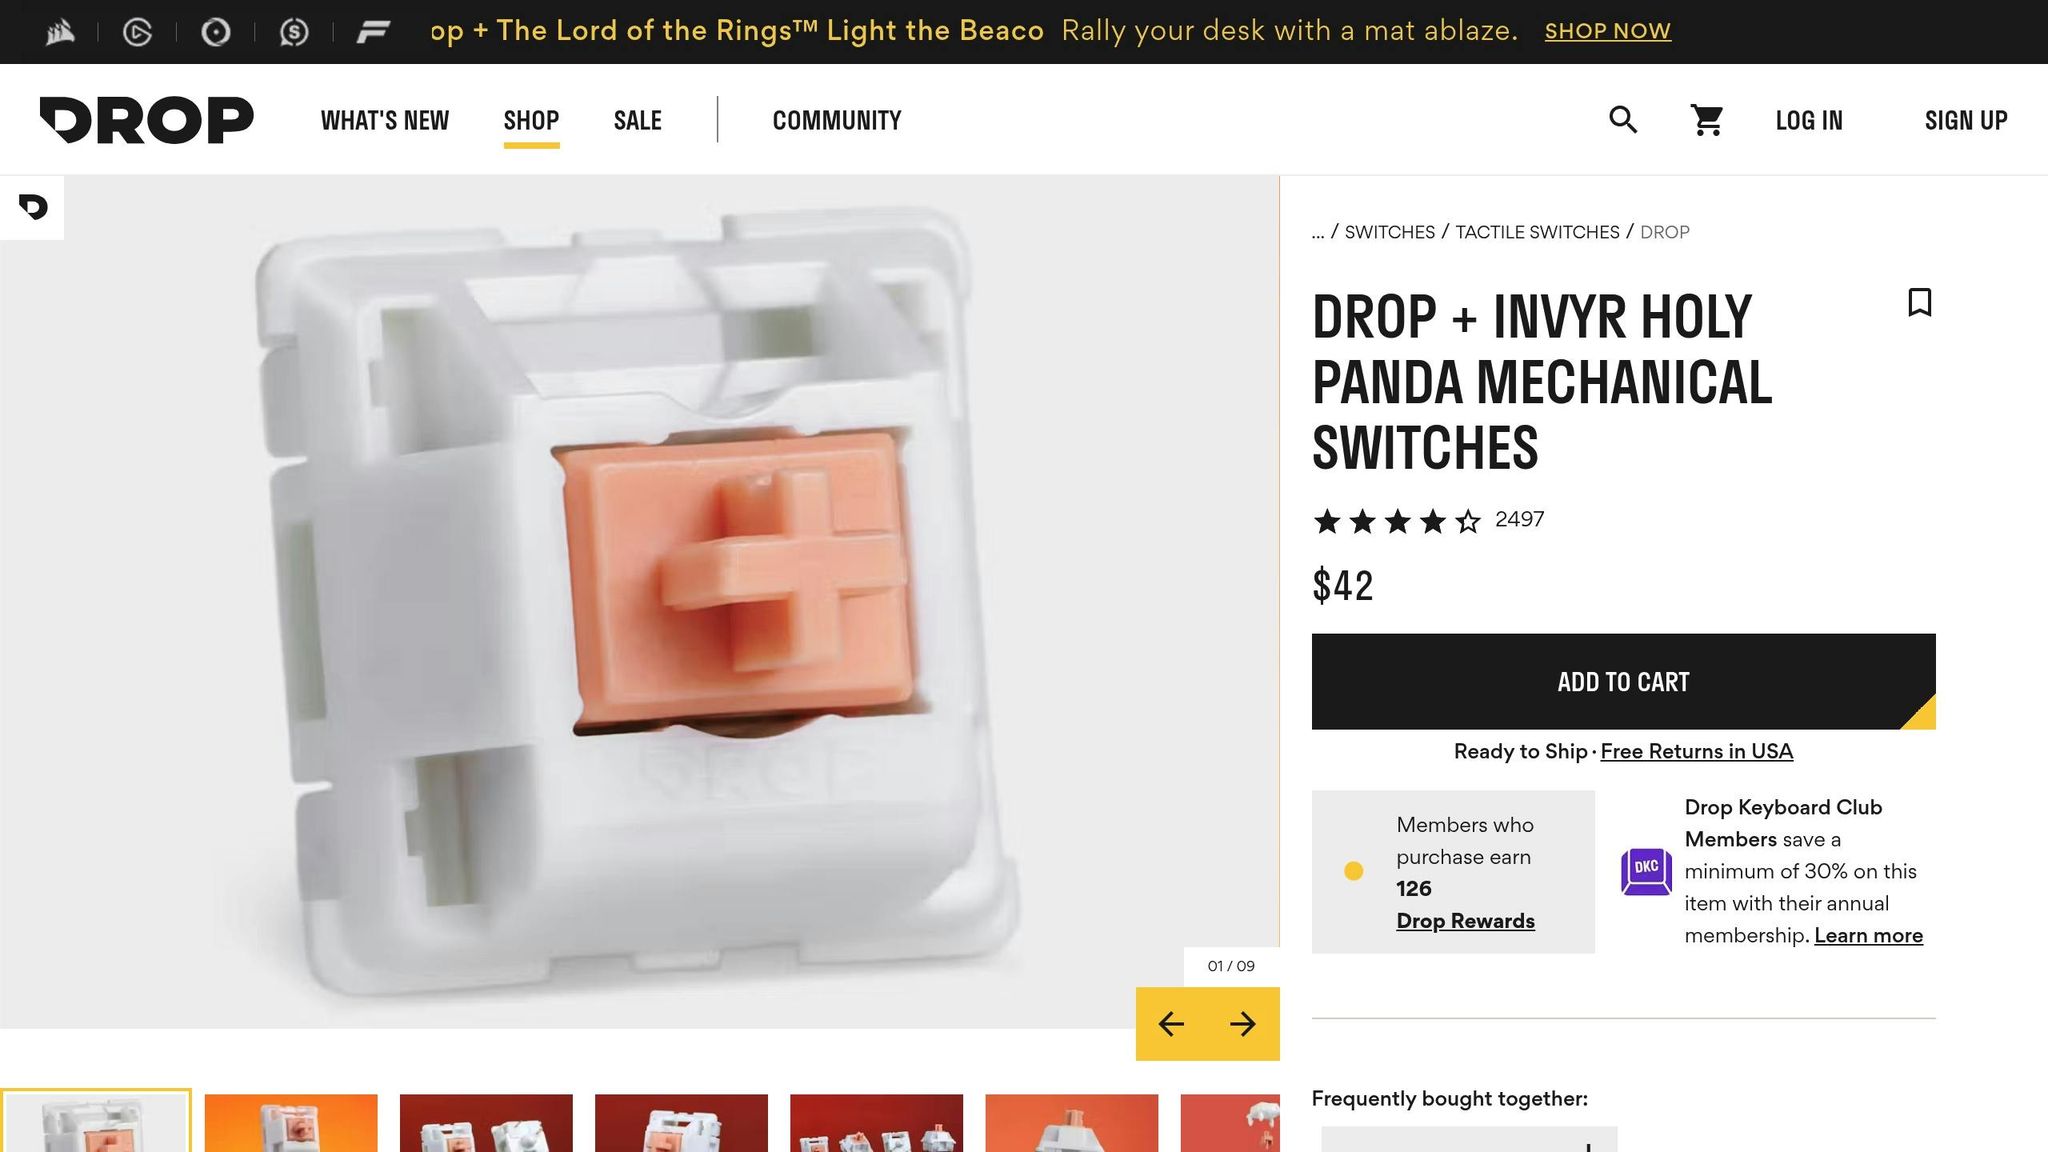
How to Clean Pre-lubed Switches like the Drop Holy Panda and Yok Panda
Tools and Supplies You Need
Having the right tools on hand is crucial for safely and effectively removing old lube from your switches. Gathering everything in advance ensures a smooth workflow without interruptions. Here's what you'll need to get started.
Required Tools
- Isopropyl alcohol (90% or higher): This is your go-to cleaning agent. A concentration of 90% or more evaporates quickly, leaving minimal residue. Avoid lower concentrations as they contain too much water, which can harm your switches.
- High-density cotton swabs and lint-free microfiber cloths: These are perfect for cleaning tight spaces and larger surfaces. Stock up on these essentials to make the process easier.
- KeebsForAll Switch Opener ($19.00): Specifically designed for safe and efficient disassembly, this tool makes opening switches a breeze.
- Small soft brushes: Ideal for removing stubborn residue. While an old toothbrush can work, softer-bristled brushes are gentler on the delicate components of your switches.
- Small containers: Use these to organize your switches and parts during the cleaning process. They help keep everything in place and prevent losing tiny components.
Optional Tools for Enhanced Cleaning
If you're aiming for an even deeper clean, consider these additional tools:
- Ultrasonic cleaner: This device uses high-frequency sound waves to create tiny bubbles in a cleaning solution. These bubbles implode, generating small shock waves that remove dirt and grime from surfaces and crevices. Run the cleaner for 3–10 minutes, but double-check that your switch materials can handle the process.
- Disposable nitrile gloves: These are handy if you're working with oils or solvents. They protect your hands and prevent skin oils from transferring onto freshly cleaned components.
Where to Buy Quality Tools
KeebsForAll is a one-stop shop for all your switch-cleaning needs. They also offer Lube Brushes for $4.00, which are perfect for detailed cleaning tasks.
How to Remove Old Lube: Step-by-Step
Now that you’ve gathered your tools, it’s time to start disassembling your keyboard. Follow this step-by-step guide to safely remove old lubricant without causing any damage to your switches.
Taking Apart Your Keyboard and Switches
Start by unplugging your keyboard from your computer. This simple precaution prevents electrical issues and ensures your safety during the process. Before taking anything apart, snap a quick photo of your keyboard layout. Trust me, this will save you a lot of frustration when it’s time to reassemble everything.
Use a keycap puller to remove the keycaps, working in an organized way. Place the keycaps in a container or arrange them in order to keep things neat. Next, move on to the switches. If your keyboard is hot-swappable, you can remove switches with a puller or tweezers. However, if the switches are soldered, you’ll need to desolder them first.
Once the switches are out, grab your KeebsForAll Switch Opener to separate them. Position the switch in the opener and press to release the top housing from the bottom. Be careful not to remove the leaf from the housing - it’s tricky to put back and could damage the copper contacts.
Disassemble each switch into its core parts: the top housing, bottom housing, stem, and spring. To avoid mixing up components, keep the parts of each switch together in small containers. Once disassembled, you’re ready to clean off the old lubricant.
Cleaning Methods for Different Types of Residue
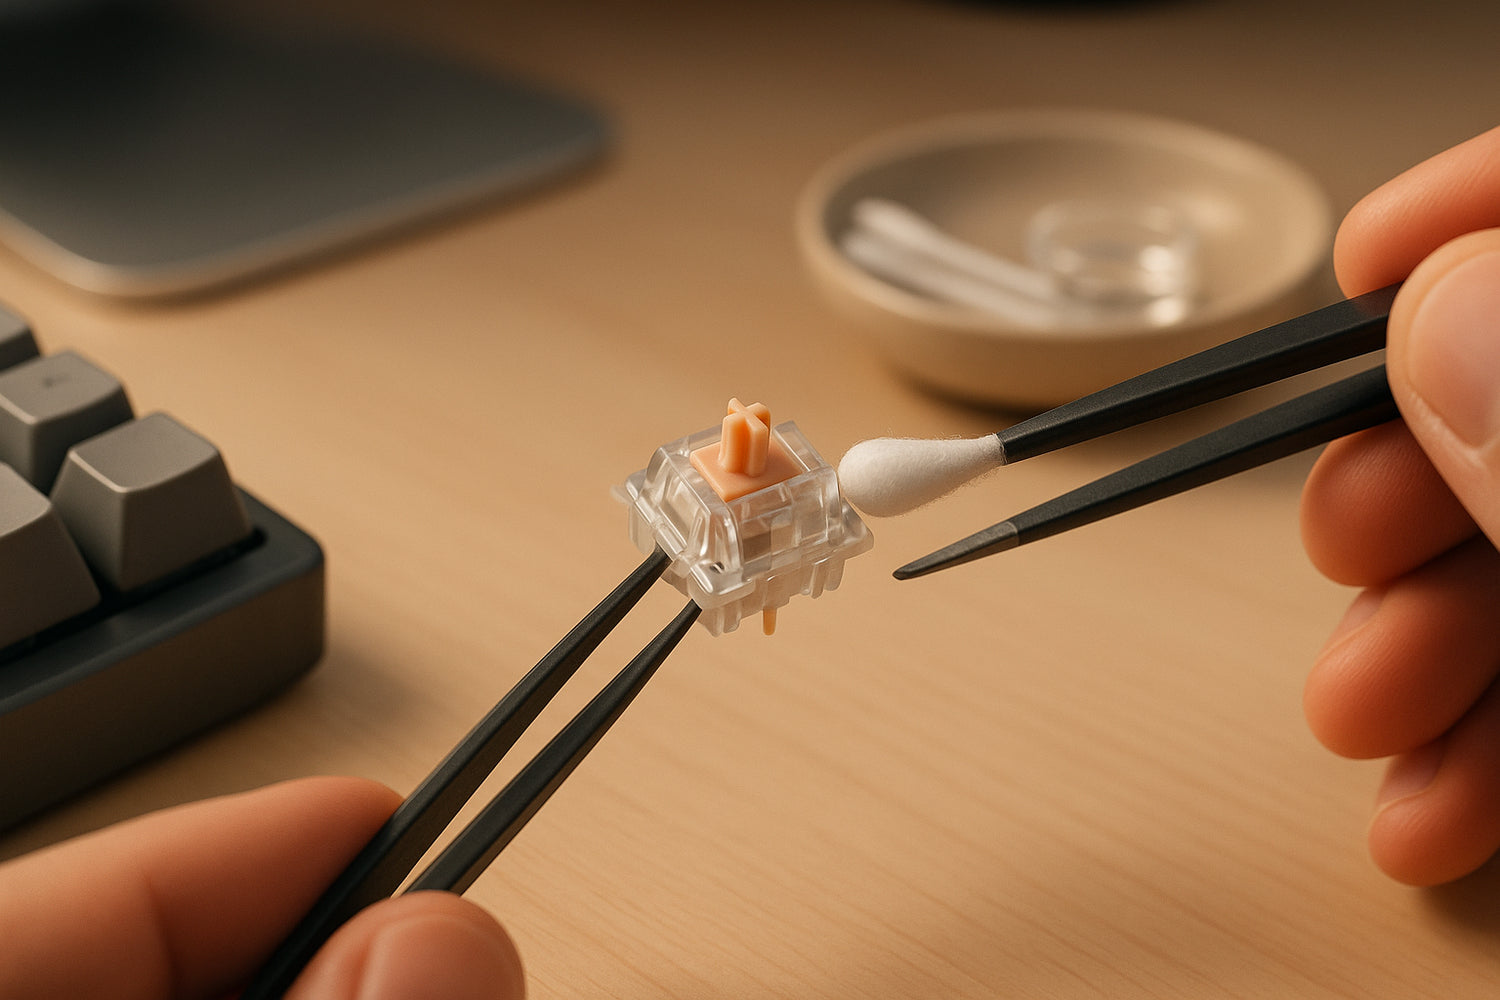
The cleaning method you choose depends on how stubborn the old lube is. For lighter residue, manual cleaning with cotton swabs and isopropyl alcohol is usually enough. Dampen the swab with alcohol and clean each part carefully. This method is gentle and allows you to control the process.
That said, be cautious with isopropanol. Prolonged exposure can cause certain plastics to crack or stiffen, so don’t overdo it.
"Speaking from personal knowledge, based on facts as far as I know, I think you should be aware that prolonged exposure to isopropanol especially of the plastic parts can cause crazing or stiffening depending on the plastic." – Kasuka3497
For switch housings, stick to manual cleaning rather than soaking. Use a cotton swab or lint-free cloth dampened with 90% isopropyl alcohol to clean all surfaces, especially the crevices where lube tends to build up.
Stems and springs can handle more aggressive cleaning methods. You can soak these parts in isopropyl alcohol for 3-5 minutes to dissolve tougher residue. If you have an ultrasonic cleaner, submerge the stems and springs in the cleaning solution and run it for 3-10 minutes. Adding a bit of mild dish soap to the water can improve the results.
No matter which method you use, make sure every component is completely dry before moving forward. Even a tiny bit of moisture can impact switch performance and lead to problems later.
Handling Different Switch Materials and Colors
Different materials and finishes require special care during cleaning. For clear or transparent housings, take extra caution when using isopropyl alcohol. These housings can develop a permanent white haze when exposed to alcohol, which can affect their appearance.
"If you feel the need to completely start fresh with switch lube, IPA is a perfectly suitable alternative to the more costly ultrasonic cleaner method. That being said, there is the possibility you can discolor your switches, so do this at your own risk!" – Joe Chow
For colored housings, it’s a good idea to test your cleaning method on a single switch before tackling the entire batch. Some dyes or pigments may react poorly to alcohol or prolonged soaking, leading to discoloration or changes in texture. Keep soaking times short and watch for any changes.
Materials like nylon and POM generally hold up well to isopropyl alcohol, but even these can stiffen or crack with prolonged exposure. Limit soaking to under 5 minutes and opt for manual cleaning whenever possible. For switches with special coatings or finishes, stick to dry cleaning with a soft brush to preserve their appearance.
When dealing with mixed switch types, group similar materials together and clean them using the same method. This ensures consistent results and avoids accidental damage to delicate components.
Cleaning Methods Compared: Pros and Cons
Choosing the right cleaning method means finding the right balance between cost, effort, and results. Knowing the strengths and weaknesses of each approach can help you make a decision that fits your needs. Here's a breakdown of the most common cleaning methods and what they bring to the table.
Manual cleaning with small brushes or cotton swabs gives you precise control, making it perfect for delicate housings or targeting stubborn spots. However, it can be quite time-consuming, especially if you're dealing with heavy lube buildup.
Isopropyl alcohol (IPA) cleaning is both effective and budget-friendly. It works well for removing lube but does come with some limitations. Small batches and an 8-hour drying time are necessary to avoid discoloration. Also, ensure you're working in a well-ventilated space to protect both yourself and the switch materials.
For those looking for a more automated solution, ultrasonic cleaning offers thorough results with minimal effort. The downside? It comes with a higher upfront cost, which might not make sense for occasional cleaning tasks.
Soap and water cleaning is a gentle option that works well for removing light residues. It's safe for most plastic components but falls short when it comes to tackling heavy lube buildup.
Cleaning Methods Comparison Table
| Method | Effectiveness | Safety for Plastics | Relative Cost | Best For |
|---|---|---|---|---|
| Manual Cleaning (Brushes/Cotton Swabs) | Good | High | Low | Targeted cleaning of delicate housings |
| IPA Cleaning | Very Good | Medium (risk of discoloration) | Low | Removing lube from stems and springs |
| Ultrasonic Cleaning | Excellent | Medium | High | Thorough cleaning of large quantities |
| Soap and Water | Fair | High | Very Low | Light residue and gentle cleaning |
The table highlights the trade-offs of each method. Manual cleaning stands out for its precision and safety, though it demands more time. IPA cleaning strikes a balance between effectiveness and affordability, making it a go-to for many. For those managing large batches of switches, ultrasonic cleaning provides the most comprehensive results, despite its higher cost. Soap and water, while gentle and inexpensive, is best suited for lighter cleaning tasks.
For the best results, consider combining methods. Using manual cleaning for housings and IPA cleaning for stems and springs can give you an effective, cost-conscious solution that prepares your switches for re-lubing with minimal hassle.
sbb-itb-3cb9615
Getting Switches Ready for Re-Lubing
Now that your switches are thoroughly cleaned, it's time to gear up for re-lubing. This step is crucial - taking the time to prepare properly can make all the difference between a smooth, consistent result and one that falls short. The key here is patience and attention to detail.
Ensuring Components Are Clean and Dry
Before you even think about applying lubricant, double-check that every component is completely dry. This ensures the lubricant adheres evenly and performs as it should. Pay special attention to the springs and contact leaf areas, as these spots are prone to retaining moisture.
To be thorough, gently shake the springs to remove hidden moisture and carefully inspect the housing, especially around the contact leaf. Dry everything at room temperature - around 68–72°F - to avoid any risk of warping or discoloration. Avoid using heat sources like hair dryers or leaving components in direct sunlight, as they can damage the plastic.
Preparing Surfaces for Lubrication
Set up a clean and organized workspace to avoid introducing dust or debris into the process. Wipe down your work surface with a clean cloth or paper towel, and gather all the tools and materials you'll need before starting. A clutter-free area will make the process smoother and help you avoid mistakes.
Inspect each component under bright lighting to ensure no residue from old lubricant remains, especially in tricky spots like the corners of the switch housings. Even a small amount of leftover lube can throw off the consistency of the new application. If you have one, a magnifying glass can be a useful tool for spotting residue.
Pay extra attention to the contact leaf inside the housing. This thin metal piece is vital for both the switch’s electrical connection and its tactile feedback. It must be completely clean - if any buildup is present, go back and clean it again before proceeding. While you’re at it, check for damage like cracks in the housing, bent contact leaves, or deformed stems. Replace any damaged parts or decide whether the switch is still usable.
Once everything is clean, dry, and inspected, you’re ready to move on to choosing the right lubricants and tools.
Picking the Right Lubricants and Tools
A careful cleaning process deserves an equally precise approach to lubrication. Proper tools and high-quality lubricants can make all the difference in how your switches feel and perform.
"Lubricating your mechanical keyboard switches is one of the best ways to keep them feeling and sounding great." – Catherine L., Kinetic Labs
For linear switches, Krytox GPL-205 is a go-to option, offering smooth consistency and long-lasting performance. For tactile switches, Tribosys 3204 is a great choice - it smooths out scratchiness while preserving the tactile bump. Both of these lubricants are available from KeebsForAll, with Krytox 205 g0 starting at $7.95.
The tools you use are just as important. A fine brush will give you precise control over the application, and quality tweezers are essential for handling small components without leaving behind oils or fingerprints. For springs and stabilizers, Permatex Dielectric Tune-Up Grease works well due to its heavier consistency, which keeps it in place for longer-lasting results.
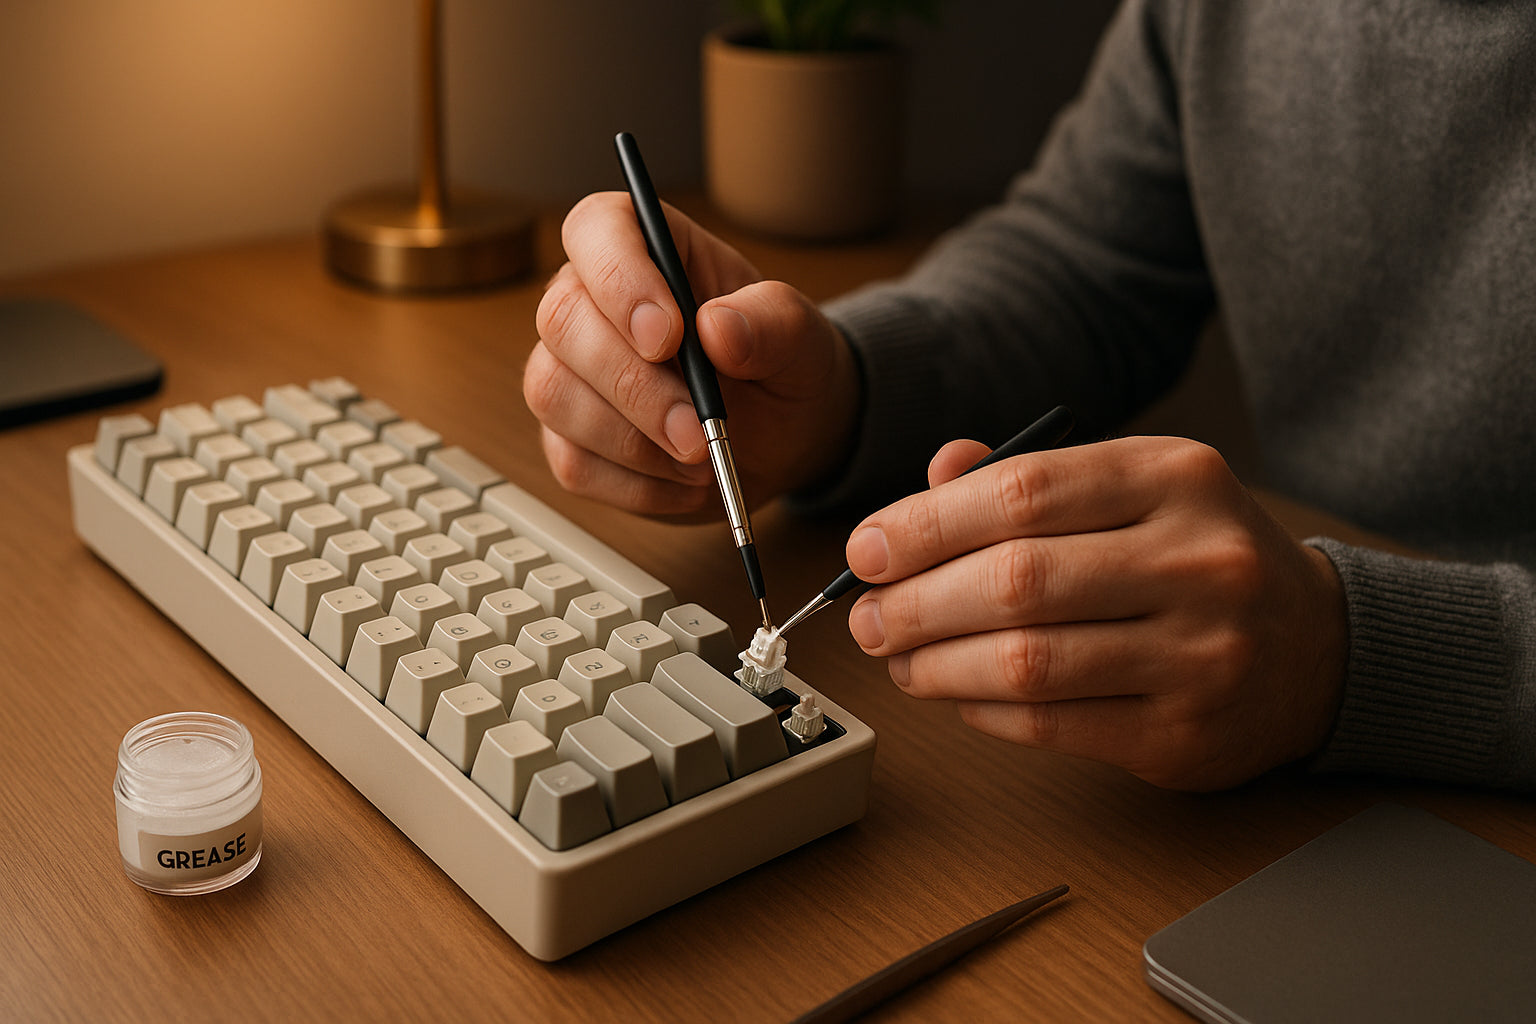
Keeping everything organized is also key. Use small containers or a parts tray to keep track of disassembled components, especially if you’re working with a large batch of switches. When applying lubricant, remember: less is more. Start with a small amount, as you can always add more if needed, but over-lubricating can lead to a mushy feel that’s hard to fix.
With clean components, the right tools, and careful application, you're well on your way to achieving smooth, consistent switch performance.
Conclusion: Main Points for Cleaning Switches
Keeping your switches clean is key to ensuring your keyboard performs well and lasts longer. While it takes some time, the right tools, and careful attention, the payoff is a smoother, more reliable typing experience.
The most crucial step? Making sure everything is completely dry before putting your keyboard back together. If you've used any wet cleaning methods, double-check that all parts are dry before connecting your keyboard to avoid potential issues.
Inspect every component after cleaning. If you notice keys not working correctly, revisit the switch connections or check if the keycaps are properly aligned. Sticky keys or odd noises might mean certain areas need another round of cleaning or additional drying. Once everything looks and feels right, reassemble your keyboard with high-quality tools and lubricants.
Using the right tools makes all the difference. Good tools not only simplify the cleaning process but also ensure effective re-lubing. For reliable results, consider tools and lubricants from KeebsForAll to get your switches working like new.
Regular upkeep is just as important. Routine maintenance can save you from needing extensive cleaning sessions later. By regularly removing dust, debris, and fingerprints, you’ll keep your keyboard performing and looking great for years.
Whether you're fixing one stubborn switch or refreshing your entire setup, KeebsForAll has everything you need. From cleaning supplies to premium lubricants and replacement parts, they’ve got you covered for all your keyboard customization needs.
Taking the time to clean your switches properly before re-lubing not only improves performance but also extends the life of your components. The result? A smooth, responsive typing experience that makes using a mechanical keyboard so satisfying.
FAQs
Can isopropyl alcohol damage mechanical keyboard switches, and how can I safely use it for cleaning?
Cleaning Mechanical Keyboard Switches with Isopropyl Alcohol
Using isopropyl alcohol with a concentration of 70% or higher is a popular method for cleaning mechanical keyboard switches. It’s effective because it evaporates quickly and does a great job of removing dirt, dust, and old lubricant. However, be cautious with higher concentrations (above 90%), as they can sometimes weaken certain plastics or rubber components, potentially making them brittle over time.
For safe cleaning, avoid soaking the switches or leaving them in prolonged contact with the alcohol. Instead, apply a small amount to a cotton swab or microfiber cloth and gently clean the parts. Make sure the alcohol has completely evaporated before reassembling the switches. If you’re unsure about how the material will react, test the alcohol on a small, inconspicuous area first to check for any potential damage.
How do I know if my keyboard switches need cleaning or re-lubing?
If your mechanical keyboard switches feel gritty, sticky, or unusually noisy, it might be time to clean or re-lubricate them. These problems often stem from old lubricant buildup or a lack of proper lubrication. Signs like friction, rough keypresses, or strange noises are clear indicators that your switches may need some care.
However, if your switches feel smooth and operate quietly, there's no need for immediate action. Checking your switches regularly for wear and ensuring they’re adequately lubricated can keep them performing well and help them last longer.
What should I do if my switches look discolored or feel different after cleaning?
If you spot any discoloration or a change in texture after cleaning your switches, stop using them immediately. Make sure the switches are fully dry, as leftover moisture can lead to problems. If the discoloration or texture change doesn’t go away, it likely means the switch is damaged and should be replaced.
To prevent this from happening again, stick to gentle cleaning techniques and steer clear of harsh chemicals that could damage the switch material.


![[Pre-Order] Autumn Leaves PBT Keycaps - KeebsForAll](http://keebsforall.com/cdn/shop/products/DSC09732.jpg?v=1676148273)


Leave a comment
This site is protected by hCaptcha and the hCaptcha Privacy Policy and Terms of Service apply.