Building a mechanical keyboard for under $150 is entirely doable and offers a personalized typing experience without overspending. Here's the gist:
- Key Components: Prioritize switches and keycaps (40-50% of your budget), followed by a case, PCB, and plate.
- Budget Allocation: Look for plastic cases, hot-swappable PCBs, and affordable switches like Gateron Yellows. Keycaps made from PBT are durable and a good choice.
- Where to Shop: Use second-hand markets like kfamarketplace.com or vendors like KeebsForAll for deals. Seasonal discounts can also help you save.
- Tools & Mods: Basic tools like a switch puller and lubricants (e.g., Krytox 205g0) can enhance performance. Small mods like case foam or stabilizer tuning improve sound and feel.
- Layouts: Choose a layout (60%, 65%, or TKL) based on your needs and budget. Smaller layouts save money but sacrifice some keys.
With smart planning and attention to detail, you can create a keyboard that feels premium without breaking the bank.
How to build your FIRST custom keyboard! (ON A BUDGET)
Parts List and Costs
Understanding the function and cost of each component is key to staying within your $150 budget. Smart choices can help you build a keyboard that feels and performs well without breaking the bank.
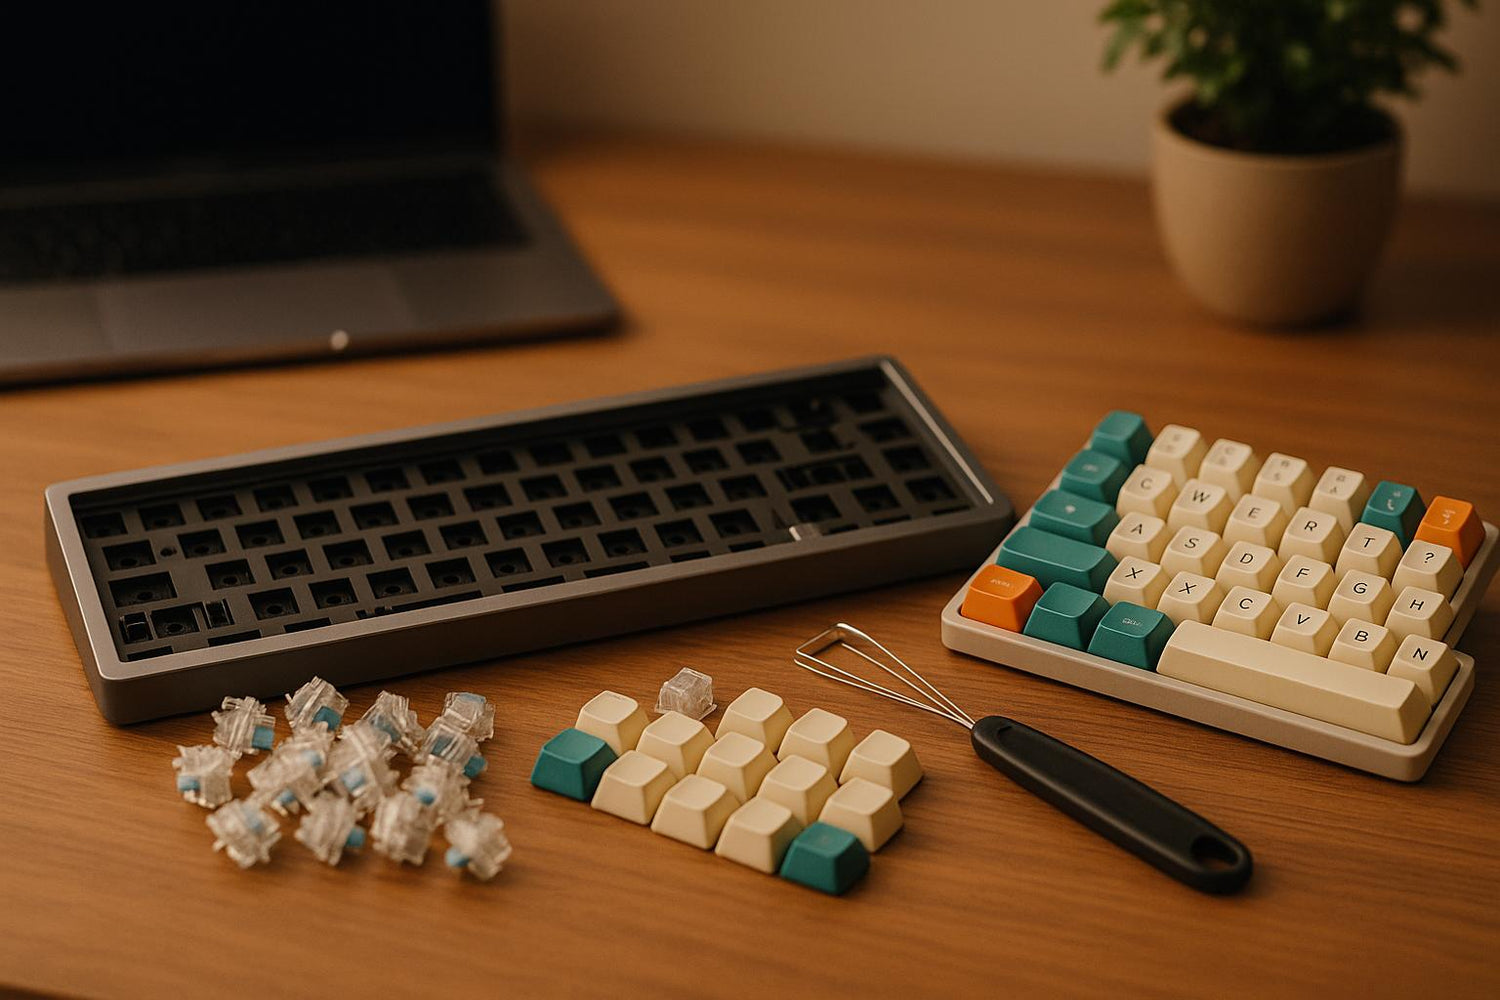
Required Parts for Your Build
The case serves as the foundation of your keyboard, housing all the components and influencing its acoustics. Plastic cases are a budget-friendly option, available in a variety of colors, and still provide solid performance. On the other hand, aluminum cases offer a more premium feel but come at a higher price. For most budget builds, plastic cases strike the right balance between cost and quality.
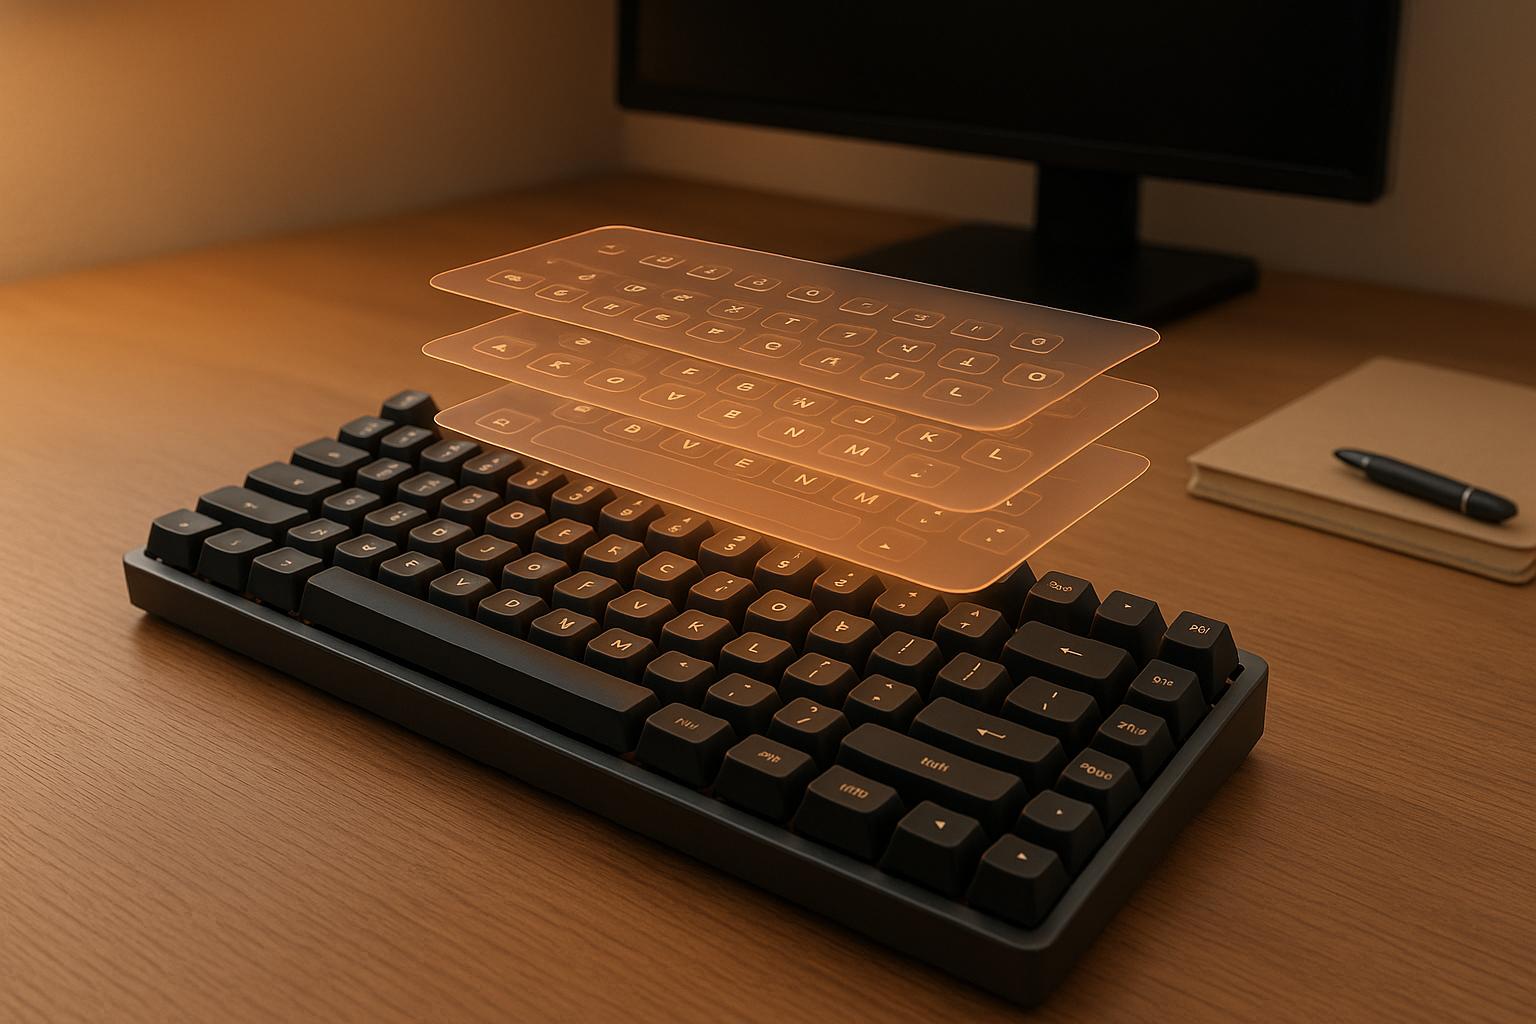
The PCB (Printed Circuit Board) is the brain of your keyboard, registering keystrokes and sending signals. For beginners, a hot-swappable PCB is ideal, as it allows you to change switches without soldering. This feature makes it easier to experiment with different switch types later on.
Switches determine how your keyboard feels and sounds when you type. They come in three main types: linear (smooth and quiet), tactile (a noticeable bump), and clicky (audible feedback). Depending on your keyboard size, you’ll need between 61 and 104 switches.
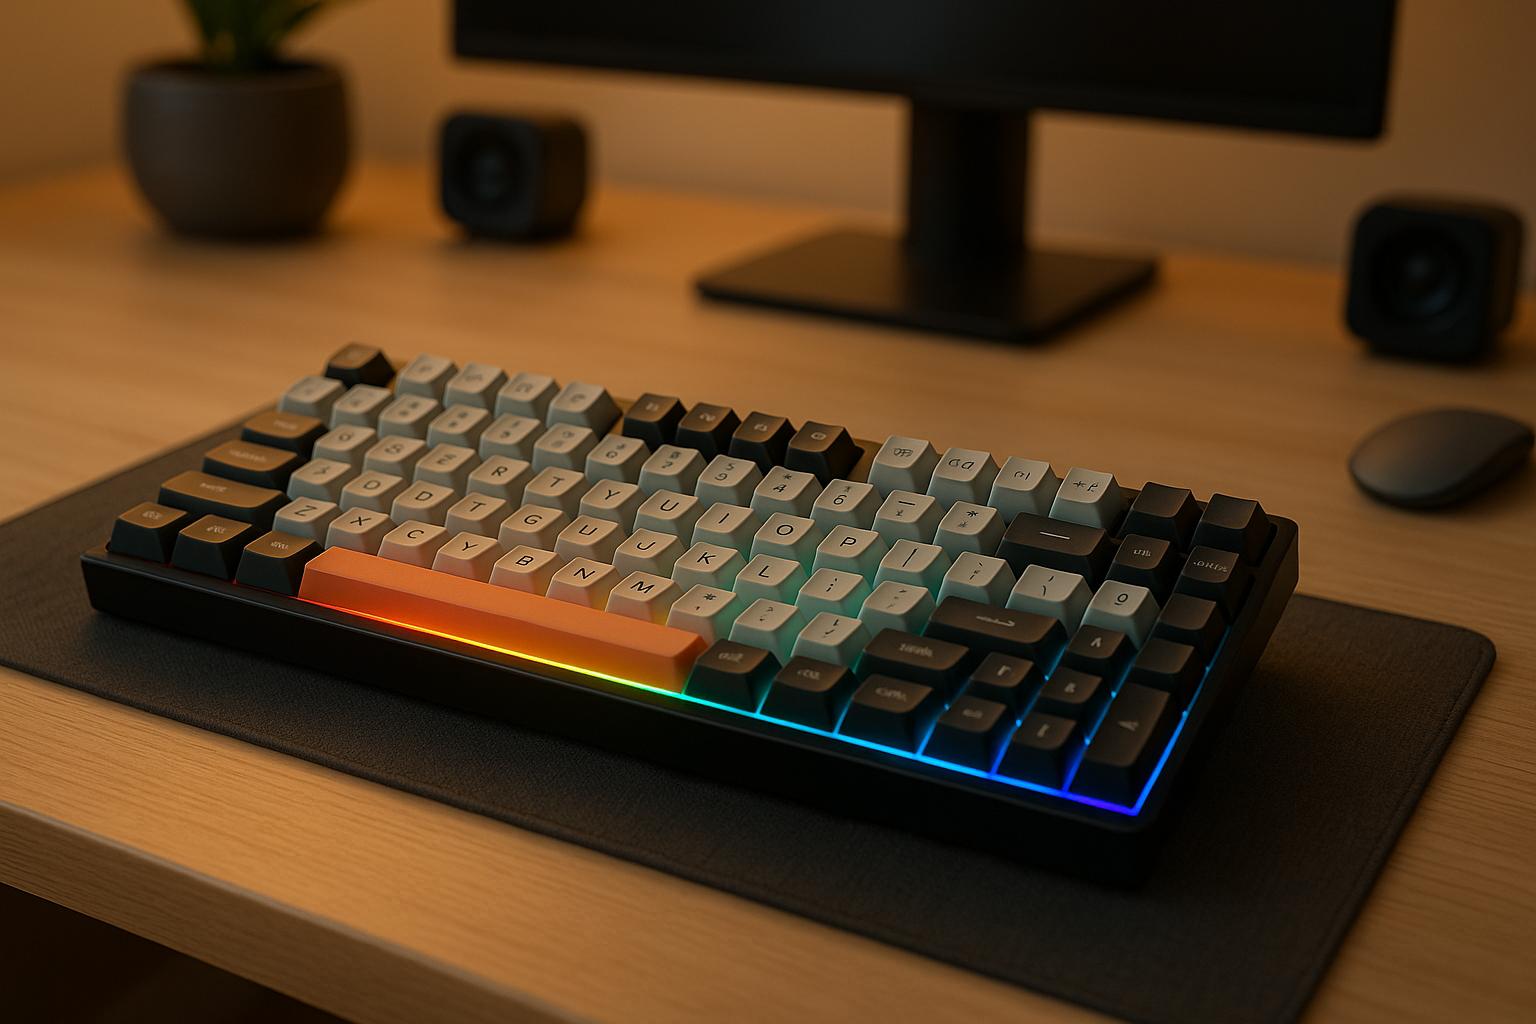
Keycaps are the part of the keyboard you interact with most, so they greatly impact both appearance and typing experience. Common materials include ABS plastic, which is affordable but tends to develop a shiny surface over time, and PBT plastic, which is more durable and retains its texture longer. The shape and height of keycaps (known as their profile) also play a role in typing comfort.
Stabilizers are essential for larger keys like the spacebar, enter, and shift. High-quality stabilizers prevent rattling and ensure smooth, even keypresses. While often overlooked, they make a noticeable difference in overall typing feel.
Finally, some basic tools and mods, like a switch puller, Krytox 205g0 lubricant, and case foam, can enhance your build. These tools make switch removal easier, improve smoothness, and reduce hollow sounds.
Price Breakdown by Component
Allocating your budget wisely ensures you get the best performance for your money. Here’s a breakdown of typical costs:
| Component | Price Range | Budget Allocation | Notes |
|---|---|---|---|
| Case + PCB + Plate | $45-$70 | 35-45% | Often sold as kits for better value |
| Switches (70 pieces) | $25-$45 | 20-30% | Major factor in typing feel |
| Keycaps | $20-$35 | 15-25% | Impacts both aesthetics and comfort |
| Stabilizers | $8-$15 | 5-10% | Important for smooth operation of large keys |
| Tools & Mods | $10-$20 | 5-15% | Includes switch puller, lube, and foam |
Complete case+PCB kits, priced between $45 and $70, often save money compared to buying parts separately. Some kits even include gasket mount designs, which can elevate the typing experience while staying within budget if you shop carefully.
Switches, like Gateron Yellow or Red, are a cost-effective choice, priced at $0.35–$0.45 each. For a 65-key build, this totals $25–$55.
Keycaps can vary widely in price. Basic ABS sets start at around $20, while higher-quality PBT sets with better legends cost $25–$35. Avoid spending more than $40 on keycaps for a budget build; you can always upgrade later.
When it comes to stabilizers, spending $10–$15 on decent ones is a small but worthwhile investment. Poor-quality stabilizers, often priced under $5, can lead to rattling and uneven keypresses, especially on frequently used keys like the spacebar.
Where to Buy Affordable Parts
To stick to your $150 target, focus on reliable vendors. KeebsForAll is a great option, offering competitive prices and a good selection of in-stock items. For example, their Freebird60 kits start at $160. While slightly above budget, these kits include premium features like CNC aluminum cases, which would cost significantly more if purchased separately.
For individual components, KeebsForAll also stocks essentials like Krytox 205g0 lubricant for $7.95 and their KFA Switch Opener for $19.00. These tools are durable and can be reused for future builds, making them a smart investment for anyone serious about the hobby.
Another option is the second-hand market, where lightly used cases and PCBs can be found for 30-50% less than new. Since these parts rarely wear out, buying used can help you afford higher-quality components within your budget.
Seasonal discounts are another way to save, with price reductions of 15-25%. Planning your build around these sales can free up funds for upgrades or additional mods.
Starter kits often provide the best value. Even if a kit slightly exceeds your $150 budget, it usually includes all the components you need, often at a lower total cost than buying each part separately. This makes it a practical choice for first-time builders.
Assembly Instructions
Now that you’ve got your components and budget sorted, it’s time to assemble your custom mechanical keyboard. Don’t worry - it’s simpler than it seems. With the right tools and a step-by-step process, you can have your keyboard ready in about an hour. Let’s dive in.
Tools and Workspace Setup
First, gather the tools you’ll need. A CY Stainless Steel Keycap & Switch Puller ($4.00) is essential for handling keycaps and switches. If you’re working with a hot-swappable PCB, you can skip the soldering iron, but a KeebsForAll Switch Opener ($19.00) can make modifying switches much easier, especially if you plan to lube them for improved performance.
Set up your workspace on a clean, flat surface with ample lighting. Use an anti-static mat to protect your PCB from static discharge. To keep things organized, store small parts like screws in a bowl or magnetic tray - losing a screw mid-build can be a real headache.
If you’re planning to lube your switches, consider adding Lube Brushes ($4.00) and a Stem Holder for Switches ($4.90) to your toolkit. For a more professional setup, the Geon DailyLube Plate ($22.00) can help you lube switches consistently, though a flat surface works fine for beginners.
Once your tools and workspace are ready, you can start assembling by installing the stabilizers and switches.
Building Your Keyboard
Start with the stabilizers - they need to go in before the switches. Remove the PCB from your case and locate the slots for larger keys like the spacebar, Enter, Shift, and Backspace. Durock V2 Screw-In Stabilizers (starting at $4.00) are a reliable choice and easy to work with.
Insert the stabilizer housings into the designated slots on the PCB. If you’re using screw-in stabilizers, thread the screws from the bottom of the PCB and tighten them securely. Be careful not to overtighten, as this can damage the PCB. Once installed, press each stabilizer to ensure it moves smoothly.
Next, install the switches. Begin with the corner switches to help align the PCB in the case. Carefully align each switch with its socket - forcing a misaligned switch can damage the hot-swap sockets. Press gently until you hear a click. Work row by row, making sure all switches are secure and consistent. If a switch feels loose or wobbly, remove and reinstall it to avoid issues with key presses later.
Once the switches are in place, move on to the keycaps. Start with the larger keys that use stabilizers, such as the spacebar, since they can be trickier to align. The spacebar should sit evenly and return smoothly when pressed. If it feels uneven, check that the stabilizer wire is properly seated in the housings.
Finally, secure the PCB assembly into the case. Most budget cases use a simple screw mounting system with four to six screws around the edges. Start by lightly tightening all screws, then gradually tighten them in a cross pattern to ensure even pressure.
Simple Mods for Better Performance
Even an entry-level build can feel more polished with a few easy tweaks. Adding case foam can reduce unwanted echoes, while lubing your switches with Krytox 205g0 ($7.95) will make typing smoother. Products like Geon Keyboard Foams for TKLs ($6.50) or Navigation & Arrow Keys Foam ($4.50) can be trimmed to fit your layout and placed between the PCB and the case bottom before final assembly.
For lubing switches, use your puller to remove each switch, open it with the switch opener, and apply a thin layer of lubricant to the stem rails and spring. Be careful not to get lube on the metal contacts.
For added stability, consider using TX Switch Films ($5.50). These thin plastic sheets fit between the switch housing halves, tightening tolerances and providing a more solid feel. They’re especially useful for budget switches that might have looser manufacturing tolerances.
Before calling your build complete, thoroughly test your keyboard. Use an online key tester to make sure every switch registers properly. Pay extra attention to stabilized keys - they should feel smooth and consistent. If any key feels scratchy or sticks, take the time to fix it now.
Budget Customization Options
If you're working with a budget of $150 or less, you can still create a great mechanical keyboard by carefully planning and allocating your funds.
Picking Your Keyboard Layout
The layout of your keyboard isn’t just about aesthetics - it directly impacts your typing experience, desk space, and how much you’ll spend. Each layout has its pros and cons, so it’s worth considering what fits your needs best.
| Layout | Cost | Pros | Cons | Best For |
|---|---|---|---|---|
| 60% | $120–$140 total | Compact, portable, and affordable | No dedicated arrow keys or function row | Gamers, minimalists, small desks |
| 65% | $130–$150 total | Compact with dedicated arrow keys | Fewer function keys than larger layouts | General use, programming |
| TKL | $140–$160+ total | Full function row and familiar layout | Higher cost, requires more components | Office work, heavy typing |
These estimated costs are based on DIY builds using budget components, and they can vary depending on whether you buy new or used parts. For instance, the 60% layout is the most cost-effective, leaving room in your budget for higher-quality switches or keycaps. However, it does sacrifice some dedicated keys, which many users get around by using function layers. The 65% layout strikes a nice balance, keeping essential arrow keys while staying compact.
A TKL (tenkeyless) keyboard offers a more traditional layout with a full function row, but it can stretch your budget. While you can find affordable TKL components, building one for under $150 can be challenging. Pre-built options like the KeebsForAll Freebird TKL Full Kit start at $249.99, showing that TKL builds often require creativity to stay within budget. Second-hand components can help you save and achieve a premium look without overspending.
Once you’ve chosen your layout, any leftover funds can go toward upgrading switches and keycaps for a better typing experience.
Budget Switches and Keycaps
Switches and keycaps are where you can really enhance the feel and look of your keyboard without breaking the bank. For a layout with around 65 keys, you can expect to spend $20–$26 on quality switches. Spending a little extra here can make a noticeable difference in smoothness and reliability.
For keycaps, basic PBT sets are a great starting point. They’re affordable, durable, and offer a satisfying typing feel. Cherry profile keycaps are especially popular for their comfort. If you want to add some flair, dye-sublimated PBT sets with unique colors or legends are available for $35–$45. While these might push your budget, they can make your keyboard stand out. Double-shot keycaps are another durable option, though they often exceed tighter budgets. You can always start with a basic set and upgrade specific keys later to add some personality.
Using the Second-Hand Market
Stretch your budget further by exploring second-hand options. Platforms like the KeebsForAll KFA Marketplace (https://kfamarketplace.com) offer access to high-quality components at reduced prices. Enthusiasts often sell fully assembled keyboards when upgrading their setups, giving you a chance to snag premium builds for less. For example, a keyboard built for $200–$250 might sell for $120–$150, including components like high-end switches or keycaps that would otherwise be out of reach.
You can also find individual components at significant discounts. Premium keycaps can drop to nearly half their original price, and desoldered switches are often available at 30–40% off. When shopping second-hand, pay close attention to condition descriptions and any modifications. Hot-swappable PCBs tend to hold up better over time compared to soldered boards, and cases and plates are usually durable. However, it’s a good idea to buy stabilizers new (around $4–$8), as used ones may have inconsistent lubrication or wear that affects the smoothness of larger keys.
sbb-itb-3cb9615
Common Problems and Care
Even a keyboard build on a budget can run into common issues. The good news? Most problems during assembly have straightforward fixes, and with proper upkeep, your keyboard can last for years. A little effort in maintenance can go a long way in preserving the value of a $150 build.
Fixing Assembly Issues
One of the most frequent issues is stabilizer rattle. This happens when stabilizers aren’t secured properly or lack lubrication. To fix this, make sure stabilizers are firmly seated - especially plate-mounted ones, which should snap securely into place. If the rattle persists, apply a small amount of dielectric grease or keyboard lube to the stabilizer wires and housings to create smoother key presses.
Another common problem is switches not fitting properly. Switch pins can bend during shipping or handling, so inspect them closely. If you find bent pins, carefully straighten them with tweezers, being cautious not to break them. For hot-swappable boards, ensure each switch is fully seated in its socket; you should feel a distinct click when it’s securely in place. If a switch doesn’t work even after installation, check for debris in the socket and test the switch in a different slot to rule out PCB issues.
Keycap misalignment might seem like a small issue, but it can affect both the look and feel of your keyboard. Ensure keycaps are pressed firmly onto the switch stems. Some keycap profiles, like Cherry, require precise placement to avoid discomfort or misalignment. If a keycap feels wobbly, remove it and check that the stem isn’t damaged.
| Issue | Common Cause | Quick Solution |
|---|---|---|
| Stabilizer rattle | Loose or dry stabilizers | Lubricate wires and ensure tight mounting |
| Switch not fitting | Bent pins or misalignment | Straighten pins; ensure proper seating |
| Keycap shine/wear | ABS material or heavy use | Use PBT keycaps for better durability |
| Dust/debris buildup | Dusty environment or neglect | Clean regularly and use a keyboard cover |
Keyboard Maintenance
Once assembly issues are under control, regular maintenance is key to keeping your keyboard in top shape. Cleaning your keyboard every 1–3 months can prevent dust buildup and keep your switches feeling crisp. If your workspace is dusty or you snack near your keyboard, you may need to clean it more often.
Start by removing all keycaps using a keycap puller. Wash them in warm, soapy water and let them air dry completely. While the keycaps dry, use compressed air to blow out dust and debris from the switches and PCB. For stubborn particles, a soft brush works well - just be gentle to avoid damaging the switch housings.
To clean the keyboard's surface, use a microfiber cloth lightly dampened with isopropyl alcohol (70% or higher). This removes fingerprints and grime without harming the finish. Steer clear of harsh chemicals or excessive moisture, as these can damage the PCB or cause corrosion.
When not in use, keep your keyboard in a clean, dry area. A dust cover or even a simple cloth can prevent debris from settling between the keys. Watch for signs of wear, like sticky switches, loose stabilizers, or fading keycap legends, and address these issues promptly. If parts need replacing, the second-hand market is a great place to find affordable options.
Getting Help and Resources
If you need extra guidance, don’t hesitate to revisit earlier instructions or tap into community support. The mechanical keyboard community is a treasure trove of advice, offering solutions for everything from basic assembly to advanced modifications.
One great resource is the KeebsForAll KFA Marketplace, where you can find affordable parts and learn from other builders. Many listings include detailed build descriptions, showcasing how enthusiasts have tackled common challenges and customized their keyboards.
With the rise of hot-swappable keyboards under $150 from brands like Keychron, Royal Kludge, and Epomaker, there’s a growing community of users with similar setups. Whether you’re troubleshooting or looking for inspiration, you’ll find plenty of support and ideas from others who’ve been in your shoes.
Conclusion
Creating a custom mechanical keyboard for under $150 is not just possible - it’s a rewarding challenge that lets you craft a typing experience tailored to your needs while picking up some practical technical skills along the way.
Key Takeaways
The key to success lies in making thoughtful choices when selecting components. Focus on the essentials: a quality hot-swappable PCB and case combo, dependable switches, and durable keycaps. Keep some of your budget aside for basic tools and potential upgrades.
If you’re looking to stretch your dollar further, the second-hand market can be a goldmine for affordable, high-quality parts. Just be sure to thoroughly inspect items and ask sellers about any modifications or potential issues before making a purchase.
Small tweaks like adding foam for sound dampening or lubricating stabilizers can make a noticeable difference in your keyboard’s feel and sound without adding much to the cost.
And don’t forget about maintenance! Regular cleaning, quick repairs, and proper storage will ensure your keyboard stays in great shape for years to come.
Ready to Build?
Now it’s time to put these tips into action. Start by deciding on a layout and setting your priorities. Do you prefer the tactile feedback of a clicky switch, or is silent operation more your style? Are features like RGB lighting important to you? These choices will shape your parts list and guide how you allocate your budget.
For pricing and parts, check out resources like KeebsForAll. Their marketplace is a great spot to find discounted components and to see what other builders are creating for inspiration.
Remember, your first build is all about learning. Each step - choosing switches, assembling the board, and troubleshooting - will teach you more about what you like and what works best for your needs. The mechanical keyboard community is full of friendly enthusiasts who are more than happy to help if you run into any challenges.
Stick to your budget, stay focused on your layout preferences, and don’t be afraid to get creative. With careful planning and a little effort, you can build a keyboard that delivers an amazing typing experience without breaking the bank.
FAQs
What’s the difference between plastic and aluminum keyboard cases, and how do they impact typing?
When deciding between plastic and aluminum keyboard cases, your choice can make a noticeable difference in your typing experience. Aluminum cases are known for their sturdiness, which helps minimize vibrations. They offer a solid, high-end feel and produce a sharper, resonant sound. On the flip side, plastic cases are lighter, more flexible, and easier on the wallet. They tend to deliver a softer, springier typing feel with a quieter, more subdued sound.
If durability and a premium build are at the top of your list, aluminum might be the way to go. However, if you prefer something lightweight, comfortable, and budget-friendly, plastic cases are a great alternative. Ultimately, the best choice comes down to what feels and sounds right to you, as well as what fits your budget.
How can I make sure second-hand keyboard parts from KeebsForAll Marketplace are in good condition?
How to Check the Quality of Second-Hand Keyboard Components
When shopping for second-hand keyboard components on KeebsForAll Marketplace, it’s crucial to inspect the condition of key parts like keycaps, switches, and PCBs. Look for visible signs of wear, such as scratches, bent pins, or discoloration. To get a clearer picture of what you’re buying, ask the seller for detailed photos or videos of the items.
Don’t forget to inquire about the usage history of the components. Find out how long they’ve been used and the conditions they were exposed to. It’s also important to confirm that the items are both genuine and fully functional. If you’re considering a pre-assembled keyboard, take the time to test each key to make sure they register properly and work as they should.
By being thorough and asking the right questions, you can confidently find reliable, well-maintained parts while shopping second-hand.
What are some easy ways to improve the sound and feel of a budget mechanical keyboard?
Improving the sound and feel of a budget mechanical keyboard doesn’t require a big investment or advanced skills. Here are a few easy and wallet-friendly tweaks you can try:
- Add foam or dampening material: Placing foam inside the keyboard case can cut down on unwanted noise and vibrations, giving it a cleaner sound profile.
- Lube your switches: Applying lubricant to your switches can make them feel smoother and enhance their sound, elevating your typing experience.
- Install O-rings: Adding O-rings to your keycaps helps soften the bottom-out sound and creates a gentler typing feel.
These simple modifications are perfect for beginners and won’t cost much, but they can transform your keyboard experience in a big way. A little effort goes a long way toward achieving a quieter, more enjoyable typing setup.


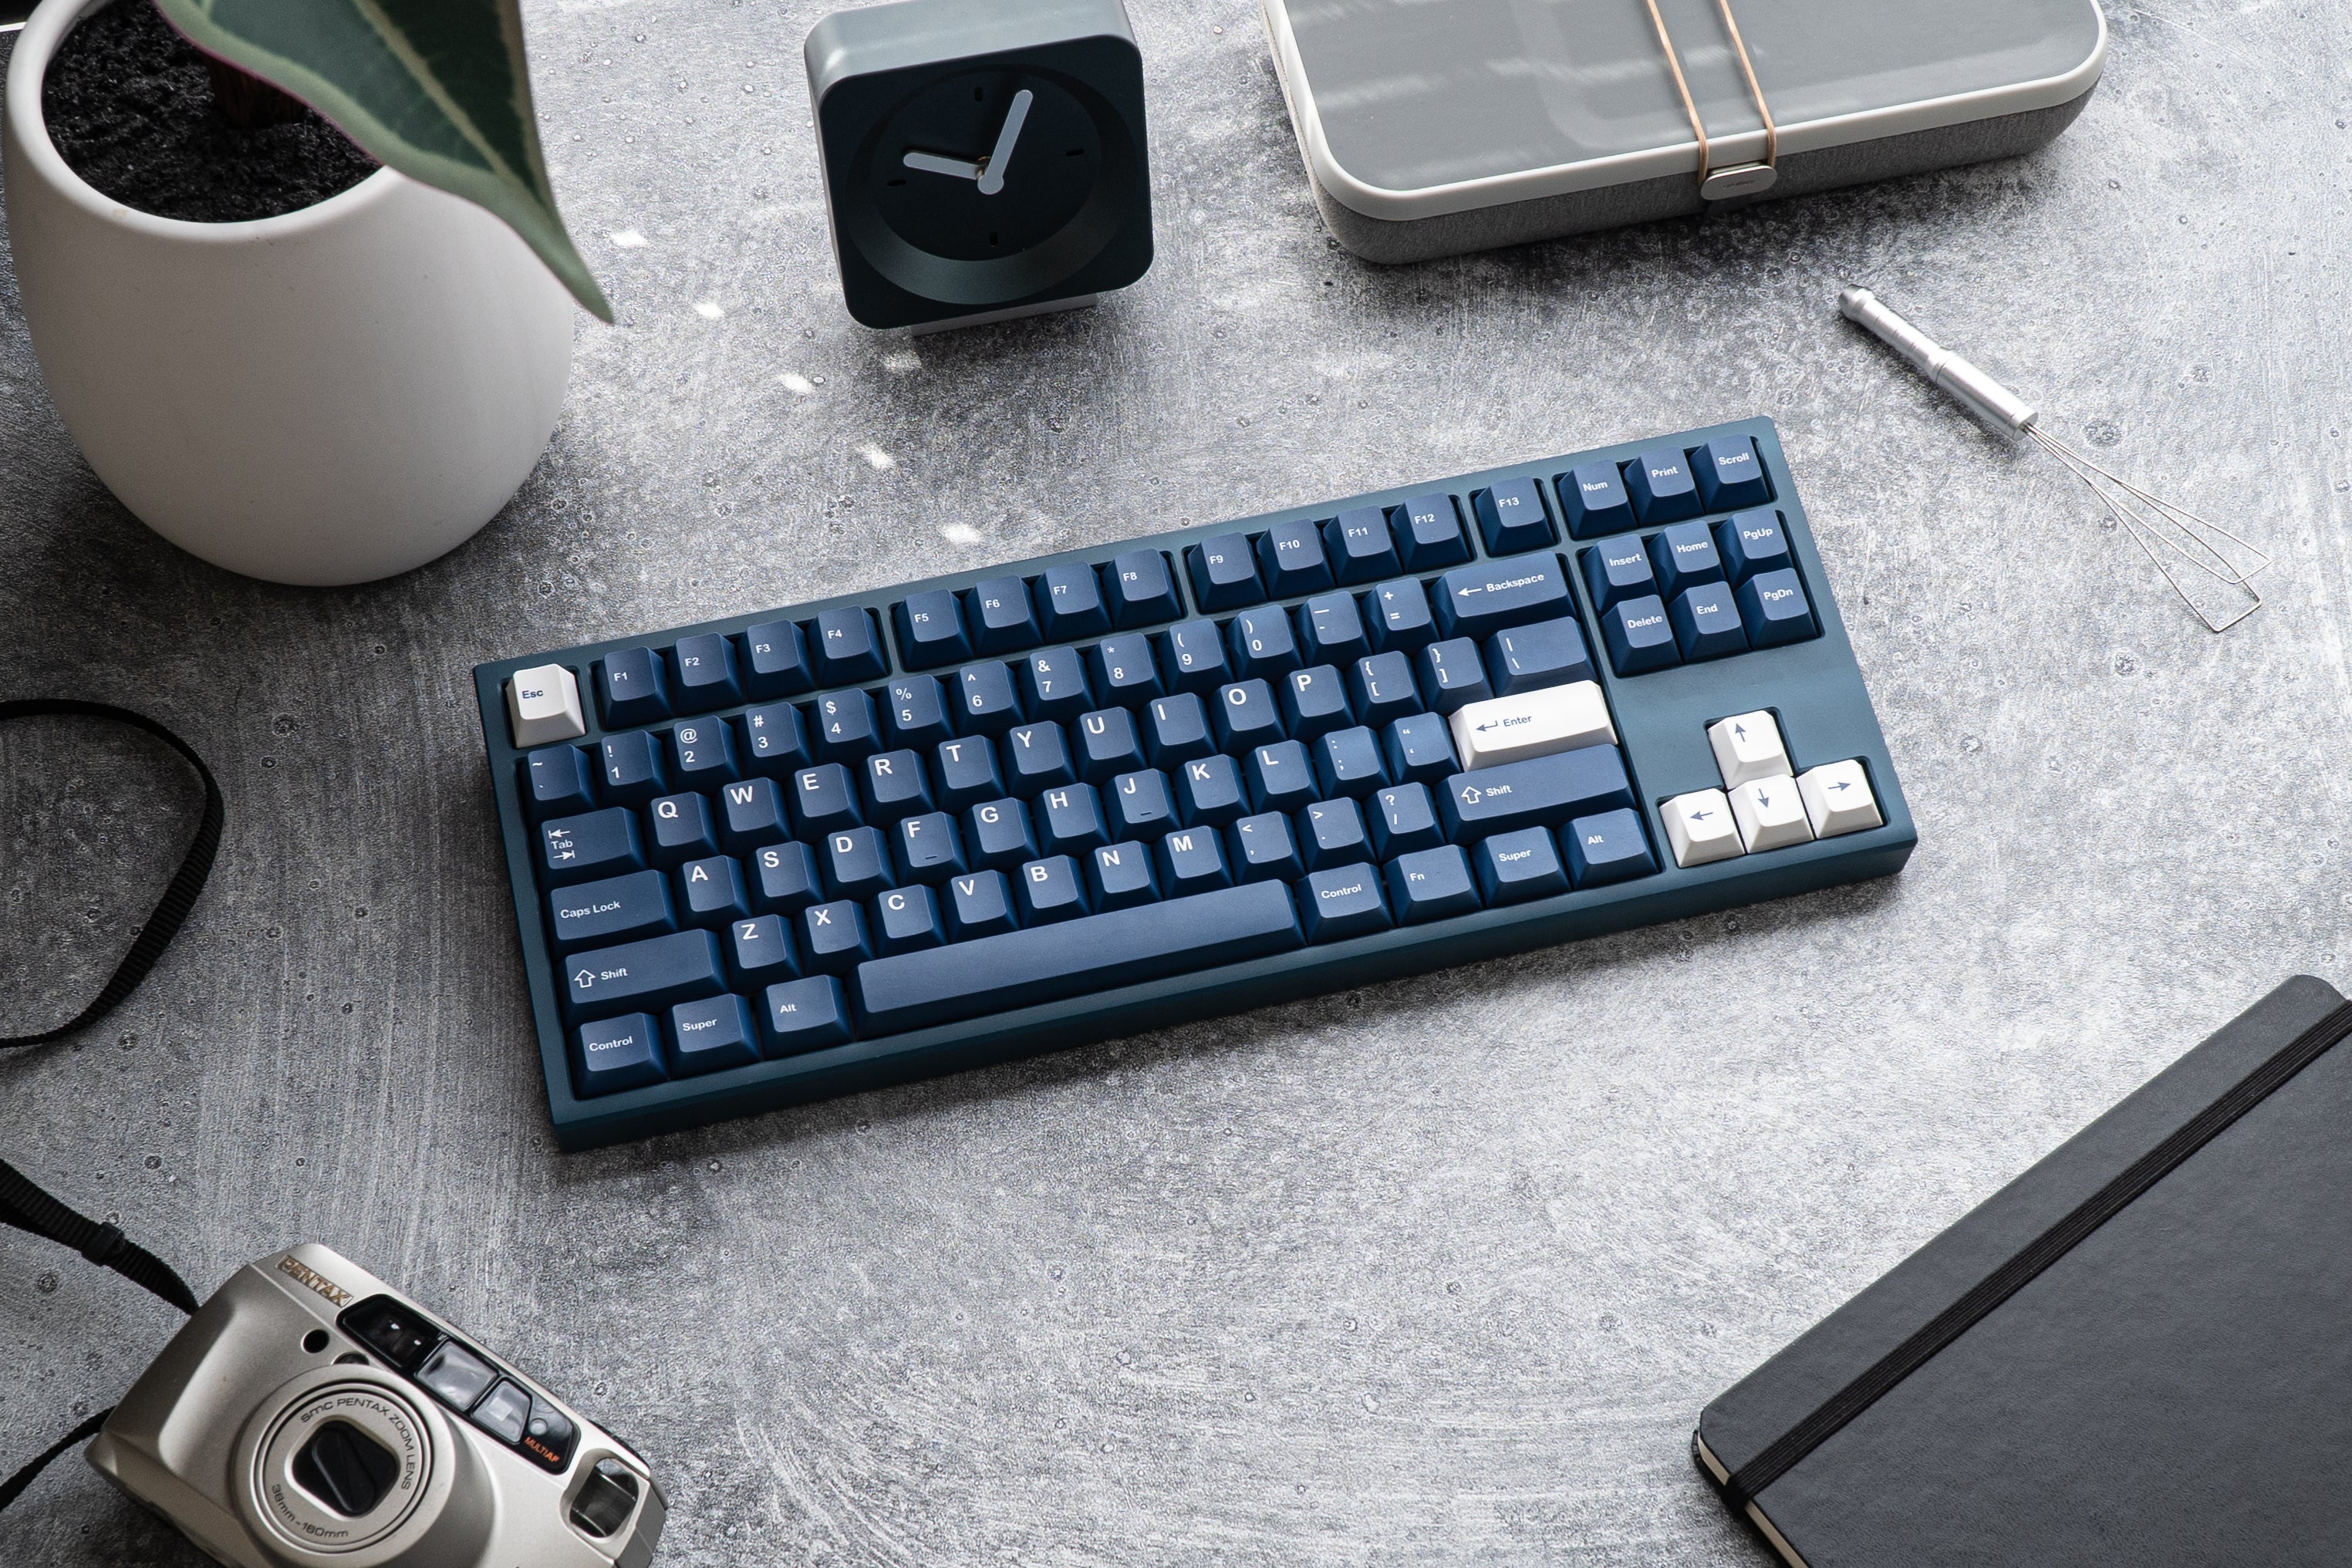
![[Pre-Order] Autumn Leaves PBT Keycaps - KeebsForAll](http://keebsforall.com/cdn/shop/products/DSC09732.jpg?v=1676148273)

Leave a comment
This site is protected by hCaptcha and the hCaptcha Privacy Policy and Terms of Service apply.