The mechanical keyboard hobby is a haven for enthusiasts looking to achieve both functionality and aesthetics tailored to their specific preferences. Among the myriad options available, the customizable Sofle V2 wired keyboard kit has emerged as a standout choice - offering both flexibility and hands-on joy through its split keyboard design.
For those ready to dive into the journey of creating their very own Sofle V2, this comprehensive guide breaks down the entire build process, from soldering to assembly. Whether you're a seasoned builder or a beginner looking to expand your skill set, this article will provide clarity and confidence as you embark on your mechanical keyboard adventure.
Why the Sofle V2 Stands Out
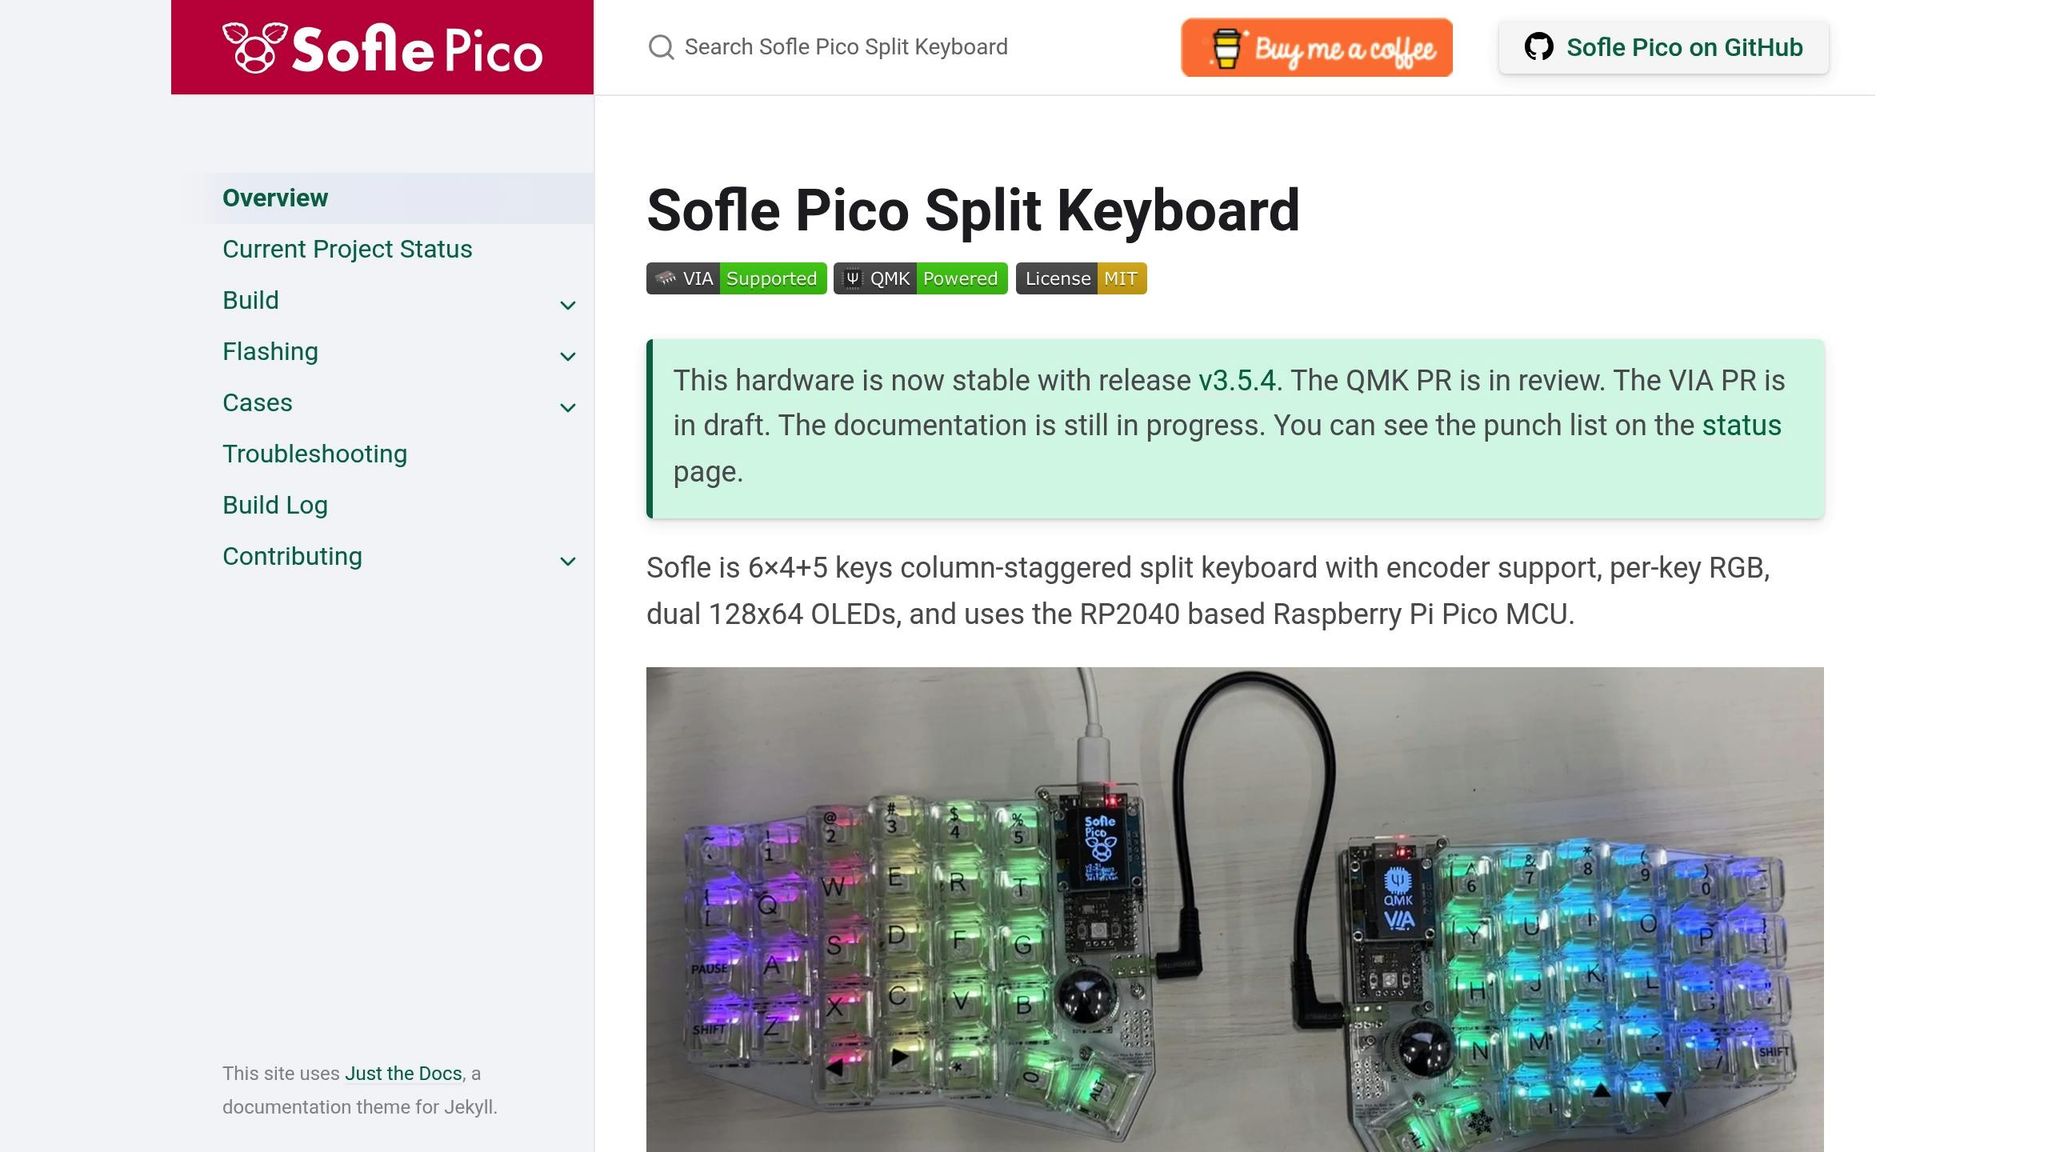
The Sofle V2 is a wired, split keyboard kit designed with customization in mind. Adaptable to multiple layouts, the keyboard is ideal for those seeking ergonomic functionality, programmable features, and minimalist aesthetics. Its modular design allows for numerous modifications, including underglow and per-key LEDs for a striking visual effect.
Unlike pre-built keyboards, building the Sofle V2 from the ground up offers unparalleled control over each component, ensuring your creation perfectly aligns with your personal typing style and preferences.
Tools and Materials You’ll Need
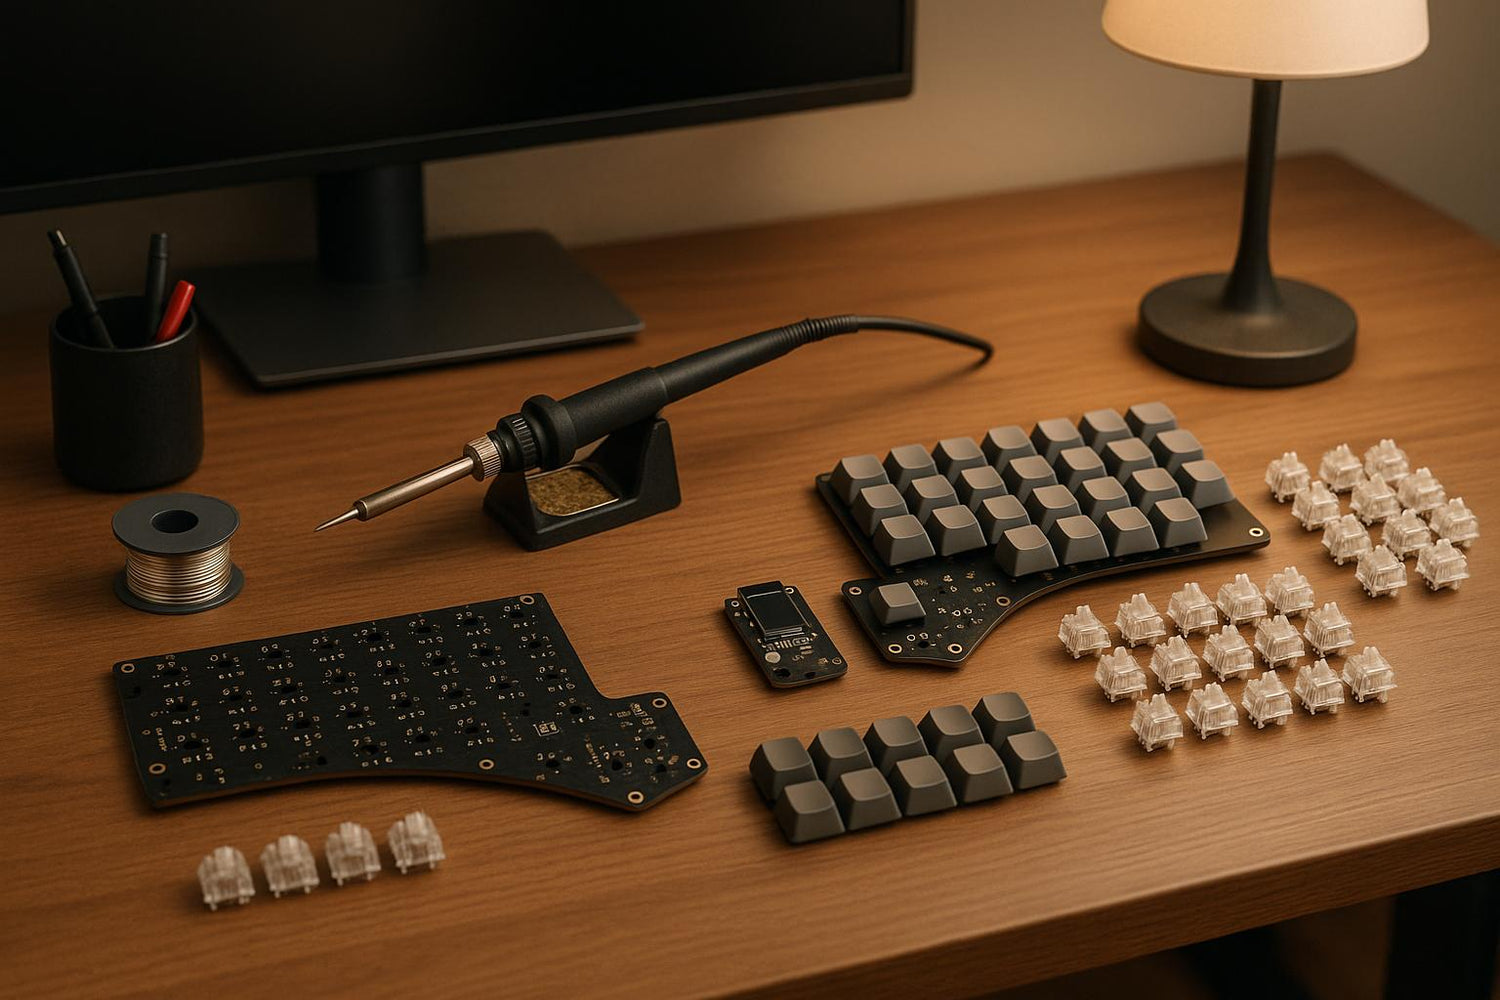
Before starting your Sofle V2 build, make sure you have the necessary tools and components ready:
Essential Components
- Sofle V2 Kit: Includes the PCB, controllers, and other hardware needed for assembly.
- Switches: 58 switches of your choice for tactile, linear, or clicky feedback.
- Keycaps: Customize the aesthetics with a unique set.
Tools for Assembly
- Soldering Iron: A temperature-controlled iron is recommended for precision.
- Lead-Free Solder: Safer for the environment and your workspace.
- Fan and Protective Goggles: Essential for safety during soldering.
- Flush Cutters: For trimming excess leads or components.
- Tweezers: For positioning small parts like diodes and LEDs.
- Phillips Head Screwdriver: For fastening screws.
Optional Tools
- Solder Sucker: Useful for correcting mistakes.
- Spudger: Helps with alignment and component placement.
- Switch Puller: A handy tool for removing switches, if needed.
Step-by-Step Process: Building the Sofle V2
Step 1: Preparing the PCB and Tinning the Diodes
Start by "tinning" the diode pads on the PCB. This involves applying a small amount of solder to one side of each diode position, making it easier to attach the diodes in the next step. Since the Sofle V2 is a split keyboard, you’ll need to repeat this process for both halves, which are mirrored in layout.
Tips for Success:
- Rotate the PCB for a comfortable soldering angle.
- Double-check the orientation of each diode. Diodes are directional, so the line on the diode should align with the PCB markings.
Step 2: Soldering the Underglow LEDs
Underglow LEDs add a stylish flair to your keyboard, but require precision to install correctly. Begin by tinning one of the four pads for each LED. Ensure that the small notch on the LED housing matches the PCB marking, as incorrect orientation will cause functionality issues.
Pro Tip: Keep your soldering iron temperature below 300°F to avoid damaging these heat-sensitive components.
Step 3: Installing Per-Key LEDs
Per-key LEDs follow a similar process to the underglow versions. Tinning one pad first makes placement easier. Use tweezers for accuracy and ensure the orientation is correct before applying heat.
Step 4: Adding Hot-Swap Sockets
Hot-swap sockets allow users to swap switches without additional soldering in the future. Carefully align each socket with the PCB markings, ensuring they stay in place as you solder.
Advice for Beginners: Solder all the sockets on one side before flipping to the other. This approach minimizes errors and keeps the process streamlined.
Step 5: Installing Controllers and Sockets
The Sofle V2 uses removable controller sockets for added modularity. To install them:
- Drop the socket into the PCB.
- Tack down one corner with solder.
- Adjust alignment to ensure it sits flush before soldering the remaining pins.
The same method applies to installing OLED sockets, TRS jacks, and reset switches.
Step 6: Rotary Encoder and Other Components
For those adding a rotary encoder, align it with the PCB markings. The encoder features two support legs and three connections - ensure a secure fit without overheating the component.
Additionally, solder the Zener diode and resistor in place. The resistor is non-directional, but the Zener diode must match the PCB orientation, similar to the switch diodes.
Step 7: Testing the PCB
With all components soldered, it’s time to test your PCB:
- Connect the two halves using a TRS cable.
- Plug the keyboard into your computer via USB.
- Use VIA software to verify functionality by simulating key presses.
If any issues arise, check for:
- Incorrectly oriented components.
- Solder bridges or shorts.
- Proper firmware installation.
Step 8: Assembling the Keyboard
With a fully functional PCB, you’re ready to assemble the keyboard:
- Mount Switches: Start by placing switches in the four corners of the plate for alignment. Then install the rest.
- Attach Standoffs and Plates: Secure the PCB to the back plate using screws and standoffs.
- Install OLED Covers and Encoder Knobs: Carefully align and attach these components for a polished look.
- Place Keycaps: Press each keycap onto the corresponding switch stem.
- Add Case Feet: Install feet on the case’s bottom corners to ensure stability.
Key Takeaways
- Preparation Is Key: Gather all your tools and components before starting the build.
- Understand Component Orientation: Diodes, LEDs, and other directional parts must align with PCB markings.
- Start with Small Steps: Tinning and pre-soldering pads simplify component placement.
- Practice Soldering Safety: Use protective goggles and a fan to ensure safe working conditions.
- Test Before Final Assembly: Verify that your PCB functions correctly using VIA software.
- Customization Is Limitless: From switches to keycaps, every element of the Sofle V2 is customizable to your needs.
Final Thoughts
Building the Sofle V2 keyboard is more than just a technical process - it’s a rewarding experience that combines creativity, precision, and problem-solving. While it might seem daunting at first, following a structured approach ensures success.
Whether you’re drawn to the Sofle V2 for its ergonomic split design or its stunning LED capabilities, the time and effort invested in this build will be well worth it. Enjoy the satisfaction of typing on a keyboard you’ve crafted with your own hands - and as always, happy building!
Source: "Sofle V2 Build Guide (2025): Complete Soldering Walkthrough" - Mechboards, YouTube, Aug 29, 2025 - https://www.youtube.com/watch?v=_3pe236--hA
Use: Embedded for reference. Brief quotes used for commentary/review.


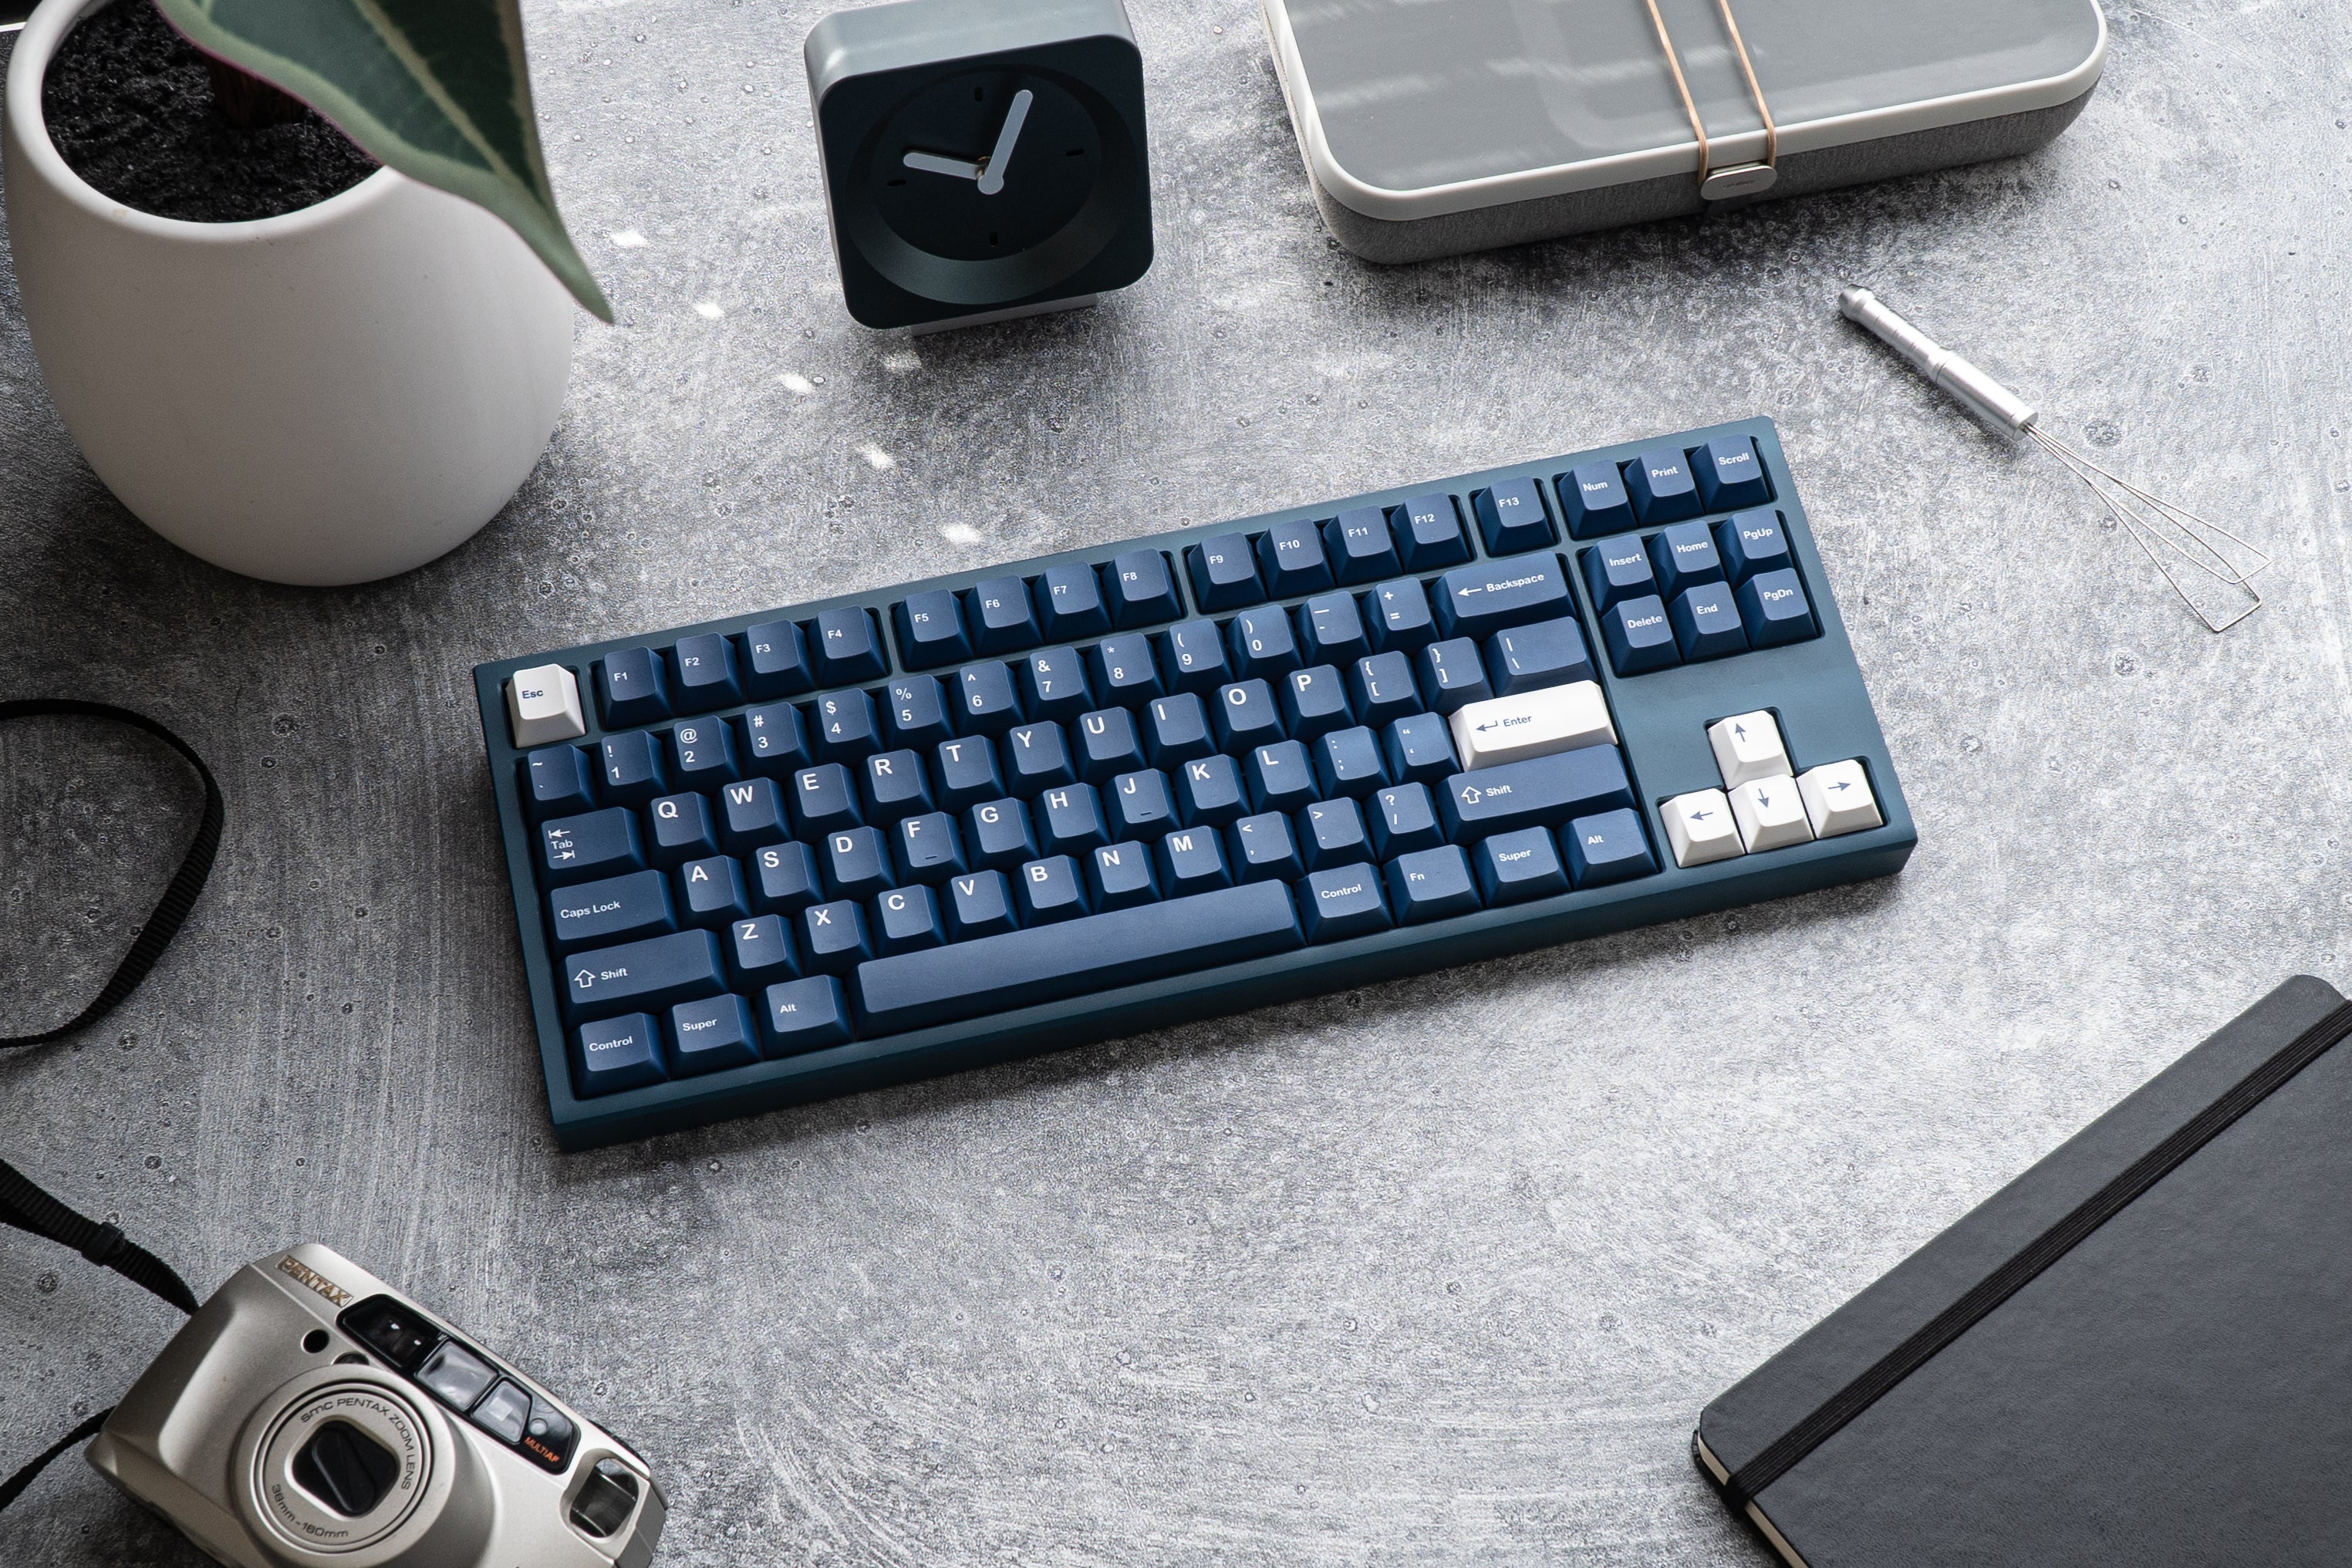
![[Pre-Order] Autumn Leaves PBT Keycaps - KeebsForAll](http://keebsforall.com/cdn/shop/products/DSC09732.jpg?v=1676148273)


Leave a comment
This site is protected by hCaptcha and the hCaptcha Privacy Policy and Terms of Service apply.