
Flashing QMK firmware lets you fully customize your keyboard's functionality, from layouts to macros. Here's how to get started:
-
What You Need: A compatible keyboard, the right firmware file (
.hex,.bin, or.uf2), and tools like QMK Toolbox (GUI) or QMK CLI (command line). -
Steps:
- Check Compatibility: Identify your keyboard's microcontroller (e.g., ATmega32U4, STM32, RP2040) and confirm it's supported by QMK.
- Back Up: Save your current keymap as a JSON file for easy recovery.
-
Enter Bootloader Mode: Use a reset button, short pins, or assign the
QK_BOOTkeycode to activate bootloader mode. - Flash Firmware: Use QMK Toolbox for simplicity or QMK CLI for advanced control. Avoid interruptions during the process.
-
Troubleshooting: If errors occur, check drivers, ensure correct bootloader settings, or use
qmk doctorto diagnose issues.
Flashing QMK firmware unlocks extensive personalization options, making it a favorite in the mechanical keyboard community.
QMK Tutorial: QMK Toolbox (Flashing Firmware On Your Keyboard)
Preparing to Flash QMK Firmware
Before diving into flashing your keyboard with QMK firmware, it's crucial to gather the right tools and understand your keyboard's hardware. For most users, QMK Toolbox is the preferred graphical interface. It works seamlessly on both Windows and macOS, offering built-in drivers and debugging tools. If you prefer the command line or are using Linux, QMK CLI is your best bet for compiling and flashing firmware. Also, make sure you have a reliable USB cable that supports data transfer - not just charging - as a poor-quality cable is a common cause of flashing issues. Finally, familiarize yourself with mechanical keyboard compatibility checks and backup procedures to ensure a smooth process.
Required Tools and Software
The type of firmware file you’ll need depends on your keyboard’s microcontroller. Here’s how it breaks down:
-
AVR-based boards: Use
.hexfiles. -
ARM and STM32 controllers: Use
.binfiles. -
RP2040 chips: Use
.uf2files.
To create your firmware, use the QMK Configurator. This tool lets you visually design your keymap and download the compiled firmware. If your keyboard uses the RP2040 microcontroller, the flashing process becomes even easier - these devices show up as USB mass storage drives, allowing you to simply drag and drop the .uf2 file.
Checking Keyboard Compatibility
Not all keyboards support QMK flashing, so verifying compatibility is essential. Start by identifying the main microcontroller on your keyboard’s PCB. Look for labels like "Atmel ATmega32U4", "STM32", or "RP2-B1" (for RP2040). You can also search for your keyboard model in the official QMK firmware repository. Check the corresponding folder and look at the rules.mk file for details on the MCU and BOOTLOADER definitions.
When you put your keyboard into bootloader mode, QMK Toolbox will help confirm compatibility. If a supported bootloader is detected, it will display a yellow message like *** DFU device connected. This step ensures you’re ready to proceed without surprises.
Backing Up Your Current Configuration
Flashing new firmware will overwrite everything on your keyboard’s microcontroller, so backing up your current setup is critical. Use the QMK Configurator to download your existing keymap as a JSON file by clicking the "Download this QMK Keymap JSON File" button. Save any compiled .hex or .bin files as well for a quick recovery if needed.
If you need to make changes later, you can easily reload your saved settings by using the "Upload a QMK Keymap JSON File" button. However, keep in mind that some bootloaders, like HalfKay (commonly used on Teensy 2.0), are closed-source. If overwritten through advanced ISP flashing methods, they cannot be restored. This makes backups even more important.
Activating Bootloader Mode
Bootloader mode is a special program that allows you to update your keyboard's firmware. While in this mode, the keyboard won’t register any inputs. It operates from a protected section of flash memory, enabling new firmware to be safely loaded into the rest of the memory. Here’s how you can activate bootloader mode using different methods:
Using the RESET Button
Most custom PCBs come with a RESET button, usually located on the underside of the board. A single press typically activates bootloader mode. However, some bootloaders require specific actions. For example:
- tinyuf2, uf2boot, or RP2040 (when configured): Quickly double-tap the RESET button.
-
USBasploader: Hold the
BOOTbutton while tappingRESET.
Once bootloader mode is active, QMK Toolbox will show a yellow message like *** DFU device connected. Keep in mind that some bootloaders, such as Caterina (used on Pro Micro), stay active for only about 7 seconds before returning to normal operation. You’ll need to start flashing your firmware immediately.
Shorting Pins on the PCB
If your keyboard doesn’t have a RESET button, you can enter bootloader mode by shorting specific pins on the PCB. Look for header pins labeled RESET (or RST) and GND, and use a pair of tweezers or a paperclip to short them while the keyboard is connected.
For boards like STM32, AT32, or APM32 without a RESET button, the process is slightly different:
-
Bridge
BOOT0toVCC. -
Short
RESETtoGND. -
Release the
BOOT0bridge.
If you’re working with a non-responsive Pro Micro, double-tap the reset pins to trigger bootloader mode.
Using the QK_BOOT Keycode
The simplest way to enter bootloader mode is through the QK_BOOT keycode. This method lets you activate bootloader mode using a keyboard shortcut, so there’s no need to open the case. If your keyboard already runs QMK firmware, you can assign the QK_BOOT keycode to a key in your keymap - most users place it on a function layer for easy access. Press the assigned key, and your keyboard will instantly switch to bootloader mode.
This method works with nearly all QMK-compatible boards, though it might not work with certain STM32F042 devices. When setting up QMK DFU or HID bootloaders, avoid assigning the QMK_ESC key to the same key used for Bootmagic, as this can cause the microcontroller to loop between entering and exiting bootloader mode. Once you’ve entered bootloader mode, you can proceed to flash the firmware.
sbb-itb-3cb9615
Flashing QMK Firmware
To flash your keyboard with QMK firmware, you need to put it into bootloader mode first. Once that's done, you can choose between two reliable methods: QMK Toolbox or the QMK CLI. Pick the one that matches your comfort level with technical tools.
Flashing with QMK Toolbox
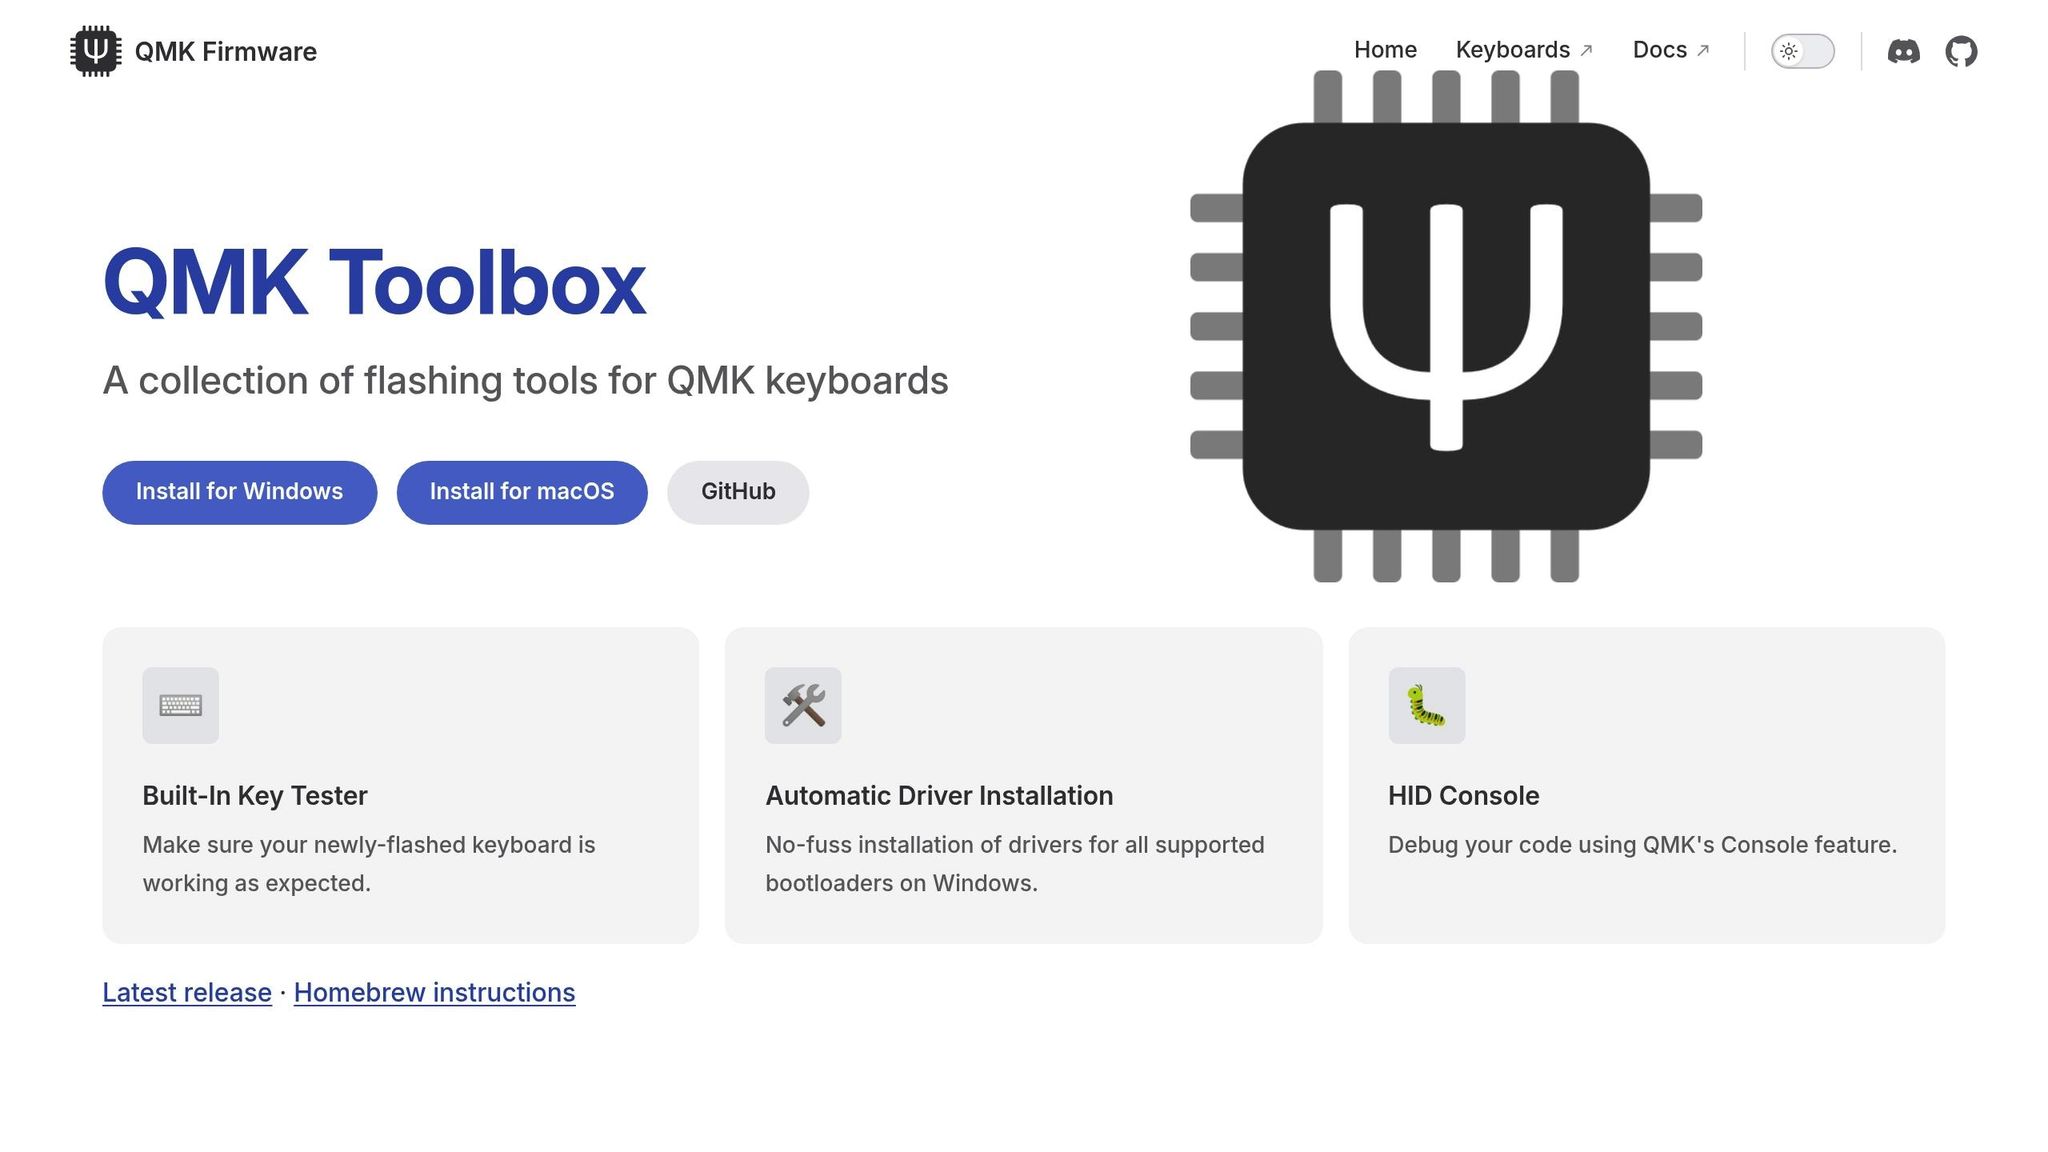
QMK Toolbox is a user-friendly graphical application available for Windows and macOS. It simplifies the flashing process by automatically handling driver installation and supporting various bootloaders. Plus, it includes handy extras like a Key Tester and HID Console for debugging.
Start by downloading and installing QMK Toolbox. Then, locate your firmware file - this will typically have a name like <keyboard>_<keymap>.hex for AVR-based boards or <keyboard>_<keymap>.bin for ARM-based boards. Open QMK Toolbox and load your firmware file using the Local File box.
Next, put your keyboard into bootloader mode using one of the methods discussed earlier. Look for a yellow message in the Toolbox console that says *** DFU device connected - this confirms your keyboard is ready. Click the Flash button and watch the console for a "Success" message. You'll see "Validating... Success" before your keyboard automatically resets to normal operation.
"It is very important that you do not unplug the keyboard or otherwise interrupt the flashing process while the firmware is being written." - QMK Documentation
Flashing with QMK CLI
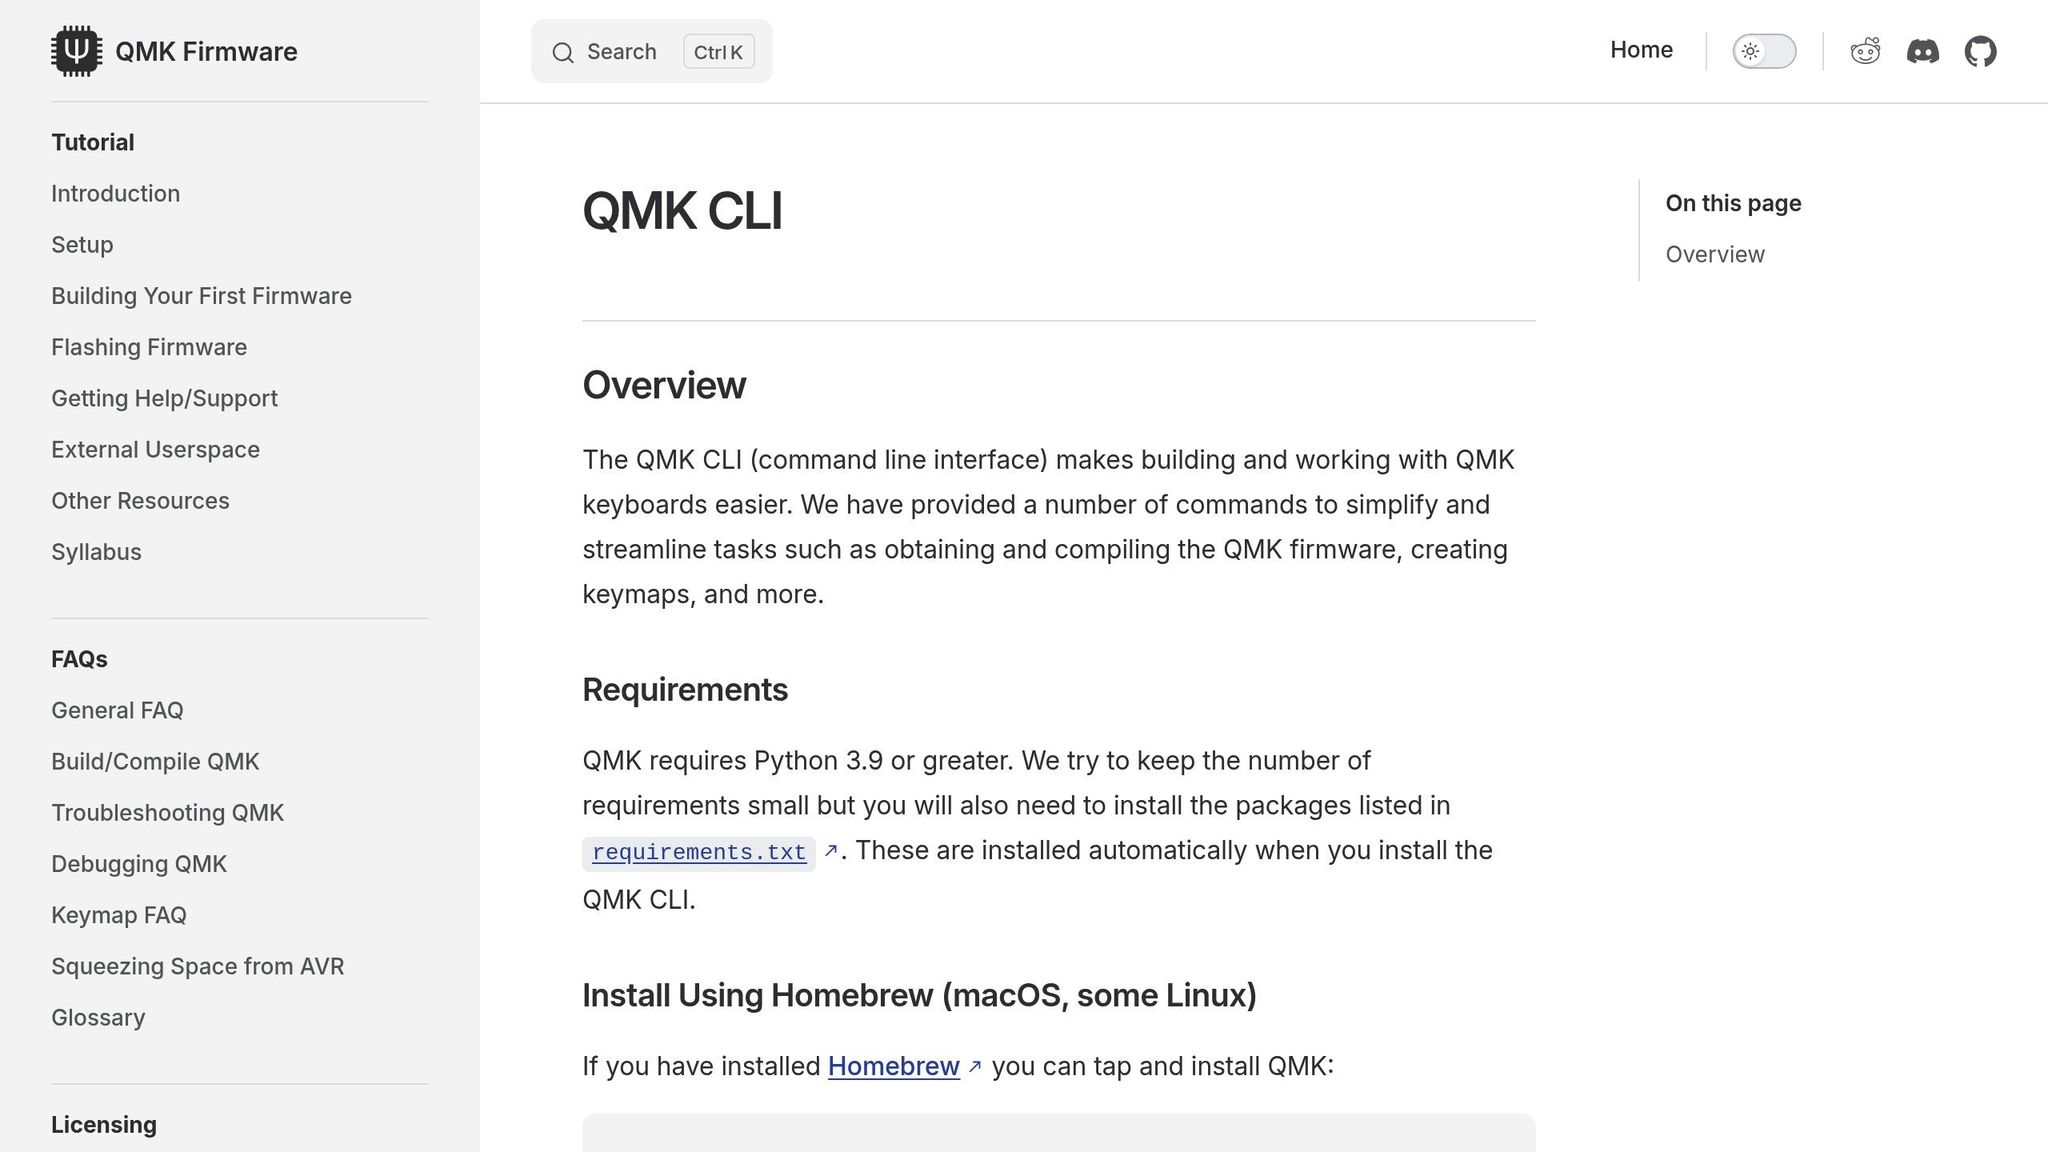
The QMK CLI (Command Line Interface) provides more control and works across Windows, macOS, and Linux. It's a great choice if you want to combine compiling and flashing into one step or set up automation.
To flash your keyboard, open your terminal and run:
qmk flash -kb <keyboard> -km <keymap>
The CLI will automatically detect your bootloader configuration and handle the flashing process. When prompted, put your keyboard into bootloader mode. If the CLI doesn't detect the connection, you can run qmk doctor to troubleshoot common issues with your environment or drivers. Also, make sure your rules.mk file specifies the correct BOOTLOADER setting (e.g., atmel-dfu, caterina, or stm32-dfu) for proper flashing.
| Feature | QMK Toolbox | QMK CLI |
|---|---|---|
| Interface | Graphical User Interface (GUI) | Command Line Interface (CLI) |
| OS Support | Windows, macOS | Windows, macOS, Linux |
| Workflow | Requires pre-compiled .hex or .bin file |
Can compile and flash in one step |
| Ease of Use | High (drag-and-drop, visual feedback) | Moderate (requires terminal knowledge) |
| Best For | Beginners and quick flashes | Advanced users and automation |
Once you've flashed the firmware, test your keyboard to ensure all keys are functioning as expected. If you're using a split keyboard, don't forget to flash each half separately by plugging them into the USB port one at a time.
Troubleshooting Common Flashing Issues
QMK Bootloader Types Comparison Guide
If you've run into problems after flashing QMK firmware, don't worry—most issues can be resolved with a few simple steps, much like other common mechanical keyboard troubleshooting tasks. Here's how to tackle some of the most common challenges.
Identifying Bootloader Errors
A frequent issue in QMK Toolbox is seeing (NO DRIVER) next to your connected device. This usually means your computer can't communicate with the microcontroller because Windows is missing the required drivers. To fix this, go to Tools > Install Drivers in QMK Toolbox. If that doesn't solve it, you can manually assign the drivers using the Zadig utility.
For Pro Micro boards with Caterina bootloaders, timing is critical. These bootloaders stay active for only 7 seconds. If you see the error butterfly_recv(): programmer is not responding, it likely means the bootloader timed out. To avoid this, reset the board (double-tap the RESET and GND pins or press the reset button) and immediately hit "Flash" in QMK Toolbox.
If you're using the qmk flash command and it fails, try running qmk doctor. This tool helps identify any missing dependencies or configuration issues.
Fixing Firmware Flash Failures
Firmware flash failures often stem from mismatched bootloader targets or corrupted firmware files. Double-check that the rules.mk file specifies the correct bootloader for your device (e.g., atmel-dfu, caterina, stm32-dfu).
For STM32F103 devices, you might encounter an "Unknown memory region" error. This happens if the chip is locked. To fix it, run an OpenOCD unlock command to clear the lock.
If you're using a split keyboard and one half isn't working after flashing, make sure you've flashed both halves individually. Each half needs its own firmware.
Bootloader Method Comparison Table
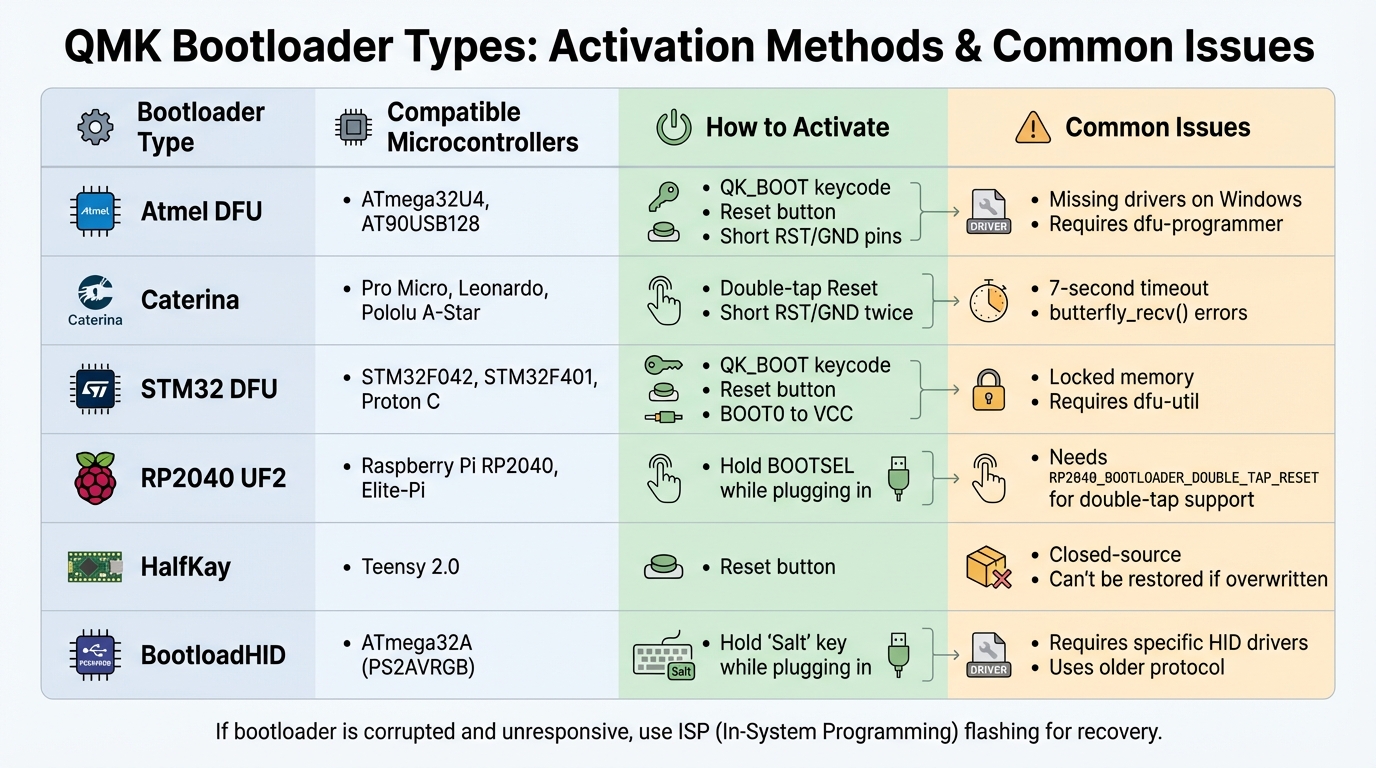
Here’s a quick reference table for common bootloader types, how to activate them, and potential issues to watch out for:
| Bootloader Type | Common Microcontrollers | Activation Method | Potential Issues |
|---|---|---|---|
| Atmel DFU | ATmega32U4, AT90USB128 | QK_BOOT, Reset button, or short RST/GND | Missing drivers on Windows; requires dfu-programmer |
| Caterina | Pro Micro, Leonardo, Pololu A-Star | Double-tap Reset or short RST/GND twice | 7-second timeout; butterfly_recv() errors |
| STM32 DFU | STM32F042, STM32F401, Proton C | QK_BOOT, Reset button, or BOOT0 to VCC | Locked memory; requires dfu-util |
| RP2040 UF2 | Raspberry Pi RP2040, Elite-Pi | Hold BOOTSEL while plugging in | Needs RP2040_BOOTLOADER_DOUBLE_TAP_RESET for double-tap support |
| HalfKay | Teensy 2.0 | Reset button | Closed-source; can't be restored if overwritten |
| BootloadHID | ATmega32A (PS2AVRGB) | Hold "Salt" key while plugging in | Requires specific HID drivers; uses an older protocol |
If none of the standard reset methods work and your device is completely unresponsive, the bootloader itself might be corrupted. In such cases, you'll need to restore it using ISP (In-System Programming) flashing. Remember, a non-functioning bootloader cannot repair itself, so ISP flashing is your best bet for recovery.
Conclusion and Next Steps
This guide walked you through compiling your firmware, entering bootloader mode, and flashing it using QMK Toolbox or the CLI. Once the process is complete, be sure to test every key to ensure everything is functioning as it should.
Recap of Key Steps
The flashing process can be broken down into three main phases:
-
Compile your firmware: Choose your keyboard model, define your keymap using the QMK Configurator or CLI, and compile it into a
.hex,.bin, or.uf2file. - Enter bootloader mode: Use the RESET button on your keyboard, short the RST and GND pins, or press a specific key combination to activate bootloader mode.
-
Flash the firmware: Use QMK Toolbox or the
qmk flashcommand. During this step, avoid unplugging your keyboard to prevent data corruption, and always keep a backup of your keymap JSON file for future tweaks.
Once you’ve got the basics down, you can take your keyboard customization to the next level.
Advanced QMK Features to Try
After mastering the flashing process, dive into QMK's advanced customization options. For instance, you can set up layers to assign multiple functions to a single key - perfect for adding media controls without needing extra keys. Macros are another powerful feature, allowing you to program complex keystroke sequences into a single button press, streamlining repetitive tasks. You can also configure per-key RGB lighting or even add audio feedback if your keyboard supports it. For more advanced features, check out the QMK documentation's Advanced Keycode Reference.
Where to Find Keyboard Components
If you're looking to enhance your keyboard setup with better hardware, KeebsForAll offers a wide range of options. They stock complete keyboard kits like the Freebird60 Full Kit (starting at $160.00), Freebird75 Full Kit (starting at $199.00), and Freebird TKL Full Kit (starting at $249.99). They also carry individual components such as switches, keycaps, and tools like the KFA Switch Opener ($19.00) and Krytox 205 g0 lubricant (starting at $7.95). Designed with mechanical keyboard enthusiasts in mind, their products are reliable and QMK-compatible, making it simple to upgrade or build your perfect keyboard.
FAQs
What can I do if my keyboard isn’t detected in bootloader mode?
If your keyboard isn't being recognized in bootloader mode, here are some steps you can try to troubleshoot:
- Try common key combinations: Start by holding both Shift keys and pressing Pause. If that doesn’t work, try Shift + B. Another method is to unplug the keyboard, hold down Space + B (or keys like Esc or Left Ctrl in the top-left corner), and then reconnect it.
- Use the reset button: If your keyboard has a physical reset button on its PCB, press it while the keyboard is connected to your computer.
- Short the reset pins: Look for the RESET and GND pins on the PCB and briefly short them together while connecting the keyboard.
- Inspect your USB connection: Double-check that your USB cable is functional and that your computer detects the keyboard. It might show up as a generic USB device.
If these steps don’t resolve the issue, your keyboard might need a specific approach based on its bootloader type. You can reach out to the QMK community for guidance. Additionally, tools like QMK Toolbox can help verify if your device is being detected properly before attempting to flash it.
How do I restore my keyboard’s original settings if something goes wrong during flashing?
If something goes wrong while flashing QMK firmware, don’t worry - you can restore your keyboard’s original settings, provided you’ve backed up the firmware beforehand. Start by locating the .hex or .bin file containing your keyboard’s stock firmware. If you didn’t save a backup, check your keyboard manufacturer’s website or a trusted source to download the appropriate firmware.
To begin the restoration process, put your keyboard into bootloader mode. This is typically done by pressing the physical RESET button on the PCB or using a specific key combination, depending on your keyboard model. Once in bootloader mode, open QMK Toolbox on your computer, load the saved firmware file, and hit Flash. After flashing is complete, disconnect and reconnect your keyboard to confirm that the original settings are back in place.
For future customizations, it’s a good idea to save a copy of your keyboard’s stock firmware in a secure location. That way, you’ll have it handy if you need it again.
What’s the difference between QMK Toolbox and QMK CLI?
QMK Toolbox is a straightforward graphical tool that makes flashing firmware onto your keyboard a breeze. It comes with handy features like a visual key tester, automatic driver installation for Windows, and a debugging console. If you’re someone who prefers a simple, click-and-go interface, this is a great option.
On the flip side, QMK CLI is a command-line tool designed for more advanced users. It provides a programmable way to handle the entire QMK workflow. With commands like qmk flash, you can build firmware, customize keymaps, and flash your keyboard - all directly from the terminal. It’s a solid choice for those comfortable with command-line tools and looking for greater flexibility.
In summary, QMK Toolbox is ideal for beginners or users who prefer a visual approach, while QMK CLI caters to advanced users who want more control and automation.