Custom mechanical keyboards let you build a keyboard tailored to your preferences. You can choose everything - switches, keycaps, case, and layout - for the perfect feel, sound, and style. Here's what you need to know:
-
Why Build Your Own?
- Feel: Pick switches for your ideal typing experience.
- Quality: Use durable, premium materials.
- Style: Customize colors, layouts, and keycaps.
-
What You'll Need
- Parts: PCB, switches, stabilizers, case, plate, keycaps.
- Tools: Switch opener, keycap puller, screwdrivers, and lubricant (like Krytox 205g0).
-
Costs and Sizes
- 60% keyboards start at $160, 75% at $199, and TKL at $249.99.
-
Building Steps
- Test the PCB.
- Lubricate and install stabilizers.
- Install switches and assemble the case.
- Test and troubleshoot.
-
Customization
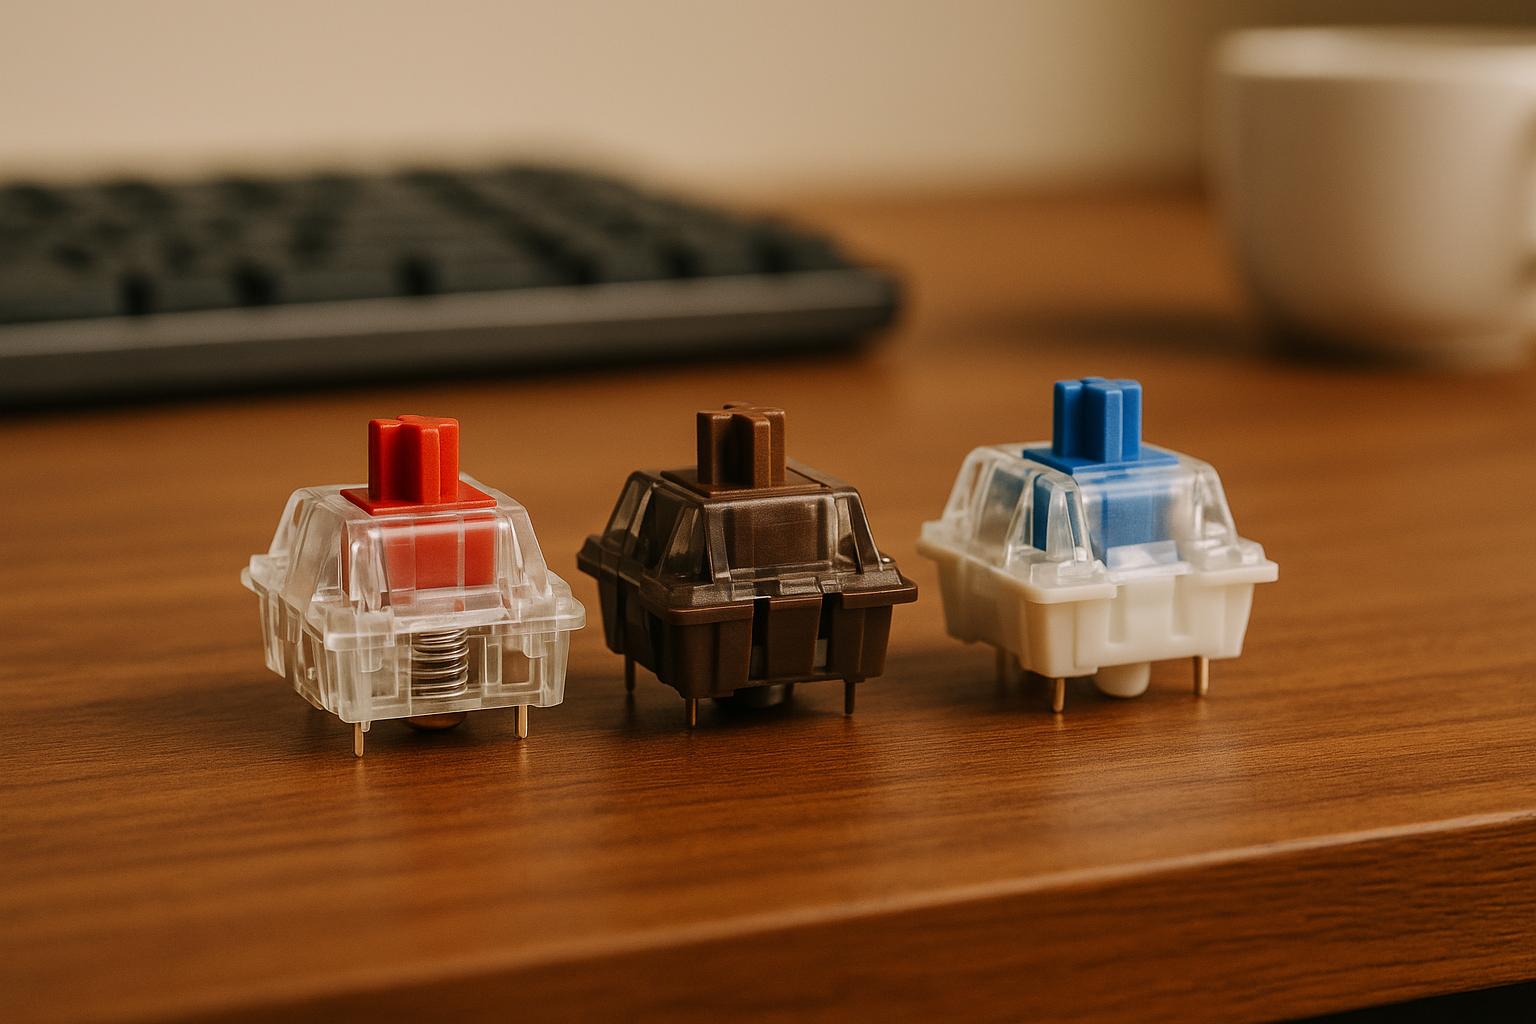
- Choose between linear, tactile, or clicky switches.
- Add foam or mods for better sound and feel.
- Explore ergonomic layouts or program layers with VIA.
Building a custom keyboard costs more upfront (from $150) but offers unlimited customization compared to pre-built options. Ready to start? Check out beginner-friendly kits like Freebird60 or Freebird75!
How to Build your FIRST Custom Keyboard (In 2024)
Parts and Tools List
Ready to start building? First, gather all the necessary parts and tools.
Main Keyboard Components
Here’s what you’ll need to assemble your keyboard:
- PCB (Printed Circuit Board): A hot-swappable PCB allows you to change switches without soldering.
- Switches: These determine how each key feels and sounds when pressed.
- Stabilizers: Essential for keeping larger keys steady and wobble-free.
- Case: The outer shell that holds everything together. For example, the Freebird CNC aluminum case provides a sturdy and polished look.
- Plate: Helps align and secure the switches in place.
- Keycaps: Add a personal touch to your keyboard’s look and feel while fitting onto the switches.
Basic Building Tools
You’ll also need some tools to put it all together:
- KFA switch opener ($19): Makes opening switches for lubing quick and easy.
- Keycap puller: Safely removes keycaps without causing damage.
- Screwdriver set: Handy for assembling the case and securing components.
- Krytox 205g0 lubricant ($7.95): Improves switch performance by reducing friction and noise.
Sizing and Cost Guide
Here’s a quick breakdown of popular keyboard sizes and their costs:
| Keyboard Size | Price (Starting From) | Description |
|---|---|---|
| 60% (Freebird60 kit) | $160 | Compact and space-saving layout. |
| 75% (Freebird75 kit) | $199 | A balanced, mid-sized option with more keys. |
| TKL (Freebird TKL kit) | $249.99 | A tenkeyless layout, great for a standard setup. |
Once you’ve gathered everything, you’re ready to dive into setup and check your parts.
Building Instructions
Here’s how to assemble your keyboard step by step:
Setup and Parts Check
Start by plugging in your PCB, then open VIA or VIAL software. Use tweezers to tap each switch pad and ensure everything registers correctly. Keep your tools within easy reach and organize screws and stabilizers in small containers to avoid misplacing them.
Assembly Steps
-
Lubricate and Install Stabilizers
Apply lubricant to the stabilizers to reduce any rattling noise, then attach them securely. -
Install Switches
Support the hot-swap sockets from underneath, and press each switch firmly into place until it sits flush with the PCB. -
Add Foam and Assemble the Case
Place foam between the PCB and the case for better sound dampening. Fit the PCB into the case, ensuring all mounting points are aligned. Finally, connect the daughterboard cables to the appropriate pins.
Testing and Fixes
After assembling, test all keys in VIA or VIAL to confirm they register properly and check that the stabilizers are quiet.
If you run into issues, here’s a quick troubleshooting guide:
| Issue | Cause | Fix |
|---|---|---|
| Key not registering | Bent switch pins | Gently straighten the pins using tweezers. |
| Stabilizer rattle | Not enough lubricant | Reapply lubricant or add a thin plastic shim to the stabilizer stems. |
| Hollow sound | Insufficient dampening | Add Poly-Fil or extra foam to the bottom of the case. |
Acoustic Mods
Looking to improve the sound profile? Try these:
- Tape Mod: Apply strips of masking tape to the underside of the PCB.
- Foam Layers: Add more foam between the PCB and the bottom of the case for extra dampening.
Once everything is tested and sounding great, head to the 'Making It Your Own' section to add your personal touch.
sbb-itb-3cb9615
Making It Your Own
Now that your keyboard is functioning perfectly, customize its key features to create a setup that feels just right for you:
- Linear switches: Smooth and quiet, ideal for gaming or fast typing.
- Tactile switches: Provide a noticeable bump with moderate noise, great for general typing.
- Clicky switches: Loud with a sharp bump, perfect for those who enjoy a classic typing experience.
When selecting keycaps, consider the material - PBT for durability or ABS for a smoother finish - and the profile, whether you prefer sculpted or uniform styles, to suit your grip and typing habits.
Improving Sound and Feel
Check out the Acoustic Mods section for tips on switch lubrication and adding foam. These techniques can refine your keyboard’s sound and overall feel.
Comfort-Focused Layouts
Trying out ergonomic layouts can help ease hand and wrist strain. Popular choices include Alice, Arisu, split ergo, and ortholinear designs. You can also fine-tune your keyboard by remapping keys or programming layers with tools like VIA or VIAL to better fit your workflow.
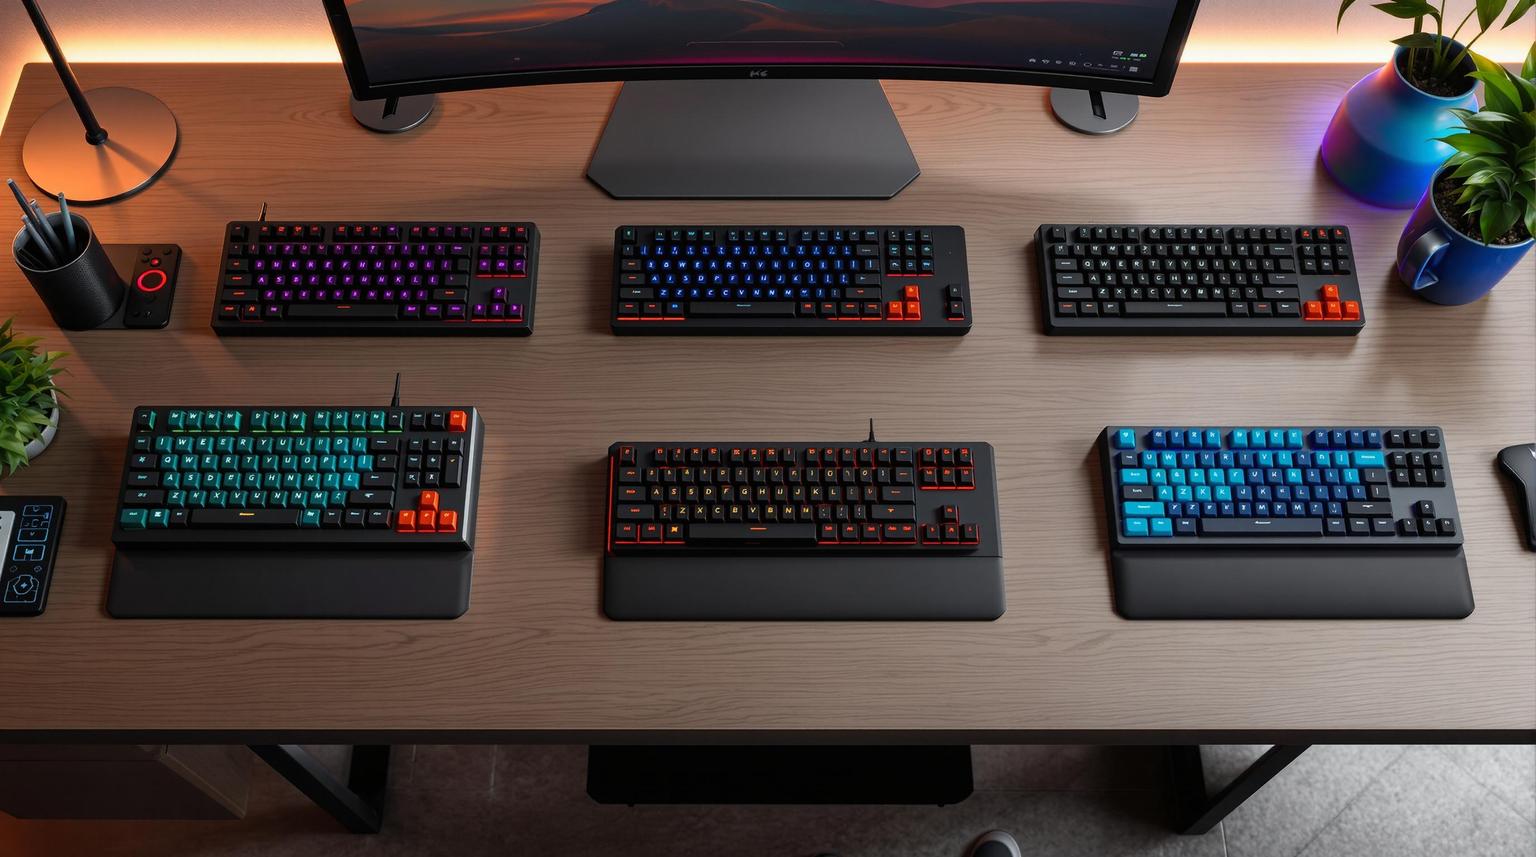
If you prefer a more conventional setup, the Freebird TKL offers dedicated function keys and a navigation cluster, providing a familiar and full-featured typing experience.
Why Build vs Buy
As mentioned in Parts & Tools, building a custom keyboard gives you complete control over its feel, sound, and layout.
Custom vs Ready-Made Comparison
| Feature | Custom-Built | Pre-Built |
|---|---|---|
| Starting Cost | From $150 | From $50 |
| Case Materials | Aluminum, acrylic, wood | Primarily plastic |
| Switch Options | Wide variety, hot-swappable | Limited, often fixed |
| Mounting Styles | Tray, top, bottom, gasket | Usually tray mount only |
| Keycap Choices | Unlimited PBT/ABS options | Stock keycaps, limited choices |
| Programming | Full control via QMK/VIA | Basic or no programming |
| Sound Profile | Fully customizable | Fixed, minimal adjustment |
Custom keyboards involve a higher upfront cost due to premium materials and added flexibility. While a decent pre-built keyboard starts at $50, custom setups usually begin at $150. Enthusiast builds can range from $300 to $1,000, depending on the components and features you choose.
Why Custom Keyboards Work for Everyone
A custom keyboard allows you to choose switches tailored to your needs - whether for coding, gaming, or writing. Durable aluminum cases and PBT keycaps last far longer than standard options. Plus, hot-swappable PCBs make it easy to change switches without soldering, so your keyboard can evolve with your preferences.
Ready to get started? Check out our Quick Reference Guide to finalize your parts list and begin your first build!
Next Steps
Quick Reference Guide
Before diving into your first keyboard build, make sure you've got these bases covered:
- Test your PCB: Use tools like VIA or a keyboard tester to ensure every PCB pad is functioning correctly.
- Gather your tools: Keep precision screwdrivers, a switch puller, and a keycap puller within reach.
- Stock up on switches: Always have a few spare switches for replacements. Expect to spend around $0.20–$0.60 per switch.
- Lube matters: Have some Krytox 205g0 lube ready for smoother switch performance.
Starting with KeebsForAll

Check out options like the Freebird60, Freebird75, and Freebird TKL. These keyboards feature hot-swap PCBs, CNC aluminum cases, and USB-C connectivity, with prices starting at $160. Perfect for beginners and enthusiasts alike!


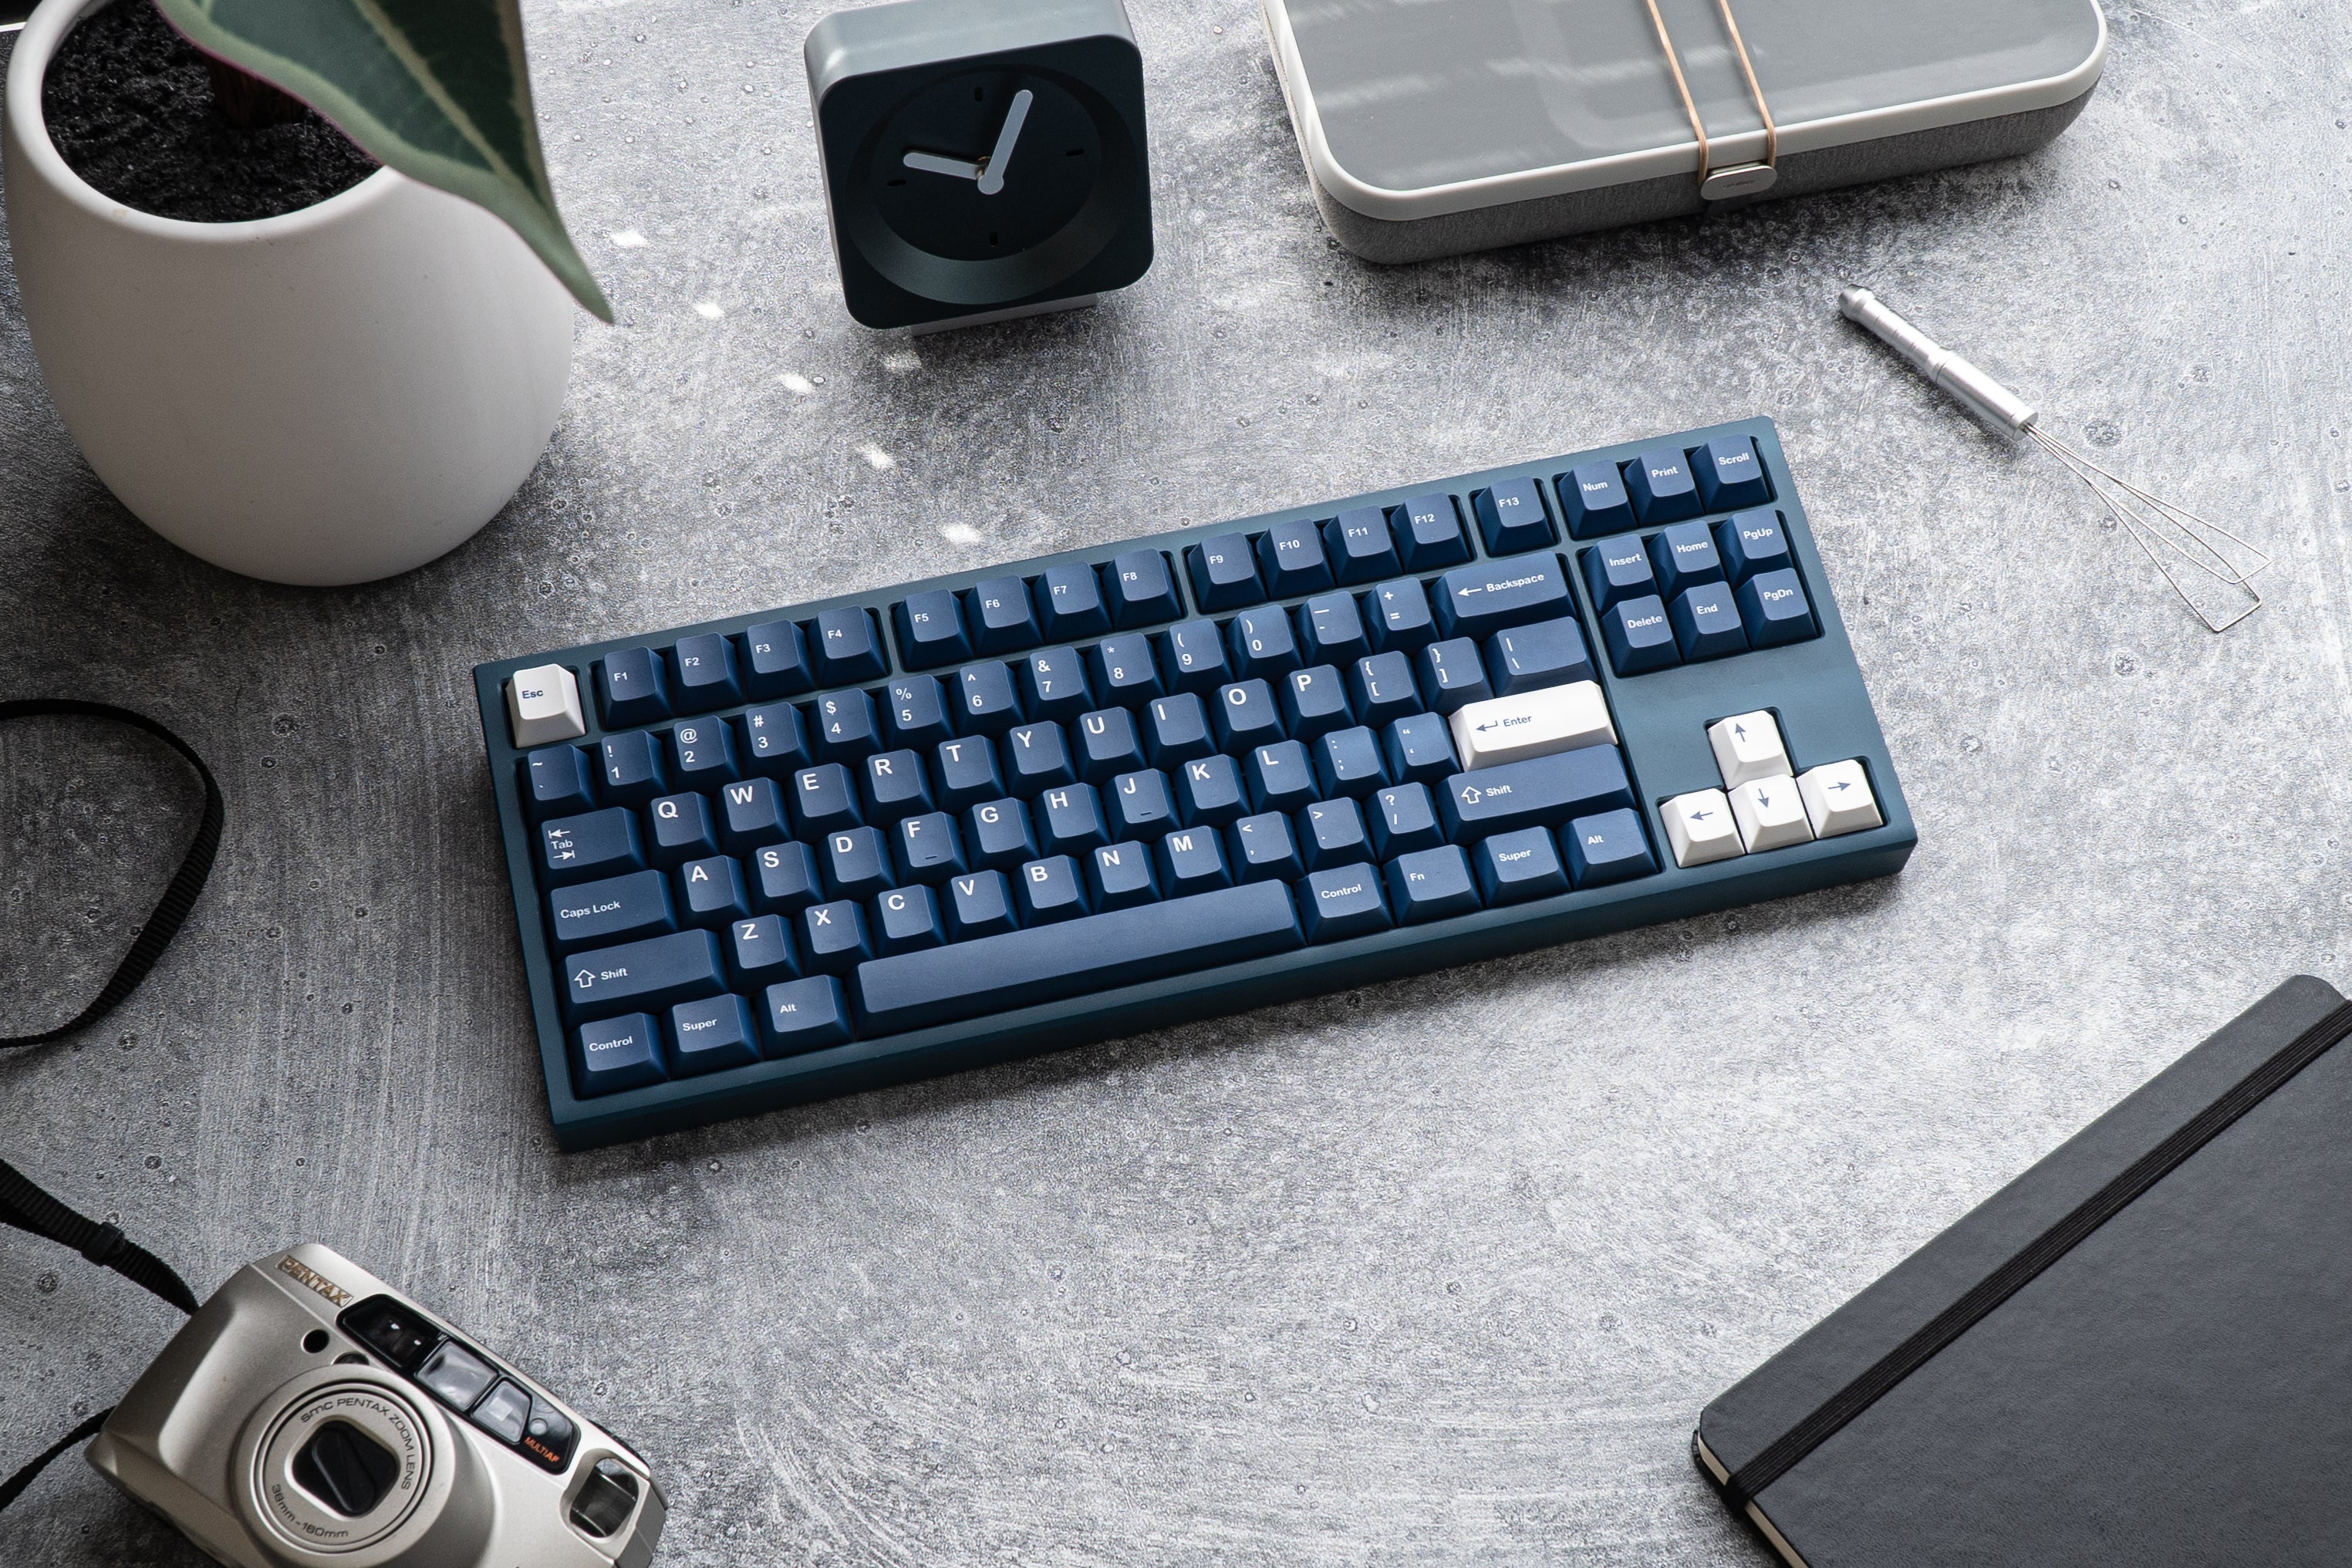
![[Pre-Order] Autumn Leaves PBT Keycaps - KeebsForAll](http://keebsforall.com/cdn/shop/products/DSC09732.jpg?v=1676148273)

Leave a comment
This site is protected by hCaptcha and the hCaptcha Privacy Policy and Terms of Service apply.