Flashing your keyboard's PCB firmware might sound complex, but it's simpler than you think. This process lets you fix bugs, improve performance, and customize how your keyboard works. Here's a quick breakdown of what you need to know:
-
Why Flash Firmware?
Update your keyboard to fix issues, add features, or create custom layouts with tools like QMK. -
Preparation Steps:
- Back up your current settings.
- Identify your keyboard's bootloader type (e.g., ATmega32u4 DFU, STM32 DFU).
- Gather a USB cable, your keyboard, and a computer.
-
Key Tools:
- Use QMK Toolbox for flashing. It's available for Windows and macOS.
- Download firmware files from trusted sources like QMK Configurator or your keyboard's manufacturer.
-
Flashing Process:
- Put your keyboard into bootloader mode (via key combinations, reset buttons, or pin shorting).
- Load the firmware file into QMK Toolbox and click "Flash."
-
Testing and Troubleshooting:
- Test all keys after flashing.
- If issues arise (e.g., unresponsive keys or wrong inputs), recheck your firmware or hardware connections.
Flashing firmware unlocks a deeper level of control over your keyboard, making it work exactly how you want. Follow these steps carefully to ensure a smooth process.
QMK Tutorial: QMK Toolbox (Flashing Firmware On Your Keyboard)
Tools and Software You Need
Before you dive into flashing firmware, it's important to gather the right tools and software. The good news? You don’t need high-end equipment - just a few essentials and the correct software. Here’s a breakdown of the hardware, software, and firmware file sources you’ll need for a smooth flashing experience.
Hardware Requirements
The hardware setup is straightforward. You’ll need three key items:
- A compatible USB cable to connect your keyboard PCB to your computer.
- The mechanical keyboard PCB you’re working with.
- A computer, either Windows or macOS, to run the necessary software.
Make sure your USB cable is compatible with both your PCB’s port and your computer’s USB ports to avoid connection issues. Any modern computer will handle the flashing process just fine.
Some keyboards might need extra tools to enter bootloader mode. For instance, Dactyl Manuform configurations often require a pen or paperclip to press the reset button. If you’re working with a Pro Micro controller, you might need tweezers or a paperclip to double-tap the RST and GND pins. Keep these tools handy, as some boards have specific requirements.
QMK Toolbox Software
One of the best tools for firmware flashing is QMK Toolbox, a graphical application available for both Windows and macOS. It simplifies the process with features like auto-detection and auto-flashing capabilities. As Max Zsol describes it:
"A graphical program for Windows and macOS that allows you to both program and debug your custom keyboard".
The latest version of QMK Toolbox is 0.3.3, released on June 13, 2024. You can download it from the official QMK Firmware website or its GitHub repository. Both standalone versions and installers are available for Windows and macOS.
- Windows Users: The first time you run QMK Toolbox, you might be prompted to install drivers. If you encounter a "Device not found" error, the Zadig tool can help resolve it.
-
macOS Users: Ensure you’re running macOS 12 (Monterey) or later. If you prefer using Homebrew, you can install QMK Toolbox with this command:
brew install qmk-toolbox
Finding Firmware Files
Getting the correct firmware files is essential for a successful flash. Start with these two key resources:
- QMK Configurator: A reliable source for firmware files that supports over 3,000 keyboards.
- Manufacturer Websites: Check the website of your keyboard’s manufacturer for the most up-to-date firmware tailored to your specific model.
For those using QMK, check the QMK Firmware compatibility list to ensure the firmware matches your keyboard. If you’re shopping for components, KeebsForAll provides a great selection of compatible PCBs and resources at https://keebsforall.com. Their inventory includes high-quality parts that pair well with popular firmware options.
If your keyboard supports VIA, flashing becomes even easier. VIA allows for quick key mapping without needing to reflash repeatedly. It’s also useful for testing the keyboard matrix to identify any non-functional keys before proceeding with the firmware update.
For split keyboards, remember that each half needs to be flashed individually. Be sure to download firmware files for both sides to complete the process.
Preparing Your PCB
To get your PCB ready for flashing, you'll need to put it into bootloader (DFU) mode. Without this step, your computer won’t recognize the PCB for firmware updates.
Entering Bootloader Mode
The method to enter bootloader mode depends on your keyboard. Most keyboards use one of three approaches: key combinations, physical reset buttons, or shorting specific pins on the PCB.
Key Combination Methods are often the simplest to try first. Start by unplugging your keyboard, then hold down specific key(s) while reconnecting the USB cable. Here are some common combinations:
- Hold the Escape key
- Hold Spacebar and B together
- Hold both Shift keys and press Pause or B
- Hold the bottom-left key (usually Left Control)
For example, the Akko ACR TOP 40 enters bootloader mode by disconnecting the USB, holding down the Escape key, and then reconnecting the cable. When done correctly, QMK Toolbox will indicate this by turning the Flash/Exit DFU button black.
Similarly, the Freebird60 uses the same method: hold the Escape key while plugging in the USB-C cable. If your PCB doesn’t respond to these methods or has been "bricked" due to incorrect flashing, you can force DFU mode by shorting the reset pins on the back of the PCB.
Physical Reset Buttons are another common way to enter bootloader mode. Many PCBs have a small button labeled "RESET" or "BOOT" on the underside. With the keyboard plugged in, press and hold this button for a few seconds. On some boards, you’ll need to hold the button while reconnecting the USB cable.
Pin Shorting is a last resort, especially for bricked boards. Locate the RESET and GND header pins on your PCB. Using tweezers, a paperclip, or a small screwdriver, briefly short these pins while the keyboard is connected. This method requires care but is highly effective for stubborn boards.
Once you’ve entered bootloader mode, the next step is to ensure your computer detects the PCB.
Checking PCB Detection
After attempting to enter bootloader mode, confirm that your computer recognizes the PCB. The easiest way to do this is with QMK Toolbox.
Open QMK Toolbox and check the message area at the bottom of the window. If your PCB has successfully entered bootloader mode, you’ll see a message like this:
"* DFU device connected: Atmel Corp. ATmega32U4 (03EB:2FF4:0000)"**. The exact message will vary depending on your microcontroller, but any notification indicating a DFU device connection means you’re ready to proceed.
If QMK Toolbox doesn’t show a connection message, try the other bootloader methods mentioned earlier. Some PCBs respond to one method but not others.
Windows users can also verify detection in the Device Manager under "Universal Serial Bus controllers." For macOS, check under Hardware > USB in System Information.app.
For STM32 or RP2-B1 boards, consult your PCB documentation for model-specific bootloader instructions.
If detection still fails, refer to your PCB’s manual or contact customer support. KeebsForAll provides detailed guides and responsive assistance for specific models.
sbb-itb-3cb9615
Flashing Firmware with QMK Toolbox
Once you've completed the preparation steps, it's time to flash the firmware onto your PCB using QMK Toolbox. With your PCB detected in bootloader mode, you're all set to begin. QMK Toolbox simplifies the process, but it's important to follow the steps carefully for a smooth experience.
Loading Firmware Files
Start by launching QMK Toolbox and focus on the "Local file" box at the top of the interface.
Your firmware file should be in either .hex or .bin format, typically named following this pattern: <keyboard_name>_<keymap_name>.{bin,hex}. For example, you might see filenames like freebird60_default.hex or akko_acr_top40_custom.bin.
To load your firmware, you have two simple options:
- Drag and drop the file directly into the "Local file" box.
- Click the "Open" button next to the box and use the file browser to locate and select your firmware file.
Once the file is loaded, its full path will appear in the "Local file" box. Here's a tip: don't click the "Load" button - this can reset your selection to the default keymap. Always ensure you've selected the correct custom firmware file.
If you're using Windows and see (NO DRIVER) next to your device name, you'll need to install the appropriate drivers. Navigate to Tools > Install Drivers... in QMK Toolbox to handle this step.
With the correct firmware file loaded, you're ready to proceed with flashing.
Starting the Flash Process
Now that your firmware is loaded and your PCB is detected, locate the "Flash" button in QMK Toolbox. This button becomes active when your PCB is in bootloader mode. Click it to start the flashing process.
Make sure your keyboard stays connected and QMK Toolbox remains open during the flash. Interrupting the process could damage your PCB. Once the process is complete, look for a "success" message in the output area - this confirms that the firmware has been written correctly. If you encounter any errors, stop and troubleshoot before trying again.
After Flashing
When the flash is successful, your PCB will automatically exit bootloader mode and restart with the new firmware. Reconnect the USB cable to ensure the firmware initializes properly.
Your keyboard should now function as a standard input device instead of appearing as a bootloader device. Test every key to confirm it's sending the correct input. For a thorough test, use the QMK Configurator's test mode. This online tool highlights each key as you press it, helping you quickly spot any non-responsive or misconfigured keys.
If you notice any issues - like unresponsive keys or incorrect inputs - double-check your keymap configuration. Problems are often due to errors in the firmware file, not the flashing process itself. You can correct the firmware and reflash your PCB using the same steps outlined above.
Testing and Fixing Problems
After flashing your keyboard, it's crucial to test its functionality. Issues can still arise, but with the right steps, you can identify and resolve them efficiently.
Testing Your Keyboard
Start by testing every key to ensure full functionality. The QMK Configurator's test mode is a handy tool for this - it highlights each key as you press it, helping you spot any that don’t respond.
If your PCB supports VIA, the VIA app's "Key Tester" tab and "Test Matrix" feature are excellent options. These tools detect all keys, including special function and layer keys that might not register in standard testers.
For bare PCBs, you can use a conductive tool like tweezers or a paperclip to bridge switch pads and test each key. If you're working with a split keyboard, test each half separately first, then connect them to confirm they’re communicating properly.
Pay close attention to function and layer keys during testing. These require specific methods since they modify other keys rather than producing direct output. Test all layer combinations to ensure your custom keymap works as intended.
If you encounter any problems during testing, follow the troubleshooting steps outlined below.
Common Problems and Solutions
If testing reveals errors, don’t worry - most issues after flashing firmware can be resolved with straightforward fixes. Here’s a breakdown of common problems and how to address them:
-
PCB Not Detected: First, connect the PCB directly to your computer and reflash it in DFU mode. Inspect JST cables and connectors for bent pins, and carefully straighten them if needed.
"When your PCB is not being detected by your computer, this could be caused by a variety of factors. We begin troubleshooting with a simple check of the USB cable and USB ports to ensure the issue is not with the computer or USB cable."
- Maker Keyboards
- Individual Keys Not Working: For hotswap PCBs, check for bent switch pins and ensure the hotswap socket's leaf contacts are properly connecting with the switch pins. On solderable PCBs, look for missing diodes, poor solder joints, or key binding issues in your VIA or QMK settings.
- Entire Column Problems: If a whole column isn’t registering, try reflashing the firmware first. If that doesn’t help, check for damaged PCB traces by bridging key contact pads with tweezers. If an entire column activates together, remove the PCB from the case and inspect for shorts against the case or daughterboard screws.
- Wrong Key Positions: If keys register incorrectly, double-check that the firmware version matches your PCB. Some keyboards have different firmware files for solder and hotswap variants.
- Double-Activating Keys: Replace the problematic switch to rule out hardware issues. For hotswap sockets, ensure the gold contact-leaves aren’t spread too far apart.
- Keys Stuck Down: Remove the PCB from the case and inspect for shorts underneath. Check daughterboard screws and remove any tape modifications that might be causing electrical shorts.
Fixing Failed Flashes
If the flashing process fails or your keyboard becomes unresponsive, follow these recovery steps:
- Reboot your computer and ensure the QMK repository is up to date if you're using older software.
- If QMK Toolbox doesn’t recognize your PCB in DFU mode, inspect hardware components like the USB port, cable, daughterboard, JST cable, or microcontroller for damage. If available, try testing with another USB-C daughterboard to rule out faults.
Be on the lookout for warning signs of serious hardware issues, such as a hot microcontroller, which could indicate a short circuit. In such cases, the PCB might need to be replaced. Verify that JST cable wiring is correct and remove any tape modifications that could be causing shorts.
For PCBs with a physical switch to toggle between normal mode and bootloader/DFU mode, ensure the switch is in the right position. If you encounter LED issues after flashing, confirm the PCB is receiving sufficient power, especially when using RGB lighting. Try a different cable or USB port to rule out power delivery problems.
If you’ve exhausted standard recovery methods, consider reaching out to the mechanical keyboard community. Many experienced builders can offer specific guidance for your PCB model. After troubleshooting, reattempt the flash to see if the issue is resolved.
Conclusion
Main Points
Flashing firmware successfully boils down to having the right tools, selecting the correct firmware, and thoroughly testing your work. Tools like QMK Toolbox, dependable USB cables, and verified firmware files are essential. Make sure to enter bootloader mode properly and confirm that your PCB is detected before proceeding with the flashing process.
Carefully follow each step to install the firmware and test every key to ensure everything is functioning as expected. Most issues can be resolved through systematic troubleshooting. Once you've mastered these skills, you'll be ready to explore new ways to enhance and upgrade your keyboard setup.
Shop at KeebsForAll

Now that you've nailed the art of firmware flashing, it's time to take your custom keyboard to the next level. With these skills, you can fully customize your keyboard experience - whether that's remapping keys or creating macros to streamline your workflow.
Check out KeebsForAll to find everything you need for your keyboard customization journey. Their Freebird60 PCB comes pre-flashed but supports remapping and custom key configurations with QMK. Plus, KeebsForAll offers a range of Freebird PCBs and other essential tools at competitive prices.
Custom keyboards aren't just about aesthetics - they bring real benefits like improved typing speed, better accuracy, enhanced comfort, and long-lasting durability. With your firmware skills, you can program shortcuts for repetitive tasks, use layers for functions like volume control, and design a layout tailored perfectly to your workflow or gaming setup. The possibilities are endless!
FAQs
What are the potential risks of flashing PCB firmware, and how can I avoid them?
Flashing PCB firmware comes with certain risks. For instance, if the process is interrupted or performed incorrectly, you could end up bricking your device, rendering it unusable. Additionally, poorly secured firmware can open the door to security vulnerabilities, leaving your device exposed to potential threats.
To reduce these risks, here are a few essential precautions to keep in mind:
- Maintain a stable power supply throughout the flashing process to avoid interruptions.
- Verify the firmware source to ensure it’s legitimate and safe to use.
- Steer clear of firmware containing hardcoded sensitive data, and consider encrypting the firmware for an extra layer of protection.
By following these steps, you can flash firmware onto your PCB with greater confidence while safeguarding your device from avoidable issues.
What should I do if my keyboard won’t enter bootloader mode during firmware flashing?
If your keyboard isn’t entering bootloader mode, the first step is to confirm you're following the correct method for your specific PCB. Many keyboards require actions like double-tapping the reset button or holding down certain key combinations, such as FN + a designated key (e.g., space + B). Refer to your keyboard’s documentation for precise instructions tailored to your model.
If that doesn’t resolve the issue, it’s time to check for possible hardware problems. Look for things like solder bridges, loose connections, or faulty components. Also, ensure that the USB cable and port you're using are in good working condition. Another common culprit is fast boot settings in your computer’s BIOS/UEFI - disabling this can sometimes help with bootloader detection. If the problem persists, try switching to a different USB port or cable and ensure no conflicting software is running in the background.
Looking to upgrade your keyboard setup? Visit KeebsForAll for top-notch keyboard components and accessories loved by the mechanical keyboard community.
What should I know about flashing firmware on split keyboards?
Flashing firmware on split keyboards involves selecting the right firmware type - QMK, Vial, or ZMK - depending on your keyboard's controller. For wired controllers like Liatris, Elite-Pi, Elite-C, or Pro Micro, you can use precompiled firmware files and flash them with tools like QMK Toolbox. If you’re compiling firmware on your own, you’ll need to install the QMK client, compile the firmware, and then upload it using the flash command.
For wireless controllers, such as the nice!nano running ZMK, the process might include wireless flashing methods. It’s crucial to ensure the firmware you’re using is compatible with your keyboard’s hardware configuration. Follow the specific instructions for your controller, which might also require installing drivers, using dedicated flashing tools, or resetting the keyboard during the process. Double-checking your setup can save you from potential issues and make the flashing process much smoother.


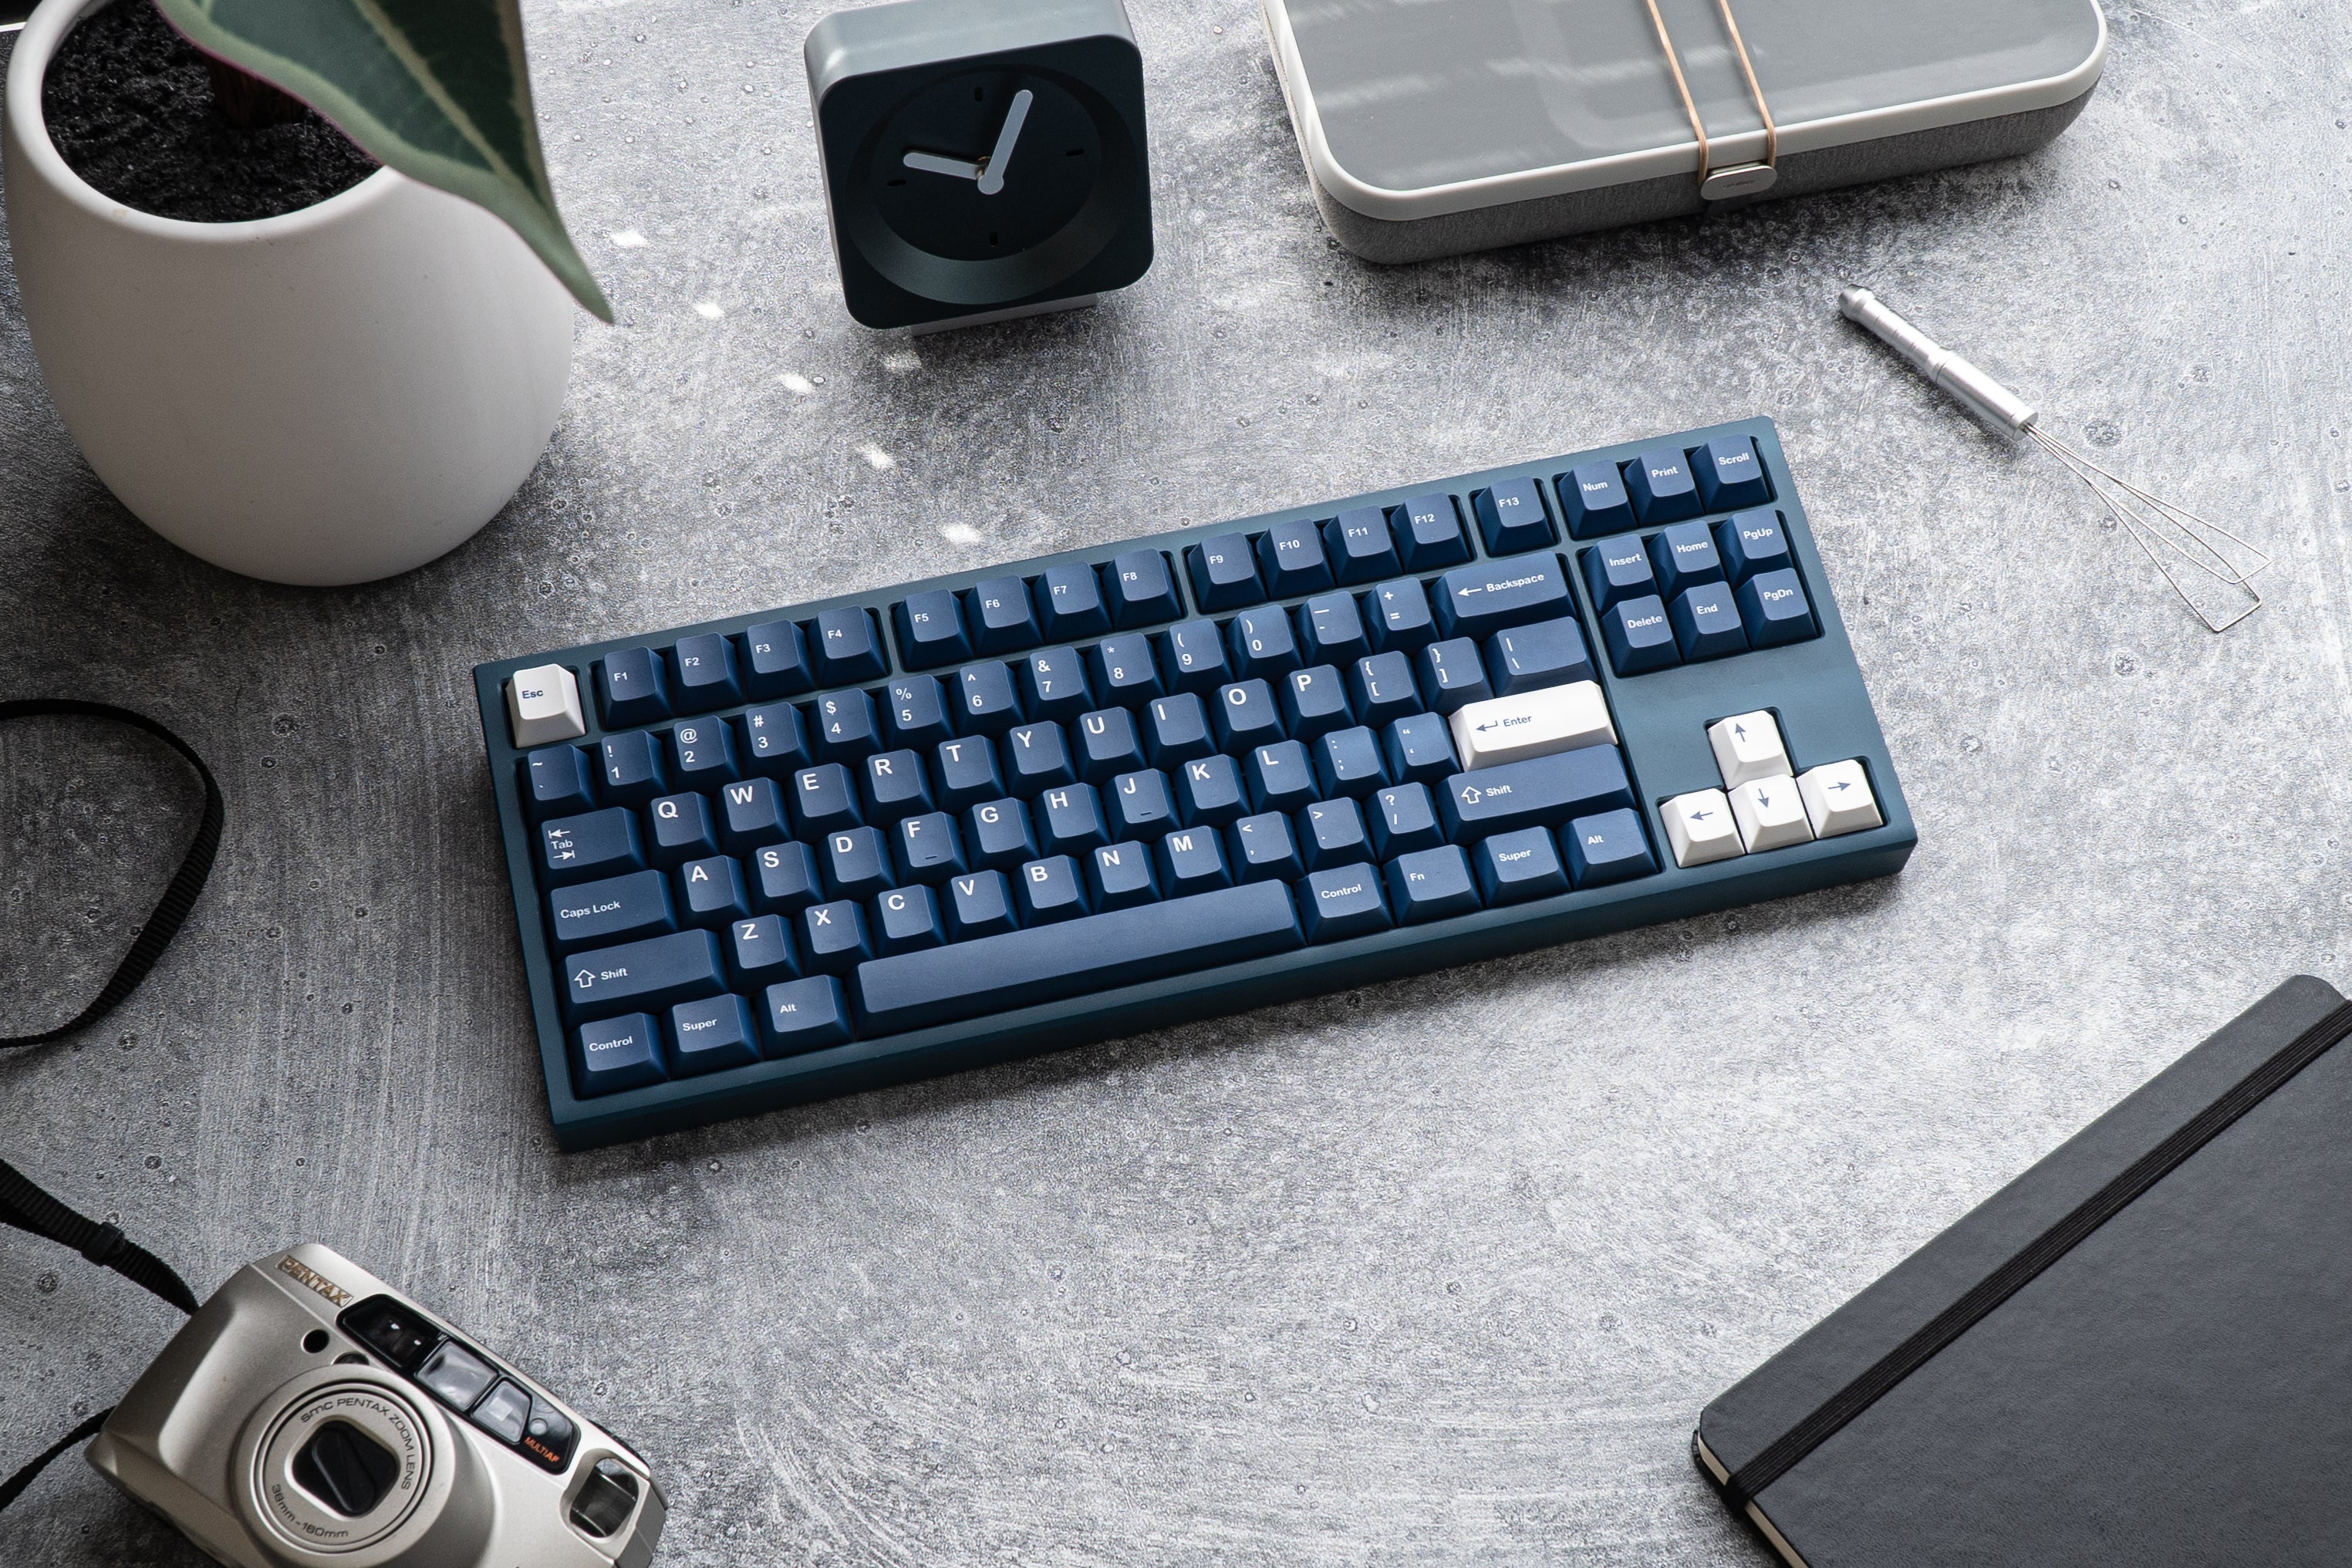
![[Pre-Order] Autumn Leaves PBT Keycaps - KeebsForAll](http://keebsforall.com/cdn/shop/products/DSC09732.jpg?v=1676148273)


Leave a comment
This site is protected by hCaptcha and the hCaptcha Privacy Policy and Terms of Service apply.