
Ultimate Guide to Flashing QMK Firmware
[ Back to Mechanical Keyboards 101 ]Flashing QMK firmware lets you customize your keyboard to suit your needs, from creating macros to adjusting key functions. Here's how to get started:
- Why Flash QMK?: Personalize your keyboard layout, fix compatibility issues, and unlock advanced features.
- What You Need: QMK Toolbox, the correct firmware file, a reliable USB cable, and optionally metallic tweezers for bootloader mode.
-
Steps:
- Enter bootloader mode (via key combinations, reset button, or pin shorting).
- Use QMK Toolbox to load and flash the firmware.
- Reset your keyboard to apply changes.
- Troubleshooting: Check USB connections, drivers, and ensure you’ve selected the correct firmware.
With the right tools and preparation, flashing QMK firmware is straightforward and opens up endless customization possibilities for your keyboard.
Preparation and Tools for Flashing QMK Firmware
Gather the Required Tools
Before diving into the flashing process, make sure you have everything you need at hand. Interruptions due to missing tools can be frustrating, so a little preparation goes a long way.
Essential Software and Files:
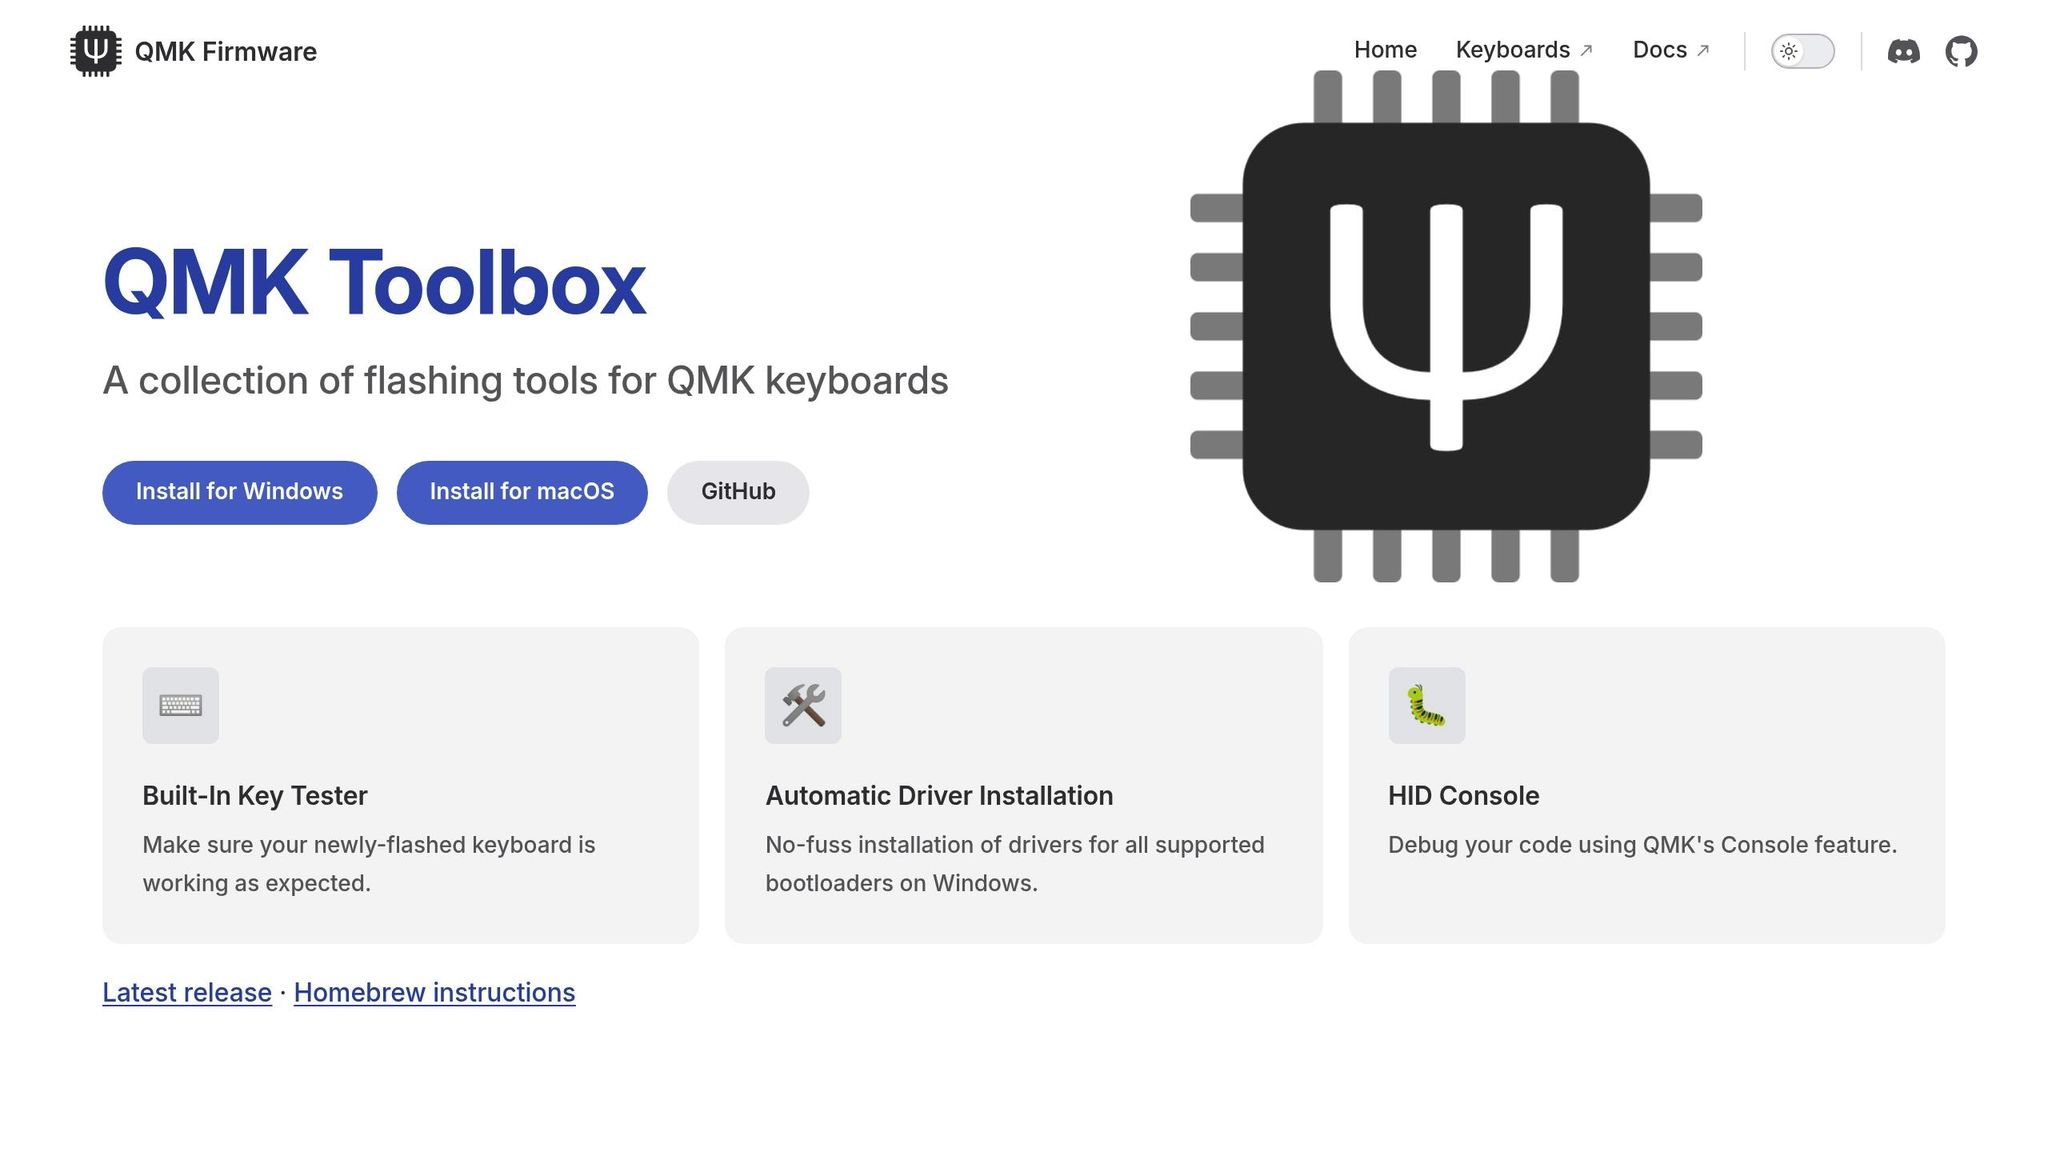
Start with QMK Toolbox, a user-friendly tool for flashing firmware on both Windows and macOS. You'll also need the correct firmware file for your keyboard, typically in .hex or .bin format. If you're planning to create custom keymaps or compile your own firmware, install QMK MSYS along with a basic text editor for modifying keymaps.
Hardware Requirements:
A reliable USB cable is non-negotiable. Poor-quality cables can cause unstable connections, potentially halting the flashing process. Investing in a durable cable ensures smooth communication between your keyboard and computer.
For some microcontrollers, you may need metallic tweezers to bridge the GND and RST pins, which is necessary to enter bootloader mode.
Additional Tools for Specific Controllers:
Some microcontrollers require specialized software like AVRDUDESS or Teensy Loader. These tools are essential for certain chips that aren't directly supported by QMK Toolbox.
Once your tools are ready, take a moment to confirm the specifications of your keyboard's hardware.
Identify Your PCB and Microcontroller
Understanding your keyboard's hardware is critical to downloading the correct firmware and avoiding compatibility issues. Pay close attention to chip markers and model details.
Common Microcontroller Types:
Most QMK-supported keyboards are powered by microcontrollers like the ATmega32U4 or RP2040. The ATmega32U4 is widely used in custom keyboards, while newer designs often feature the RP2040. QMK is compatible with any USB-capable AVR or ARM microcontroller, provided it has enough flash memory - 32 KB+ for AVR and 64 KB+ for ARM.
Physical Identification Methods:
Check your keyboard's PCB for visible labels or markings that indicate the model or manufacturer. Look for the microcontroller chip itself - common identifiers include "ATmega32U4" or markings from the STM32 line.
USB Interface Detection:
If physical inspection isn't possible, connect your keyboard to your computer and use its USB interface to check the Vendor ID and Product ID. This information, accessible through your system's device manager, can help you identify the specific chip and PCB model.
Development Board Considerations:
Many keyboards use development boards like the Pro Micro, which simplify programming with accessible pins and built-in USB support. The number of GPIO pins on your board determines how many keys your keyboard can support.
If you're unsure about identifying your PCB, online communities like Geekhack are excellent resources for advice and guidance from experienced enthusiasts.
Once you've identified your hardware, it's time to safeguard your existing configurations.
Backup Existing Configurations
Before you flash new firmware, back up your current settings to avoid losing customizations. Flashing firmware resets your device to its factory defaults, erasing any personal preferences or unique setups.
Save your keymap configurations, custom macros, and the existing firmware file. If your keyboard uses VIA-compatible firmware, export your layout settings and document any special key assignments or layer configurations.
Store your backups on external drives or cloud storage to ensure they're safe and accessible. Use reliable backup tools compatible with your device, and periodically test your backups to confirm they're complete. Familiarize yourself with the steps to restore your original firmware.
For a smoother experience, consider sourcing quality components from trusted suppliers like KeebsForAll, known for providing high-quality parts tailored to the mechanical keyboard community.
QMK/VIA on the Glorious GMMK2 - 2024 - Written Tutorial in Description

Step-by-Step Guide to Flashing QMK Firmware
Now that you've got your tools ready and configurations backed up, it's time to flash your QMK firmware. This process requires attention to detail, but if you follow the steps carefully, you’ll be able to flash your keyboard without any issues.
Enter Bootloader Mode
The first step is to get your keyboard into bootloader mode.
Key Combination Methods:
Many keyboards allow you to enter bootloader mode by holding specific key combinations, such as Shift + Pause/B or by unplugging and reconnecting while holding Spacebar + B. Check your keyboard’s manual for the exact key combination for your model.
Physical Reset Button:
If your keyboard has a physical RESET button, simply press it while connecting the USB cable to enter bootloader mode.
Pin Shorting Method:
If the above methods don’t work, locate the RESET and GND header pins on your keyboard’s PCB. Using metallic tweezers, briefly bridge these pins while plugging in the keyboard.
Special Considerations:
For keyboards using STM32 or RP2-B1 chips, it’s best to consult the QMK Discord for specific instructions tailored to your model.
Once the keyboard enters bootloader mode, QMK Toolbox will confirm that the device is ready for flashing.
Flashing with QMK Toolbox
QMK Toolbox simplifies the flashing process with its user-friendly interface.
Loading Your Firmware:
Start by opening QMK Toolbox and clicking "Open" to select your firmware file. The file will typically be in a .hex or .bin format, depending on your keyboard’s microcontroller. Make sure you select the correct firmware for your device to avoid potential issues.
Device Detection:
With the keyboard in bootloader mode, QMK Toolbox should automatically detect it. You’ll see the device name and a confirmation message in the status area. If detection fails, double-check your USB connection and cable.
Flashing Process:
Click the "Flash" button to begin the firmware update. QMK Toolbox will display real-time updates as it erases the old firmware and installs the new one. The process usually takes 30–60 seconds, depending on your microcontroller and firmware size.
Status Messages:
Keep an eye on the output window. A "Flash complete" message means the process was successful. If you see error messages, they could indicate connection problems, an incorrect firmware file, or hardware issues.
Example – MonsGeek Workflow:
MonsGeek offers a clear workflow: download QMK Toolbox, open the software, load your firmware (.bin file), disconnect the keyboard, hold the ESC key while reconnecting the USB cable, flash the firmware, exit DFU mode, and reconnect the USB cable.
Important Tip:
Never disconnect your keyboard during the flashing process. Interrupting the process could corrupt the firmware, requiring additional recovery steps.
After flashing, proceed to reset your keyboard so the new firmware can take effect.
Resetting the Device After Flashing
Most keyboards will reset automatically once the flashing process is complete. If yours doesn’t, you can manually reset it by unplugging and reconnecting the USB cable or pressing the physical reset button. For keyboards with unique reset procedures, refer to the manufacturer’s documentation.
Troubleshooting Reset Issues:
If the keyboard remains unresponsive, try shorting the RST and GND pins briefly with metallic tweezers. This forces a hardware reset, which can resolve problems when a software reset fails.
Once the reset is successful, your keyboard should be running the updated QMK firmware with all your customizations in place. Test the keys to ensure everything is functioning as expected.
sbb-itb-3cb9615
Troubleshooting Common Issues
After flashing QMK firmware, you might run into some problems that need troubleshooting. Most of these are straightforward hardware-related issues rather than complex software conflicts.
Diagnosing Connection Problems
Connection issues are one of the most frequent obstacles during the flashing process. Faulty cables or loose connections are often to blame. Start by trying different USB ports on your computer. If you're using a USB hub, connect directly to your computer’s built-in ports instead.
To narrow down the issue, use diagnostic tools. Running qmk doctor in your command line can help identify setup problems and suggest solutions.
Pay attention to the status messages in QMK Toolbox when you connect your keyboard. If the device briefly appears and then disconnects, it might point to a driver or hardware issue. If it doesn’t appear at all, double-check your cable, USB port, and PCB for potential problems.
Also, keep an eye out for overheating. If the PCB feels unusually warm, it could indicate a short circuit.
If everything seems fine on the hardware side, the next step is to look into driver or detection issues.
Resolving Driver and Detection Issues
Driver issues are especially common on Windows, where the system might fail to recognize the keyboard in bootloader mode.
The Windows Device Manager is a helpful tool here. When your keyboard is in bootloader mode, check Device Manager for unrecognized USB devices or warning symbols. Updating or reinstalling the appropriate drivers can often fix the problem.
If your firmware is corrupted or wasn’t installed correctly, try putting your PCB into DFU (reset) mode. This can help QMK Toolbox detect the board when standard methods don’t work.
For keyboards with daughterboards, inspect the JST connectors. Look for bent pins on both the daughterboard and the PCB. Unplug and re-plug the JST cable to ensure a proper connection.
Also, ensure the PCB switch is set to "0". Unplug your keyboard, check the switch on the back, and reconnect the device.
Be mindful that some PCBs have different firmware versions for solder and hotswap variants. Flashing the wrong one can result in keymap issues.
If driver and detection problems aren’t the cause, move on to troubleshooting unresponsive boards.
Handling Unresponsive Boards
An unresponsive board after flashing can be frustrating, but it’s usually fixable. What seems like a "bricked" device can often be recovered with the right steps.
Start by verifying bootloader mode. Sometimes the keyboard doesn’t respond in bootloader mode because it’s not expected to function until it boots normally. Use QMK Toolbox to confirm the board has entered bootloader mode.
If standard reset methods don’t work, try a manual reset. On keyboards with accessible reset pins, you can force bootloader entry by shorting the PROG pads while connecting the USB cable.
For certain controllers, the double-tap reset technique is effective. For example, with nice!nano controllers, quickly pressing the reset button twice forces the board into bootloader mode.
It’s also worth ruling out hardware issues. Test with different USB cables and ports to eliminate connection problems.
For boards with advanced controllers - like those using STM32 or RP2-B1 chips - troubleshooting can be more complex. In these cases, reaching out to the QMK Discord community can be incredibly helpful.
Here’s a real-world example: In May 2022, a user named Bloodroke accidentally bricked their Model F F77 keyboard by flashing it with outdated VIA firmware. The keyboard became completely unresponsive and wouldn’t enter bootloader mode. Following advice from NathanA, they shorted the PROG pads on the controller PCB while plugging in the USB cable, downloaded the latest firmware, and successfully reflashed the keyboard, solving the problem.
If persistent issues occur - especially on macOS, where USB driver conflicts are more common - try flashing the firmware on a Linux or Windows system. Different operating systems handle USB communication differently, and switching platforms can often sidestep stubborn driver problems.
Tools and Resources for QMK Flashing
Having the right tools and components on hand can make QMK firmware flashing much smoother and help you sidestep common headaches. Once you've tackled basic troubleshooting, consider upgrading your setup with these recommended tools and resources.
Recommended Tools and Accessories
QMK Toolbox is a must-have. It not only handles firmware flashing but also includes built-in debugging features like a key tester and HID console, making it an all-in-one solution for most users.
For more advanced flashing needs, specific hardware becomes essential. If you're dealing with ISP flashing, you'll need one of the following: a Pro Micro, Arduino, Teensy 2.0, SparkFun PocketAVR/USBtinyISP, USBasp, or Bus Pirate, along with jumper wires. For STM32 controllers, an ST-Link V2 dongle is necessary to flash the STM32Duino bootloader.
Don't underestimate the importance of quality accessories. A reliable USB cable - whether USB-C or micro-USB - can prevent connection issues during flashing. KeebsForAll offers high-quality accessories to streamline your build. For example, their KFA Switch Opener ($19.00) simplifies opening switches for lubing or swapping springs, while the Krytox 205 g0 Lubricant (starting at $7.95) is a favorite among enthusiasts for achieving smooth, satisfying keystrokes.
Once your tools are sorted, the next step is sourcing dependable PCBs and components.
Where to Find High-Quality PCBs and Components
The quality of your hardware directly impacts the success of your QMK flashing process. KeebsForAll is a trusted retailer, offering a wide range of mechanical keyboard components at reasonable prices. This is especially helpful in the custom keyboard scene, where stock levels can vary significantly.
For microcontrollers, the Pro Micro stands out for its Arduino compatibility and strong support within the QMK ecosystem. Opt for USB-C versions when possible - they're more durable than micro-USB. Additionally, RP2040-based controllers are gaining popularity, thanks to their advanced features and better availability.
When selecting a PCB, consider the layout and features you want. Whether you're building a split ergonomic keyboard, a compact 60% model, or a traditional TKL design, make sure your PCB and microcontroller are QMK-compatible. You'll also need to decide between hotswap and soldered switch mounting styles, depending on your preferences.
For beginners, community resources are invaluable. The QMK Firmware documentation includes a section specifically designed to help newcomers get started. Thomas Baart's QMK Basics Blog is another excellent resource, offering clear, easy-to-follow explanations of core concepts. If you run into issues, the QMK Discord server is a great place to ask questions and get advice from experienced users. For those who find programming daunting, the QMK online GUI simplifies firmware configuration, bridging the gap between command-line complexity and user-friendly customization.
KeebsForAll ensures that in-demand components and accessories are readily available, helping you complete your build efficiently without breaking the bank or waiting endlessly for restocks.
Conclusion
This guide has covered everything you need to know, from preparation to troubleshooting, and highlighted the key steps for flashing QMK firmware. The process boils down to three main actions: putting your keyboard into bootloader mode, loading the firmware file into QMK Toolbox (or using the command line), and flashing the firmware to your keyboard.
To avoid hiccups, make sure you identify your PCB, back up your settings, and gather the necessary tools beforehand. Whether you’re using QMK Toolbox on Windows or macOS, or opting for the command line, having a well-prepared build environment can save you a lot of time and effort.
Once your keyboard is flashed, it’s important to keep the firmware updated. Regular updates not only fix bugs and improve functionality but also ensure compatibility with new operating systems and applications, extending the lifespan of your keyboard.
For reliable components and tools, KeebsForAll is a trusted source. They offer essentials like the durable KFA Switch Opener for maintenance and premium Krytox 205 g0 Lubricant to keep your switches performing at their best.
FAQs
What makes QMK firmware better than the default firmware on my keyboard?
QMK firmware opens up a world of possibilities for customizing your mechanical keyboard, going far beyond the capabilities of most default firmware. With QMK, you can remap keys, design intricate macros, and set up multiple layers to match your specific preferences. It also brings advanced options to the table, such as tap dancing (assigning multiple actions to a single key), customizable backlighting, and enhanced macro functionality.
One of the standout benefits of QMK is its active community support. Regular updates and a wealth of shared resources ensure your keyboard remains adaptable and current. For keyboard enthusiasts looking to create a truly tailored typing experience, QMK offers the tools to make it happen.
How do I find the right firmware for my keyboard to ensure compatibility?
To get the right firmware for your keyboard, first, confirm that your keyboard is compatible with QMK. Look at the manufacturer’s product details for mentions of QMK/VIA support, or check the official QMK documentation. Another option is to search for your keyboard model in the QMK GitHub repository to verify compatibility.
Once you’ve confirmed support, tools like the QMK Configurator or QMK Toolbox can help you find the correct firmware file, usually in .hex or .bin format. Be sure the file matches your keyboard’s controller chip (like an atmega32u4) to prevent compatibility problems. Following these steps will set you up for a hassle-free firmware flashing experience.
What can I do if my keyboard stops working after flashing QMK firmware?
If your keyboard stops responding after flashing QMK firmware, the first step is to unplug it and then plug it back in. This simple action often resets the device. If that doesn’t resolve the issue, try a manual reset. To do this, hold down a specific key - commonly Escape or Left Control - while reconnecting the keyboard. Some models might also include a physical reset button on the PCB, which you can press to initiate a reset.
Still having trouble? Double-check that the firmware was flashed properly and that the USB connection is secure. Additionally, ensure the keyboard isn’t drawing too much power from the USB port, as this can cause functionality issues. For more detailed guidance, refer to the QMK documentation or the manual for your keyboard.